2*40 Engine, clutch and transmission
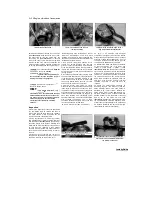
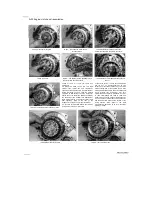
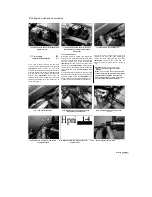
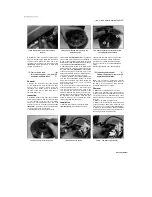
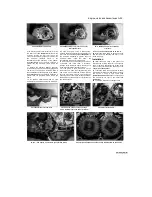
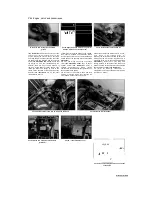
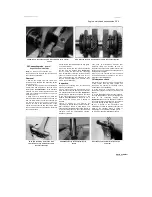
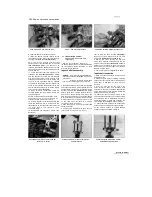
20.18 Fit a new O-ring around the collar
20.19a Make sure the gasket fits onto the
dowels (arrowed)...
20.19b ... then install the cover
20.20a Use a new O-ring on the oil pipe
union...
20.20b
.. and tighten its bolts to the
specified torque
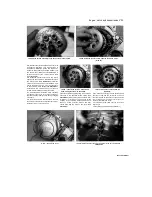
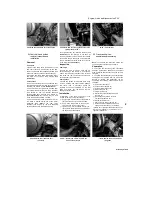
into the orifice in the scavenge pump, then fit a
new O-ring
(see illustration).
19
If removed, fit the oil pump cover dowels into
the crankcase, then install the cover using a new
gasket, making sure it locates correctly onto the
dowels
(see illustration).
Tighten the cover bolts
evenly in a criss-cross sequence to the specified
torque setting
(see illustration).
20
Fit the oil pipe onto the cover using a new O-
ring and tighten the bolts to the specified torque
setting
(see illustrations).
21
On XTZ models, install the exhaust system
(see Chapter 4) and the engine bashplate (see
Chapter 8).
22 Fill the engine with the specified quantity and
type of new engine oil (see Chapter 1).
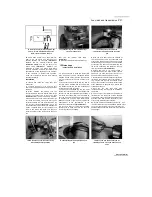
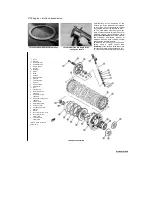
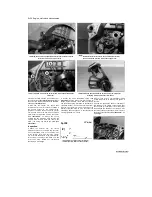
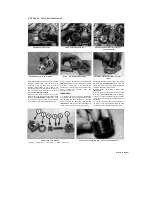
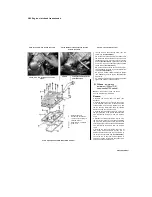
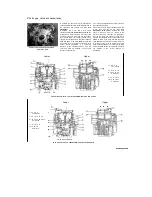
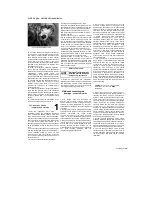
21.5 Oil tank (1996-on TDM and all TRX models)
21 Oil tank
- removal and
installation (1996-on TDM
models and all TRX models)
Note:
To remove the oil tank, the engine
must be removed from the frame.
Removal
1
Remove the engine from the frame (see
Section 5).
2 Unscrew the banjo bolts securing the oil pipe
to the left-hand side of the oil tank and to the
cylinder head, and the pipe bracket bolt, and
remove the pipe. Discard the banjo bolt sealing
washers as new ones must be used.
3 Unscrew the two bolts securing the oil pipe to
the right-hand side of the oil tank and detach the
pipe. Discard the O-ring as a new one must be
used.
4 Slacken the clamp securing the oil pipe (from
the rear of the oil tank) in the oil hose and detach
the pipe from the hose. Unscrew the two bolts
securing the pipe to the oil tank and withdraw the
pipe. Discard the O-ring as a new one must be
used.
5 Unscrew the bolts securing the top of the oil
tank, noting which fits where as they are of
different lengths, and noting the clip secured by
the bolt on the right-hand side
(see illustration).
Lift off the top of the tank, being prepared to
catch any residue oil. Discard the gasket as a
new one must be used. Note the
Scaned by Stalker
1
Oil tank top cover
2
Gasket Top cover bolts -
14 off Top cover dowel -2
off Base Gasket
Base dowels -2 off Base
bolts -7 off
Содержание XTZ750
Страница 174: ...UNREGISTERED VI ScanedbyStalker UNREGISTERED VI ...
Страница 207: ...Wiring diagrams 9 29 _____Scaned by Stalker 5 l 6o Cxj fi I JICM ...
Страница 208: ...UNREGISTERED VI 9 30 Wiring diagrams UNREGISTERED VERSION 01 ONREGISTEREDVI Scaned by Stalker ONREGISTERED VERSION 0 ...
Страница 209: ...I UNREGISTERED VI Wiring diagrams 9 31 ____ Scaned by Stalker UNREGISTERED VERSION OF PICTURE DESK ...
Страница 210: ...9 32 Wiring diagrams Scaned by Stalker ...
Страница 211: ...XTZ750 gauge Starter circuit Neutral Starter cut off relay switch rnotor ...

