rUHREGISTERED VERSION OF PICTURE-DESK
i, suspension and final drive 6*25
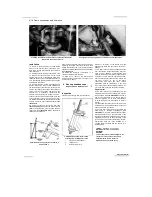
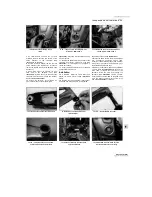
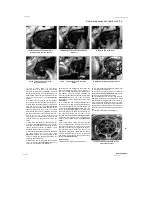
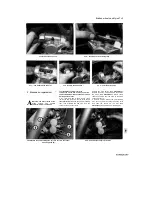
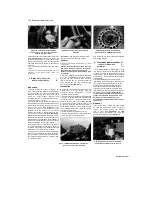
13.9a Remove the blanking caps if
fitted
...
13.9b ... then unscrew the swingarm nut
(arrowed) - TDM shown
13.10 Withdraw the pivot bolt and remove
the swingarm
-
TDM shown
7
On TDM models, unscrew the nut and
withdraw the bolt securing the bottom of the
shock
absorber
to
the
swingarm
(see
illustrations 10.3a and b).
8
On TRX and XTZ models, remove the rear
shock absorber (see Section 10). If required,
remove the linkage rods from the swingarm (see
Section 11).
9 Where fitted, remove the blanking cap from
each
end
of
the
swingarm
pivot
(see
illustration).
Unscrew the nut on the end of the
swingarm pivot bolt and remove the washer,
where fitted
(see illustration).
10
Support the swingarm, then withdraw the
pivot bolt and remove the swingarm
(see
illustration).
Knock the pivot bolt through using
a drift if required.
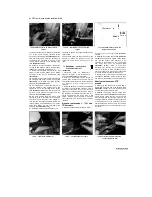
11 Remove the chain slider from the front of the
swingarm if necessary, noting how it fits
(see
illustration).
If it is badly worn or damaged, it
should be renewed.
12 Inspect all components for wear or damage
as described in Section 14.
Installation
13
If removed, install the chain slider and
tighten its bolt(s) securely
(see illustration
13.11).
14
Remove the cap and washer (where fitted)
from each side of the swingarm, and withdraw
the bearing spacer(s)
(see illustrations).
Lubricate the seals (XTZ models) and bearings
with molybdenum disulphide grease (TRX
models) or lithium-based grease (XTZ models).
Also grease the collar(s) and swingarm pivot.
Re-install the washers and caps.
15
Offer up the swingarm, and have an assistant
hold it in place
(see illustration).
Make sure the
drive chain is looped over the front of the
swingarm. Slide the pivot bolt through the
swingarm
(see illustration 13.10),
on TDM
models making sure the flats on the head of the
pivot bolt locate correctly with the flats in the
frame
(see illustration).
Install the
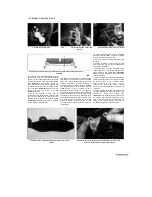
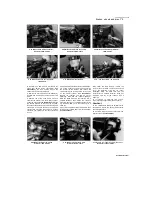
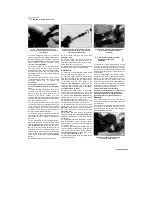
13.11 Remove the chain slider if required
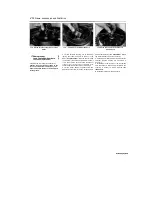
13.14a Remove the cap and washer
(where fitted)...
13.14b ... then withdraw the collar...
13.14c ... and grease the bearings and
other components as described
13.15a Do not forget to loop the chain
over the swingarm
13.15b On TDM models, make sure the
bolt head flats locate correctly
Staned by Stalker
UNREGISTERED VERSION OF PICTORE-DESK
Содержание XTZ750
Страница 174: ...UNREGISTERED VI ScanedbyStalker UNREGISTERED VI ...
Страница 207: ...Wiring diagrams 9 29 _____Scaned by Stalker 5 l 6o Cxj fi I JICM ...
Страница 208: ...UNREGISTERED VI 9 30 Wiring diagrams UNREGISTERED VERSION 01 ONREGISTEREDVI Scaned by Stalker ONREGISTERED VERSION 0 ...
Страница 209: ...I UNREGISTERED VI Wiring diagrams 9 31 ____ Scaned by Stalker UNREGISTERED VERSION OF PICTURE DESK ...
Страница 210: ...9 32 Wiring diagrams Scaned by Stalker ...
Страница 211: ...XTZ750 gauge Starter circuit Neutral Starter cut off relay switch rnotor ...

