1.24 Every 16,000 miles (24,000 km) or 2 years
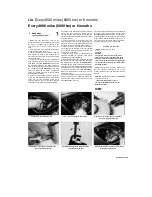
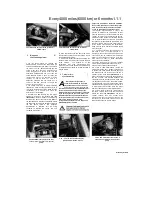
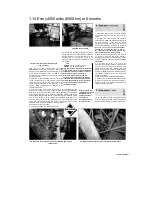
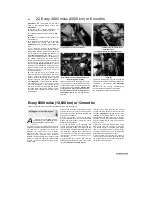
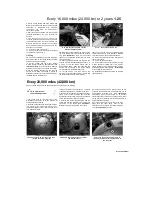
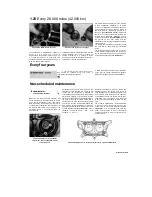
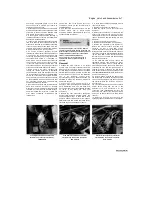
27.2a Unscrew the water pump drain plug (arrowed)...
27.2b ... and allow the coolant to drain
brake bleeding section in Chapter 7, noting that
all old fluid must be pumped from the fluid
reservoir and hydraulic line before filling with new
fluid.
Old brake fluid is invariably
much darker in colour than new
fluid, making it easy to see when
all old fluid has been expelled
from the system.
2 Brake caliper and master cylinder seals will
deteriorate over a period of time and lose their
effectiveness, leading to sticking operation or
fluid loss, or allowing the ingress of air and dirt.
Refer to Chapter 7 and dismantle the
components for seal renewal every two years.
27 Cooling system
- draining,
flushing and refilling
Warning: Allow the engine
to cool completely before
performing this maintenance
operation. Also, don't allow antifreeze to come
into contact with your skin or the
painted surfaces of the motorcycle. Rinse off
spills immediately with plenty of water.
Antifreeze is highly toxic if ingested. Never
leave antifreeze lying around in an open
container or in puddles on the floor; children
and pets are attracted by its sweet smell and
may drink it. Check with local authorities
(councils) about disposing of antifreeze.
Many communities have collection centres
which will see that antifreeze is disposed of
safely. Antifreeze is also combustible, so
don't store it near open flames.
Draining
1
On all models remove the seat, on TDM
models the right-hand fairing side panel, on TRX
models the fairing, and on XTZ models the left-
hand fairing side panel (see Chapter 8). On 1991
to 1995 TDM models and XTZ models, remove
the engine bashplate (see Chapter 8). On TRX
models, remove the security bolt holding the
radiator cap
(see illustration 16.6a).
Remove
the radiator pressure cap by turning it anti-
clockwise
until it
reaches
a
stop
(see
illustrations 16.6b and c).
If you hear a hissing
sound (indicating there is still pressure in the
system), wait until it stops. Now press down on
the cap and continue turning the cap until it can
be removed.
2 Position a suitable container beneath the
water pump. Remove the coolant drain plug from
the water pump and allow the coolant to drain
completely from the system
(see illustrations).
Retain the old sealing washer for use during
flushing.
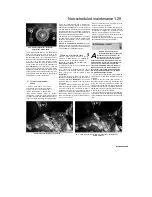
3 Position the container beneath the cylinders,
then remove the drain plug from the cylinder
block and allow the coolant to drain completely
from the engine
(see illustrations).
Retain the
old sealing washer for use during flushing.
4 Position the container beneath the coolant
reservoir and remove the filler cap. Release the
clamp and detach the hose from the bottom of
the reservoir and allow the coolant to completely
drain
(see illustration).
Fit the hose back onto
the reservoir and secure it with the clamp.
Flushing
5 Flush the system with clean tap water by
inserting a garden hose in the radiator filler neck.
Allow the water to run through the system until it
is clear and flows cleanly out of the drain holes. If
the radiator is extremely corroded, remove it (see
Chapter 3) and have it cleaned professionally.
6 Clean the drain holes then install the drain
plugs using the old sealing washers.
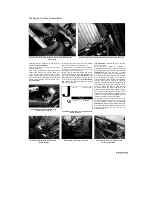
27.3a Unscrew the cylinder drain plug
(arrowed)...
27.3b ... and allow the coolant to drain
27.4 Release the clamp and detach the
hose (arrowed) - XTZ shown
Scaned by Stalker
A
Содержание XTZ750
Страница 174: ...UNREGISTERED VI ScanedbyStalker UNREGISTERED VI ...
Страница 207: ...Wiring diagrams 9 29 _____Scaned by Stalker 5 l 6o Cxj fi I JICM ...
Страница 208: ...UNREGISTERED VI 9 30 Wiring diagrams UNREGISTERED VERSION 01 ONREGISTEREDVI Scaned by Stalker ONREGISTERED VERSION 0 ...
Страница 209: ...I UNREGISTERED VI Wiring diagrams 9 31 ____ Scaned by Stalker UNREGISTERED VERSION OF PICTURE DESK ...
Страница 210: ...9 32 Wiring diagrams Scaned by Stalker ...
Страница 211: ...XTZ750 gauge Starter circuit Neutral Starter cut off relay switch rnotor ...

