Every 4000 miles (6000 km) or 6 months 1.19
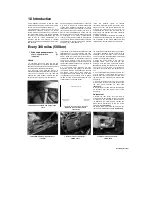
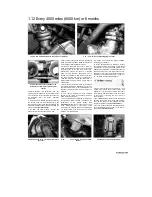
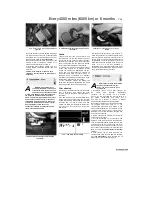
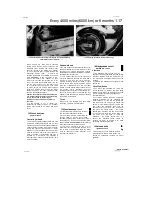
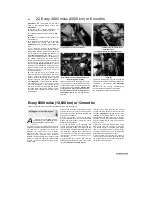
4 Freeplay adjustments can be made at the
upper end of the accelerator cable. Loosen the
locknut on the adjuster
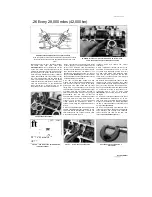
(see illustration).
Turn the
adjuster until the specified amount of freeplay is
obtained, then retighten the locknut. Turn the
adjuster clockwise to increase freeplay and anti-
clockwise to reduce it.
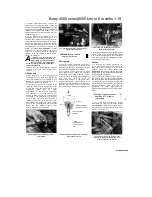
5 If the adjuster has reached its limit of
adjustment, reset it so that the freeplay is at a
maximum, then remove the fuel tank and air filter
housing (see Chapter 4) and adjust the accelerator
cable at the carburettor end. Slacken the adjuster
locknut, then screw the adjuster in or out until the
specified amount of freeplay is obtained, then
tighten the locknut
(see illustration).
Further
adjustments can now be made at the cable's
upper end. If the cable cannot be adjusted as
specified, renew the accelerator and decelerator
cables (see Chapter 4).
Warning: Turn the handlebars all
the way through their travel with the
engine idling. Idle speed should not
change. If It does, the cable may be
routed incorrectly. Correct this condition
before riding the bike.
6 Check that the throttle twistgrip operates
smoothly
and
snaps
shut
quickly
when
released.
Choke cable
7 If the choke does not operate smoothly this
is probably due to a cable fault. Remove the
cable (see Chapter 4) and lubricate it (see
Section 18). Install the cable, routing it so it
takes the smoothest route possible.
8 If this fails to improve the operation of the
choke, the cable must be renewed. Note that
in very rare cases the fault could lie in the
carburettors
rather
than
the
cable,
necessitating the removal of the carburettors
and inspection of the choke plungers (see
Chapter 4). Make sure there is a small amount
of freeplay in the cable before the plungers
move. If there isn't, check that the cable is
seating correctly at the carburettor end. If it is,
then slacken the choke outer cable bracket
screw on the carburettor and slide the cable
further
into
the
bracket,
creating
some
freeplay. Otherwise, renew the cable.
17.4 Slacken the locknut (A) and turn the
adjuster (B) as required
18 Stand,
lever pivots and
cables - lubrication
Pivot points
1
Since the controls, cables and various other
components of a motorcycle are exposed to the
elements, they should be lubricated periodically
to ensure safe and trouble-free operation.
2 The footrests, clutch and brake levers, brake
pedal, gearshift lever linkage and sidestand
pivots should be lubricated frequently. In order
for the lubricant to be applied where it will do the
most
good,
the
component
should
be
disassembled. However, if chain and cable
lubricant is being used, it can be applied to the
pivot joint gaps and will usually work its way into
the areas where friction occurs. If motor oil or
light grease is being used, apply it sparingly as it
A
- Cable
lubricated when
oil drips from far
end
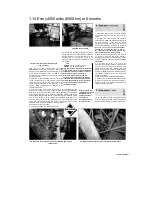
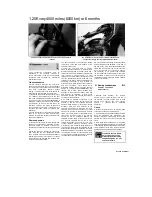
18.3b Lubricating a cable with a makeshift
funnel and motor oil
17.5 Slacken the locknut (A) and turn the
adjuster (B) as required
may attract dirt (which could cause the controls
to bind or wear at an accelerated rate).
Note:
One of the best lubricants for the control lever
pivots is a dry-film lubricant (available from many
sources by different names).
Cables
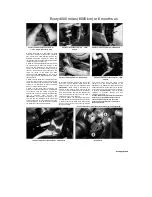
3 To lubricate the cables, disconnect the
relevant cable at its upper end, then lubricate the
cable with a cable oiler clamp, or if one is not
available,
using
the
set-up
shown
(see
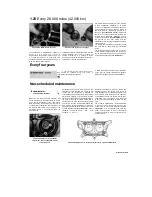
illustrations).
See Chapter 4 for the choke and
throttle cable removal procedures and Chapter 2
for the clutch cable procedure.
4 The speedometer cable should be removed
(see Chapter 9) and the inner cable withdrawn
from the outer cable and lubricated with motor oil
or cable lubricant. Do not lubricate the upper few
inches of the cable as the lubricant may travel up
into the instrument head. Note that the
speedometer
on
1999
TDM
models
is
electronically operated, and thus does not have a
cable.
19 Swingarm and suspension !$|
bearings (XTZ models) -
^
re-greasing
^
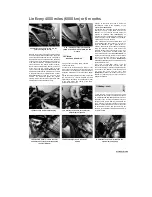
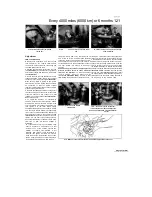
1 The swingarm and suspension linkage
components are equipped with grease nipples
(see illustration).
Clean off the nipples using a
rag, then apply some lithium-based grease to the
nipples using a grease gun.
1
Scaned by Stalker
A
18.3a Lubricating a cable with a cable
oiler clamp
I
Nipple
Plastic bag sealed
around outer cable
Cable suspended
vertically
19.1 Apply grease to the nipples on the
suspension linkage (arrowed) and to the
nipple on the swingarm pivot
Содержание XTZ750
Страница 174: ...UNREGISTERED VI ScanedbyStalker UNREGISTERED VI ...
Страница 207: ...Wiring diagrams 9 29 _____Scaned by Stalker 5 l 6o Cxj fi I JICM ...
Страница 208: ...UNREGISTERED VI 9 30 Wiring diagrams UNREGISTERED VERSION 01 ONREGISTEREDVI Scaned by Stalker ONREGISTERED VERSION 0 ...
Страница 209: ...I UNREGISTERED VI Wiring diagrams 9 31 ____ Scaned by Stalker UNREGISTERED VERSION OF PICTURE DESK ...
Страница 210: ...9 32 Wiring diagrams Scaned by Stalker ...
Страница 211: ...XTZ750 gauge Starter circuit Neutral Starter cut off relay switch rnotor ...

