Frame, suspension and final drive 6»9
7
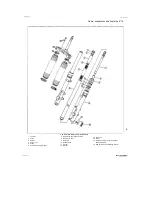
Top bolt
2
O-ring
3
Pre-load adjuster
4
Damping adjuster rod
5
Spring seat
6
Locknut
7
Spring
8
Damper
9
Fork tube
1
0
Bottom bush
1
1
Damper rod seat
1
2
Dust seal
1
3
Retaining clip
1
4
Oil seal
7
5
Washer
7
6
Top bush i
1
7
Fork slider 1
1
8
Sealing washer
1
9
Damper rod bolt J^_
7 Forks
- disassembly,
j^
inspection and reassembly X
1991 to 199S TDM models
Disassembly
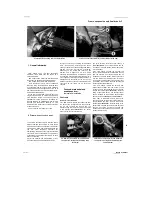
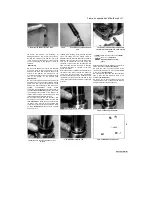
1
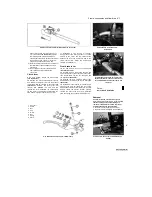
Always dismantle the fork legs separately to
avoid interchanging parts and thus causing an
accelerated rate of wear. Store all
components in separate, clearly marked
containers
(see illustration).
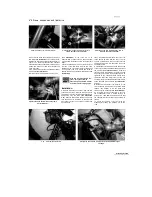
2
Before dismantling the fork, it is advised
that the damper rod bolt be slackened at this
stage. Compress the fork tube in the slider so
that the spring exerts maximum pressure on
the damper rod head, then have an assistant
slacken the damper rod bolt in the base of the
fork slider
(see illustration).
3
If the fork top bolt was not slackened with
the fork in situ, carefully clamp the fork tube in
a vice equipped with soft jaws, taking care not
to overtighten or score its surface, and
slacken the top bolt.
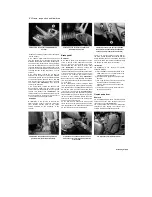
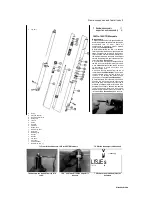
4 Unscrew the fork top bolt from the top of
the fork tube
(see illustration).
The bolt can
remain threaded on the pre-load adjuster, but
remove it by holding the adjuster and
unscrewing it if required
(see illustration).
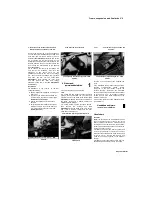
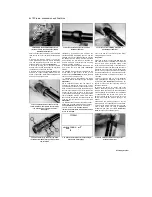
5
Carefully clamp the fork slider in a vice and
slide the fork tube down into the slider a little
way (wrap a rag around the top of the tube to
minimise oil spillage) while, with the aid of an
assistant if necessary, keeping the damper
rod fully extended. Counter-hold the pre-load
adjuster and thread the locknut to the base of
its threads
(see illustration).
Now counter-
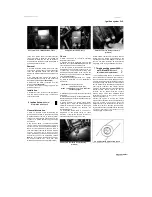
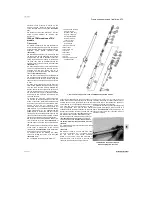
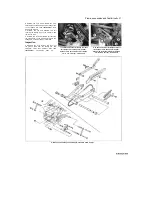
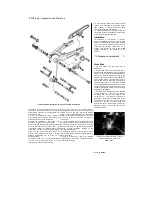
7.1 Front fork components -1991 to 1995 TDM models
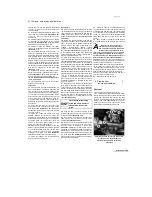
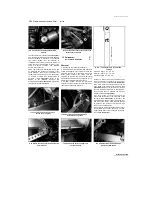
7.2 Slacken the damper rod Allen bolt
v
Lf.
^""SSSSSSgj
If
LfSJEs
^il
*^f
5
K
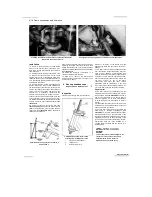
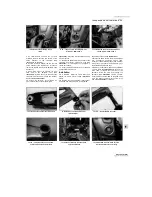
7.4a Unscrew the top bolt from the fork
7.4b ... and thread it off the adjuster if
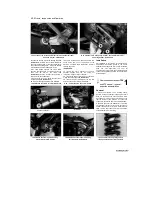
7.5 Remove the pre-load adjuster as
tube...
required
described
Staned by Stalker
Содержание XTZ750
Страница 174: ...UNREGISTERED VI ScanedbyStalker UNREGISTERED VI ...
Страница 207: ...Wiring diagrams 9 29 _____Scaned by Stalker 5 l 6o Cxj fi I JICM ...
Страница 208: ...UNREGISTERED VI 9 30 Wiring diagrams UNREGISTERED VERSION 01 ONREGISTEREDVI Scaned by Stalker ONREGISTERED VERSION 0 ...
Страница 209: ...I UNREGISTERED VI Wiring diagrams 9 31 ____ Scaned by Stalker UNREGISTERED VERSION OF PICTURE DESK ...
Страница 210: ...9 32 Wiring diagrams Scaned by Stalker ...
Страница 211: ...XTZ750 gauge Starter circuit Neutral Starter cut off relay switch rnotor ...

