


Chapter 3: Initial Installation and Configuration
31
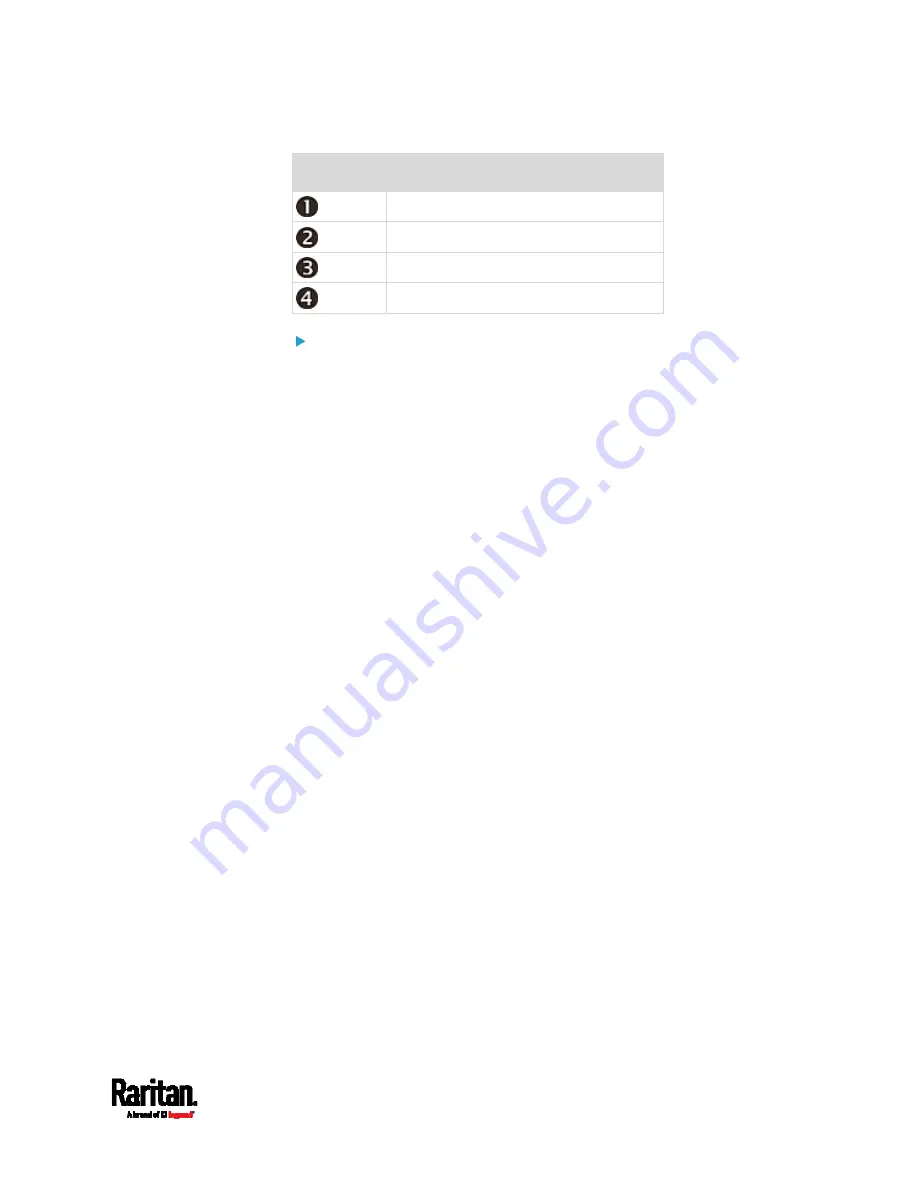
Number
Device role
Master device
Slave 1
Slave 2
Slave 3
To cascade PX3TS devices via USB:
1.
Make sure all Raritan devices are running firmware version 3.3.10 or
later.
2.
Choose the appropriate one as the master device.
When the Port Forwarding mode over "wireless LAN" is intended,
the master device must be a Raritan product with two USB-A
ports, such as PX3, EMX2-888, PX3TS or BCM2.
3.
Log in to all devices one by one and select the same cascading mode.
Bridging mode:
Set the cascading mode of all devices to Bridging.
Port Forwarding mode:
Set the cascading mode of all devices to Port Forwarding. Make
sure the cascading role and downstream interface are also set
correctly.
See
Setting the Cascading Mode
(on page 282).
4.
Connect the master device to the LAN, using a method below.
Bridging mode:
Use a standard network patch cable (CAT5e or higher).
Port Forwarding mode:
Use a standard network patch cable and/or a Raritan USB WIFI
wireless LAN adapter. For information on the Raritan USB WIFI
adapter, see
USB Wireless LAN Adapters
(on page 17).
5.
Connect the USB-A port of the master device to the USB-B port of an
additional PX3TS via a USB cable. This additional device is Slave 1.
6.
Connect Slave 1's USB-A port to the USB-B port of an additional
PX3TS via another USB cable. The second additional device is Slave
2.
7.
Repeat the same step to connect more slave devices. You can
cascade up to 15 slave devices.
8.
(Optional) Configure or change the network settings of the master
and/or slave devices as needed. See
Configuring Network Settings
(on page 269).
Содержание PX3TS
Страница 5: ......
Страница 16: ...Contents xvii Index 807...
Страница 83: ...Chapter 4 Connecting External Equipment Optional 59 A DPX2 sensor package A DPX sensor package...
Страница 85: ...Chapter 4 Connecting External Equipment Optional 61...
Страница 754: ...Appendix H RADIUS Configuration Illustration 730 Note If your PX3TS uses PAP then select PAP...
Страница 755: ...Appendix H RADIUS Configuration Illustration 731 10 Select Standard to the left of the dialog and then click Add...
Страница 756: ...Appendix H RADIUS Configuration Illustration 732 11 Select Filter Id from the list of attributes and click Add...
Страница 759: ...Appendix H RADIUS Configuration Illustration 735 14 The new attribute is added Click OK...
Страница 760: ...Appendix H RADIUS Configuration Illustration 736 15 Click Next to continue...
Страница 792: ...Appendix I Additional PX3TS Information 768...
Страница 816: ...Appendix I Additional PX3TS Information 792 11 To print the currently selected topic click the Print this page icon...
Страница 820: ...Appendix J Integration 796 3 Click OK...