


Chapter 6: Using the Web Interface
428
Rebooting the PX3TS Device
You can remotely reboot the PX3TS device via the web interface.
Resetting the PX3TS does not interrupt the operation of connected
servers because there is no loss of power to outlets. During and after the
reboot, outlets that have been powered on prior to the reboot remain
powered on, and outlets that have been powered off remain powered off.
Warning: Rebooting the PX3TS deletes all webcam snapshots that are
saved on the PX3TS locally. If needed, download important snapshots
before rebooting the device. See
Viewing and Managing
Locally-Saved Snapshots
(on page 437).
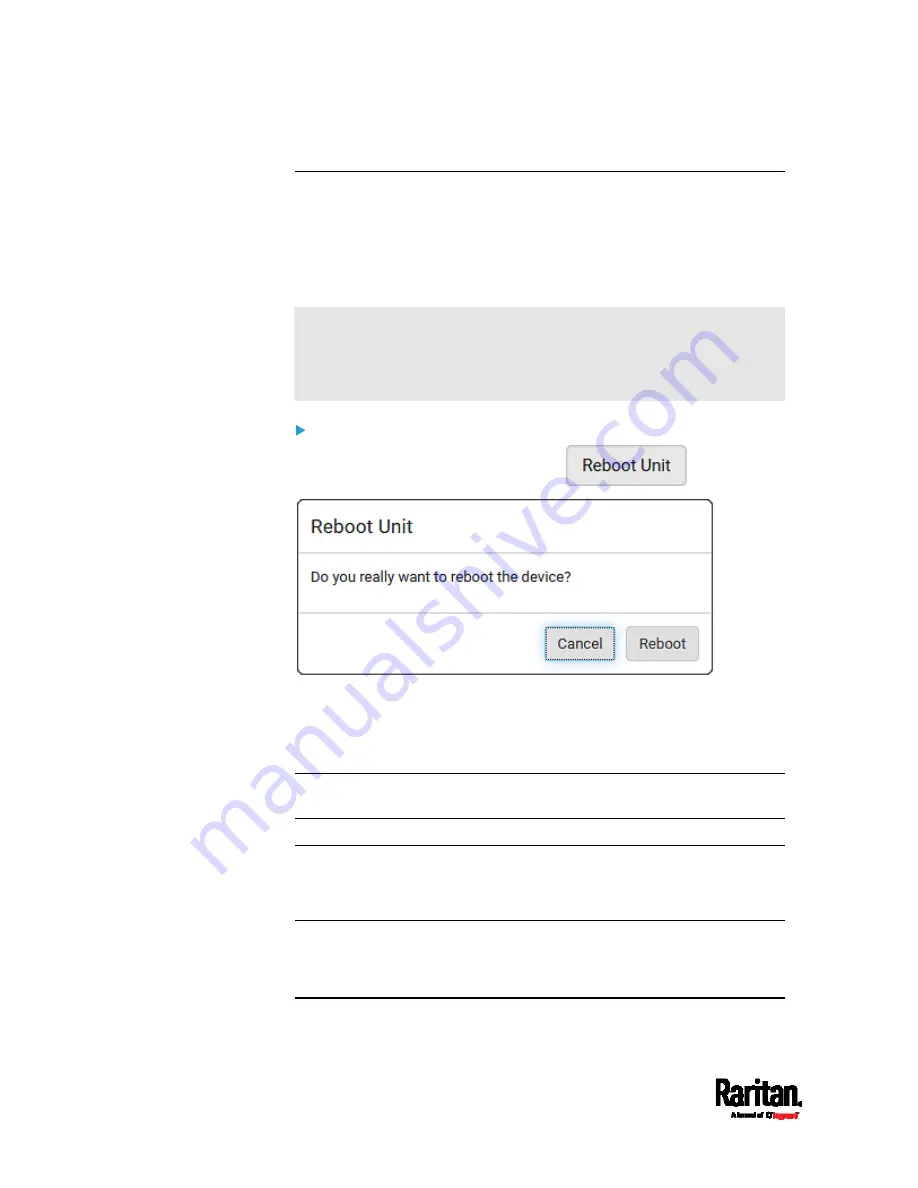
To reboot the device:
1.
Choose Maintenance > Unit Reset >
.
2.
Click Reboot to restart the PX3TS.
3.
A message appears, with a countdown timer showing the remaining
time of the operation. It takes about one minute to complete.
4.
When the restart is complete, the login page opens.
Note: If you are not redirected to the login page after the restart is
complete, click the text "this link" in the countdown message.
Resetting All Settings to Factory Defaults
You must have the Administrator Privileges to reset all settings of the
PX3TS to factory defaults.
Important: Exercise caution before resetting the PX3TS to its factory
defaults. This erases existing information and customized settings,
such as user profiles, threshold values, and so on. Only active
energy data and firmware upgrade history are retained.
Содержание PX3TS
Страница 5: ......
Страница 16: ...Contents xvii Index 807...
Страница 83: ...Chapter 4 Connecting External Equipment Optional 59 A DPX2 sensor package A DPX sensor package...
Страница 85: ...Chapter 4 Connecting External Equipment Optional 61...
Страница 754: ...Appendix H RADIUS Configuration Illustration 730 Note If your PX3TS uses PAP then select PAP...
Страница 755: ...Appendix H RADIUS Configuration Illustration 731 10 Select Standard to the left of the dialog and then click Add...
Страница 756: ...Appendix H RADIUS Configuration Illustration 732 11 Select Filter Id from the list of attributes and click Add...
Страница 759: ...Appendix H RADIUS Configuration Illustration 735 14 The new attribute is added Click OK...
Страница 760: ...Appendix H RADIUS Configuration Illustration 736 15 Click Next to continue...
Страница 792: ...Appendix I Additional PX3TS Information 768...
Страница 816: ...Appendix I Additional PX3TS Information 792 11 To print the currently selected topic click the Print this page icon...
Страница 820: ...Appendix J Integration 796 3 Click OK...


