


Chapter 8: Using the Command Line Interface
629
Specifying the Rack Unit Numbering Offset
This command syntax specifies the starting number of rack units on the
asset strips connected to the PX3TS device.
config:#
assetStrip <n> rackUnitNumberingOffset <number>
Variables:
<n> is the number of the FEATURE port where the selected asset
strip is physically connected. For the PX3TS device with only one
FEATURE port, the number is always 1.
<number> is a starting number for numbering rack units on the
connected asset strip. This value is an integer number.
Specifying the Asset Strip Orientation
This command syntax specifies the orientation of the asset strips
connected to the PX3TS device. Usually you do not need to perform this
command unless your asset strips do NOT come with the tilt sensor,
causing the PX3TS unable to detect the asset strips' orientation.
config:#
assetStrip <n> assetStripOrientation <orientation>
Variables:
<n> is the number of the FEATURE port where the selected asset
strip is physically connected. For the PX3TS device with only one
FEATURE port, the number is always 1.
<orientation> is one of the options:
topConnector or
bottomConnector.
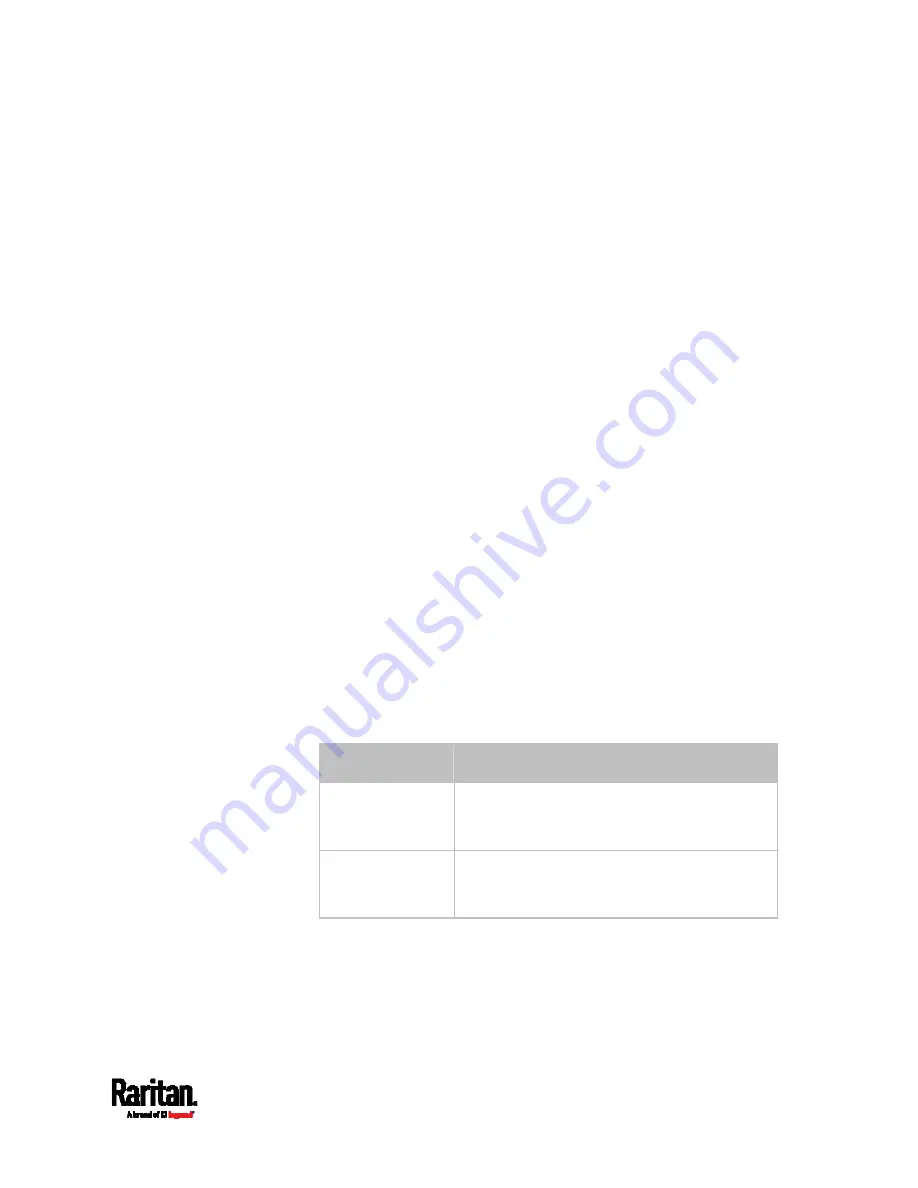
Orientation
Description
topConnector
This option indicates that the asset sensor is
mounted with the RJ-45 connector located on
the top.
bottomConnector
This option indicates that the asset sensor is
mounted with the RJ-45 connector located at
the bottom.
Содержание PX3TS
Страница 5: ......
Страница 16: ...Contents xvii Index 807...
Страница 83: ...Chapter 4 Connecting External Equipment Optional 59 A DPX2 sensor package A DPX sensor package...
Страница 85: ...Chapter 4 Connecting External Equipment Optional 61...
Страница 754: ...Appendix H RADIUS Configuration Illustration 730 Note If your PX3TS uses PAP then select PAP...
Страница 755: ...Appendix H RADIUS Configuration Illustration 731 10 Select Standard to the left of the dialog and then click Add...
Страница 756: ...Appendix H RADIUS Configuration Illustration 732 11 Select Filter Id from the list of attributes and click Add...
Страница 759: ...Appendix H RADIUS Configuration Illustration 735 14 The new attribute is added Click OK...
Страница 760: ...Appendix H RADIUS Configuration Illustration 736 15 Click Next to continue...
Страница 792: ...Appendix I Additional PX3TS Information 768...
Страница 816: ...Appendix I Additional PX3TS Information 792 11 To print the currently selected topic click the Print this page icon...
Страница 820: ...Appendix J Integration 796 3 Click OK...


