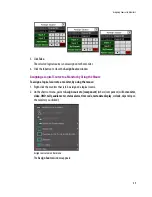


Setting a Display Monitor’s Output Resolution
59
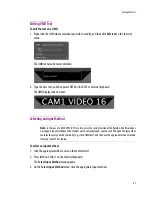
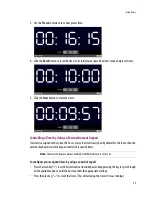
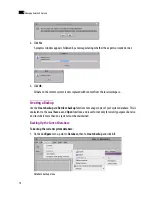
current display (see “Calibrating the Audio Monitoring Color” on page 104), showing that someone is
listening at this specific display:
If multiple users are listening to the same audio source at the same time, then the indicator will show
one color only: (1) the color associated with a display in the same room (2) the color associated with
the display at the monitoring output that was enabled last in the room.
Controlling the Audio Monitoring Volume from the RCP2
• Adjust the audio volume for your assigned monitoring output by using the up and down volume
buttons on the RCP2.
• Mute the audio by pressing the Mute button on the RCP2.
• Attenuate the volume by 20 dB by pressing the -20 dB button on the RCP2.
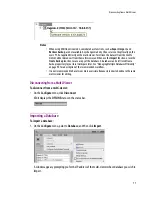
Triggering Audio Monitoring by Using an Action
To trigger audio monitoring, by using an action:
•
Create a
Monitor audio
action, for the audio source you wish to monitor. This action can be assigned to
a monitor on the monitor wall, or it can be a background action. See “Creating Actions” on page 237
for details.
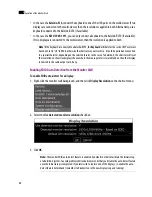
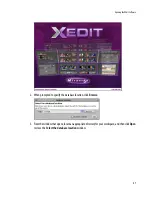
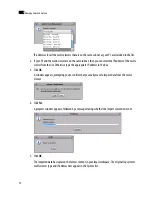
Setting a Display Monitor’s Output Resolution
It is possible to configure a display’s output resolution from the monitor wall. This is useful if you don’t have
access to another computer. If there is no output on a display, you can reset the output resolution to
1280 × 1024 @ 60 Hz, by using a keyboard shortcut: hold down the Ctrl and Alt keys, and then press R.
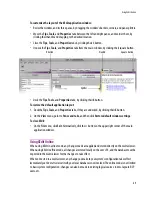
• In the case of a
Kaleido-X
, connect the keyboard to a USB port on the output card associated with the
display. If two displays are connected to this output card, then the resolution is applied to both.
Alternatively, use a keyboard connected to the Kaleido-RCP2.
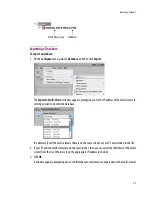
Note:
All audio and video monitors are configured by default, with a
Monitor audio
action triggered by
a single click.
Audio monitoring indicator
Содержание Kaleido-X
Страница 1: ...Kaleido X User s Manual Part Number M770 2800 111 1 June 2011 ...
Страница 8: ...viii toc ...
Страница 33: ...Loading a Layout 25 Kaleido X16 ...
Страница 34: ...26 Getting Started 2 Kaleido X 4RU ...
Страница 152: ...144 Creating Logical Sources 7 ...
Страница 178: ...170 Setting Up Rooms 8 ...
Страница 244: ...236 Creating Layouts 9 ...
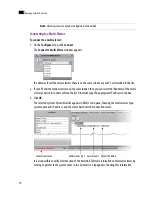
Страница 253: ...Detailed Directions 245 3 Under Properties General type a Friendly name for the Action ...
Страница 256: ...248 Creating Actions 10 ...
Страница 272: ...264 Managing Kaleido RCP2 Users 11 ...
Страница 348: ...340 Tally Interface Devices 13 ...
Страница 350: ......
Страница 352: ...344 Using the Serial to TCP IP Dispatcher 15 ...
Страница 406: ...398 Index ...