


Configuring Timers
213
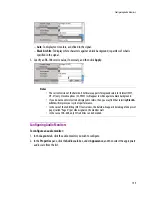
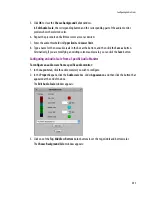
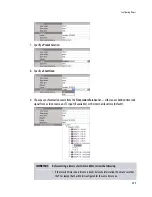
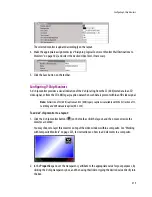
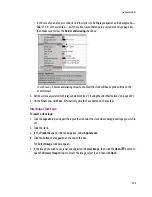
9. To attach an action to the timer, click the button beside
Mouse click
:
The
Action Editor
window appears.
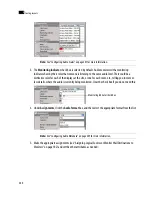
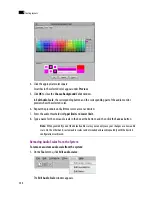
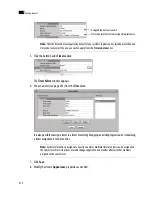
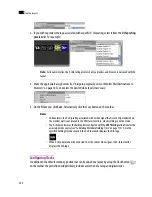
10. Drag an action from the left pane to the middle pane, then specify the action’s behavior in the right
pane:
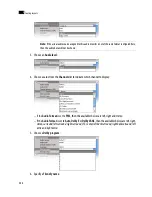
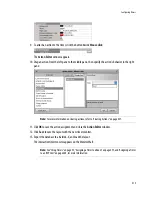
11. Click
OK
to save the action assignment and close the
Action Editor
window.
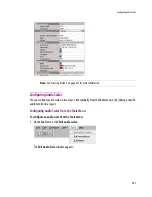
12. Click
Save
to save the layout with the new timer monitor.
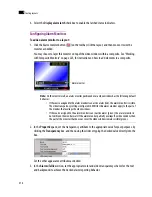
13. Export the database to a Kaleido-X, and load the layout.
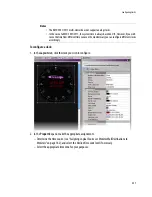
The interactive timer monitor appears on the Monitor Wall.
Note:
For more information on creating actions, refer to “Creating Actions” on page 237.
Note:
See “Using Timers” on page 53, “Assigning a Timer to a Room” on page 255, and “Assigning a Timer
to an RCP User” on page 260, for more information.
Содержание Kaleido-X
Страница 1: ...Kaleido X User s Manual Part Number M770 2800 111 1 June 2011 ...
Страница 8: ...viii toc ...
Страница 33: ...Loading a Layout 25 Kaleido X16 ...
Страница 34: ...26 Getting Started 2 Kaleido X 4RU ...
Страница 152: ...144 Creating Logical Sources 7 ...
Страница 178: ...170 Setting Up Rooms 8 ...
Страница 244: ...236 Creating Layouts 9 ...
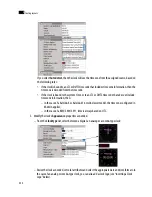
Страница 253: ...Detailed Directions 245 3 Under Properties General type a Friendly name for the Action ...
Страница 256: ...248 Creating Actions 10 ...
Страница 272: ...264 Managing Kaleido RCP2 Users 11 ...
Страница 348: ...340 Tally Interface Devices 13 ...
Страница 350: ......
Страница 352: ...344 Using the Serial to TCP IP Dispatcher 15 ...
Страница 406: ...398 Index ...