


Configuring Clocks
223
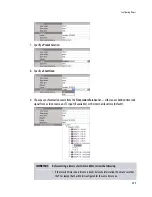
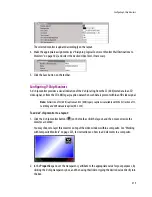
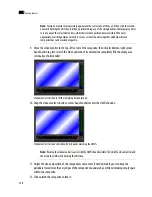
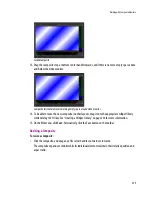
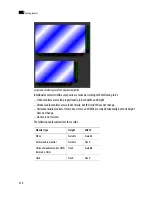
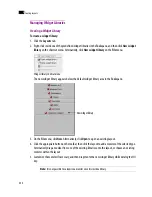
– In the case of an analog or combo clock, if the clock is to be displayed against a pink background—
RGB (255, 0, 255) or similar—, or if the current layout belongs to a cascade room (see page 65),
then make sure to clear the
Border antialiasing
check box:
In such cases, if border antialiasing remains enabled, the clock will have a pink outline on the
monitor wall.
4. Define actions associated to this layout element (see “Creating Monitor Wall Actions” on page 239).
5. On the
File
menu, click
Save
. Alternatively, click the Save button on the toolbar.
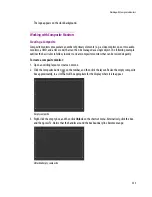
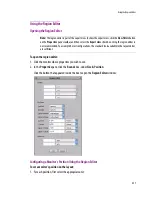
Inserting a Clock Logo
To insert a clock logo:
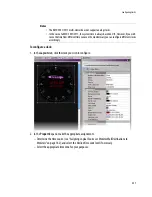
1. Click the
Layouts
tab, and open the layout that contains the clock whose background logo you wish to
set.
2. Click the clock.
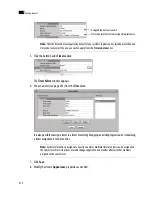
3. In the
Properties
pane, click the
Logo
box, under
Appearance
.
4. Click the button that appeared at the end of the box.
The
Select Image
window appears.
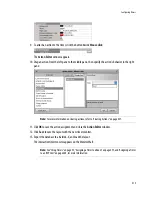
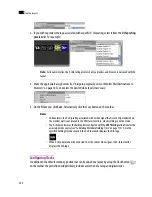
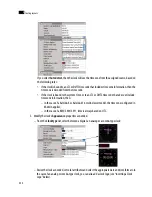
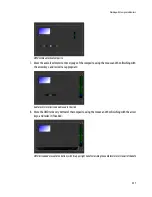
5. If the image you wish to use is not already listed in
Select Image
, then click the
Open
button
to
open the
Browse Image
window. Locate the image, select it, and then click
Open
:
Содержание Kaleido-X
Страница 1: ...Kaleido X User s Manual Part Number M770 2800 111 1 June 2011 ...
Страница 8: ...viii toc ...
Страница 33: ...Loading a Layout 25 Kaleido X16 ...
Страница 34: ...26 Getting Started 2 Kaleido X 4RU ...
Страница 152: ...144 Creating Logical Sources 7 ...
Страница 178: ...170 Setting Up Rooms 8 ...
Страница 244: ...236 Creating Layouts 9 ...
Страница 253: ...Detailed Directions 245 3 Under Properties General type a Friendly name for the Action ...
Страница 256: ...248 Creating Actions 10 ...
Страница 272: ...264 Managing Kaleido RCP2 Users 11 ...
Страница 348: ...340 Tally Interface Devices 13 ...
Страница 350: ......
Страница 352: ...344 Using the Serial to TCP IP Dispatcher 15 ...
Страница 406: ...398 Index ...