


36
Operation of the Monitor Wall
3
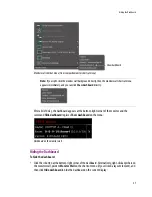
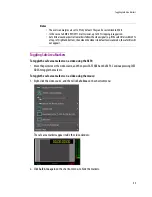
8. When prompted, type the password for this user name, then press ENTER.
The message “Access granted” will appear on the LCD display if the login is successful. If a mouse is
connected to the RCP2, then you should be able to see and move the mouse pointer on the monitor
wall. Alternatively, use the RCP2’s mouse-function keys.
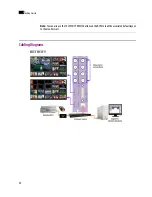
For more information on the Kaleido-RCP2, please refer to the
Kaleido-RCP2 Guide to Installation and
Operation
, available on the DVD that shipped with your system.
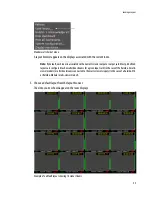
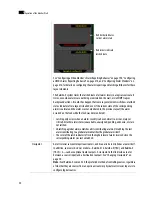
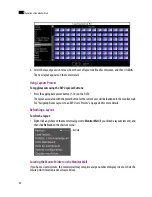
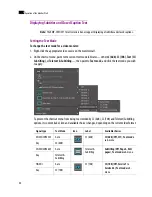
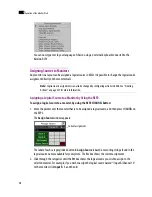
Displaying the Dashboard
Whenever your Kaleido-X detects an error, it will automatically display the dashboard on every monitor of
the monitor wall. When all errors are resolved, then the system automatically closes the dashboard on
every monitor. You can also display the dashboard as needed, to view the Kaleido-X system name, IP
address, software version and current error messages. In such cases you must close the dashboard
manually.
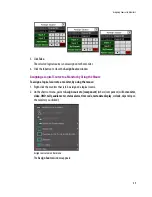
To display the dashboard:
1. Right-click anywhere on a monitor. On the shortcut menu, point to
Monitor Wall
, and then click
Show
dashboard
to display the dashboard associated with the current head:
Note:
By default, the user name “Admin” has no password.
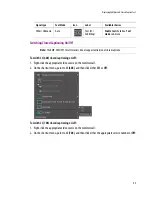
Notes
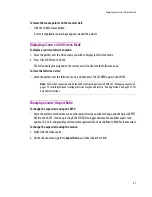
• If at any time the message “Target system is offline” or “No login list available” appears on the
LCD display, press the ESC, ENTER and DEL keys simultaneously and go back to step 1.
• If the room you were logged on to is part of a cluster system, try accessing it from a different
multi-viewer (e.g. select KX2/ROOM1 instead of KX1/ROOM1, from the room list).
• The pointer may flicker when two RCP users access displays fed by the same output card.
• Two users accessing the same display will be limited to sharing a single pointer.
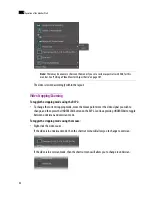
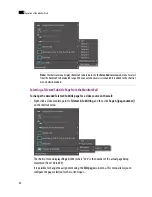
Note:
It is possible to disable the automatic display of the dashboard on specific displays. See “Disabling
the Dashboard” on page 166 for details on how to configure this option.
Содержание Kaleido-X
Страница 1: ...Kaleido X User s Manual Part Number M770 2800 111 1 June 2011 ...
Страница 8: ...viii toc ...
Страница 33: ...Loading a Layout 25 Kaleido X16 ...
Страница 34: ...26 Getting Started 2 Kaleido X 4RU ...
Страница 152: ...144 Creating Logical Sources 7 ...
Страница 178: ...170 Setting Up Rooms 8 ...
Страница 244: ...236 Creating Layouts 9 ...
Страница 253: ...Detailed Directions 245 3 Under Properties General type a Friendly name for the Action ...
Страница 256: ...248 Creating Actions 10 ...
Страница 272: ...264 Managing Kaleido RCP2 Users 11 ...
Страница 348: ...340 Tally Interface Devices 13 ...
Страница 350: ......
Страница 352: ...344 Using the Serial to TCP IP Dispatcher 15 ...
Страница 406: ...398 Index ...