


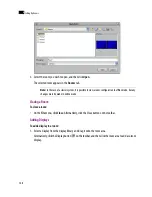


Adding a Logical Source
137
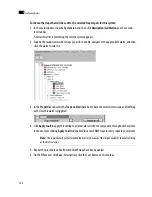
2. On the
File
menu, click
New
.
Alternatively right-click the
Channels/Sources
column heading, and then click
Add channel
on the
shortcut menu.
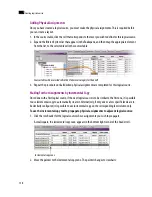
A logical source is added at the bottom of the sources table.
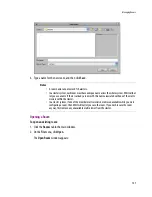
3. On the
File
menu, click
Save
. Alternatively, click the Save button on the toolbar.
The sources table is saved.
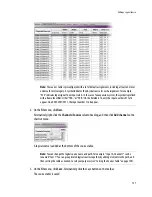
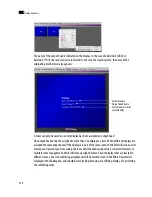
Note:
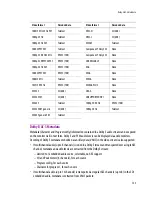
The sources table is preconfigured with a set of default assignments, including at least one level
under each level category. A symbol indicates the physical source for each assignment: for example,
“A16” indicates input signal 16 on input card A. In the case of an expansion system, the symbol is prefixed
with a frame identifier: either “FRA-” or “FRB-”. On the Kaleido-X16, only the input numbers 01 to 16
appear. On a KVM-3901/3911, the input number 1 to 8 appear.
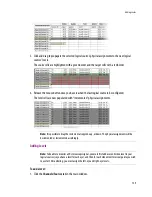
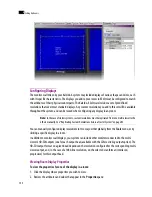
Note:
You can change the logical source name and path. For example, “Input A, Channel 1” can be
renamed “Cam 1”. You can group related logical sources together, by adding elements to the path, and
then sorting the table as needed, to suit your purposes (see “Sorting the Sources Table” on page 140).
Содержание Kaleido-X
Страница 1: ...Kaleido X User s Manual Part Number M770 2800 111 1 June 2011 ...
Страница 8: ...viii toc ...
Страница 33: ...Loading a Layout 25 Kaleido X16 ...
Страница 34: ...26 Getting Started 2 Kaleido X 4RU ...
Страница 152: ...144 Creating Logical Sources 7 ...
Страница 178: ...170 Setting Up Rooms 8 ...
Страница 244: ...236 Creating Layouts 9 ...
Страница 253: ...Detailed Directions 245 3 Under Properties General type a Friendly name for the Action ...
Страница 256: ...248 Creating Actions 10 ...
Страница 272: ...264 Managing Kaleido RCP2 Users 11 ...
Страница 348: ...340 Tally Interface Devices 13 ...
Страница 350: ......
Страница 352: ...344 Using the Serial to TCP IP Dispatcher 15 ...
Страница 406: ...398 Index ...