


48
Operation of the Monitor Wall
3
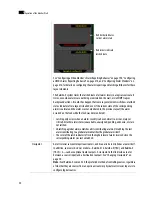
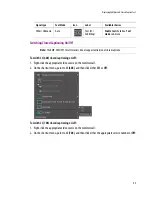
You can now type text in your language of choice, using an external keyboard connected to the
Kaleido-RCP2.
Assigning Sources to Monitors
Any monitor in a layout can be assigned a logical source in XEdit. It is possible to change the logical source
assignment directly on the monitor wall.
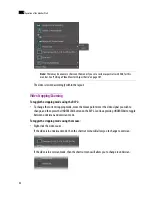
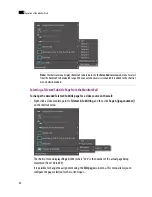
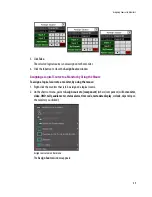
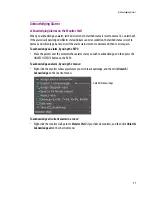
Assigning a Logical Source to a Monitor by Using the RCP2
To assign a logical source to a monitor, by using the RCP2 CHANNEL button:
1. Move the pointer over the monitor that is to be assigned a logical source, and then press CHANNEL on
the RCP2.
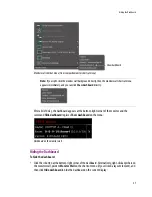
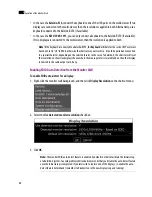
The
Assign Source
window appears:
The label of each category/index button in
Assign Source
is based on recurring strings found in the
logical source names available for your system. The
Src
box shows the current assignment.
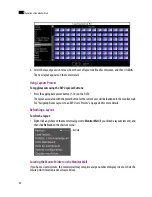
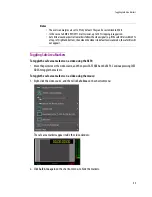
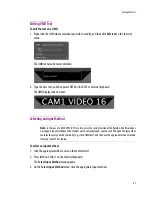
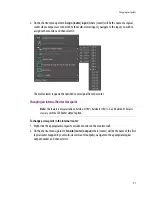
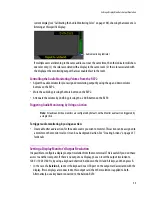
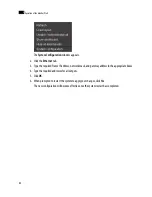
2. Click through the categories until the
Pst
box shows the logical source you wish to assign to the
selected monitor. For example, if you wish to assign the logical source named “/Input B/Channel 16”
to the monitor, click
Input B
,
1
, and then
6
:
Note:
Logical source assignments can also be changed by configuring actions in XEdit. See “Creating
Actions” on page 237 for more information.
Current assignment
Содержание Kaleido-X
Страница 1: ...Kaleido X User s Manual Part Number M770 2800 111 1 June 2011 ...
Страница 8: ...viii toc ...
Страница 33: ...Loading a Layout 25 Kaleido X16 ...
Страница 34: ...26 Getting Started 2 Kaleido X 4RU ...
Страница 152: ...144 Creating Logical Sources 7 ...
Страница 178: ...170 Setting Up Rooms 8 ...
Страница 244: ...236 Creating Layouts 9 ...
Страница 253: ...Detailed Directions 245 3 Under Properties General type a Friendly name for the Action ...
Страница 256: ...248 Creating Actions 10 ...
Страница 272: ...264 Managing Kaleido RCP2 Users 11 ...
Страница 348: ...340 Tally Interface Devices 13 ...
Страница 350: ......
Страница 352: ...344 Using the Serial to TCP IP Dispatcher 15 ...
Страница 406: ...398 Index ...