


Managing Rooms
151
Adding Full Screen Zones
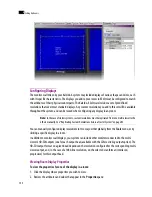
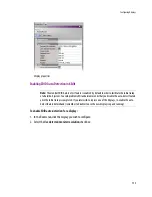
To add a full screen zone to a room:
1. Click the Full screen zone button
on the toolbar, and then click the room area to create the full
screen zone.
2. Position and resize the zone as appropriate.
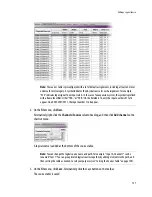
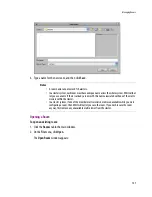
3. In the
Properties
tab, click the
Friendly name
box, and then type a name for the zone:
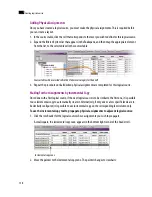
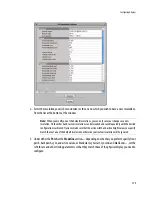
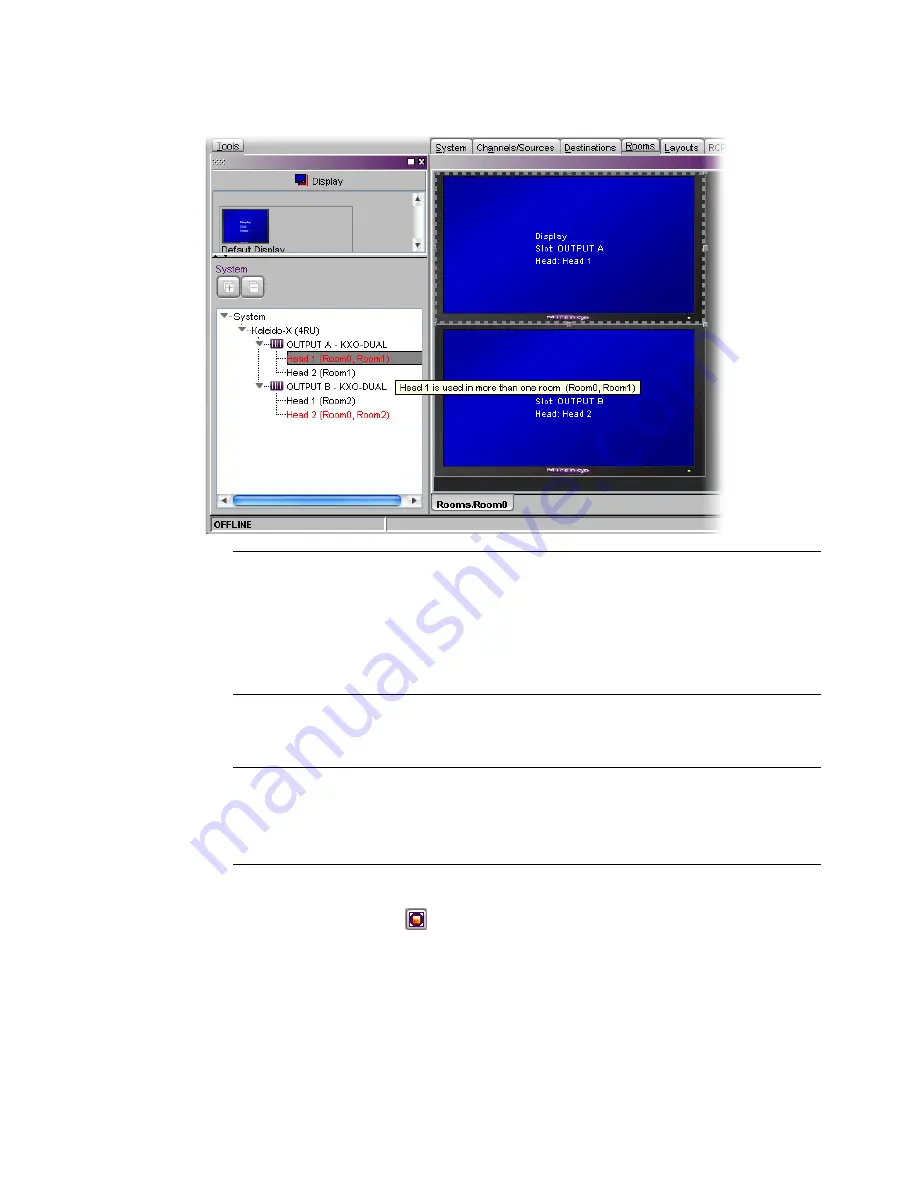
Note:
In a cluster system where rooms and layouts have been created based on configurations from
earlier standalone systems, the dashboard may show the wrong room name (from one of the earlier
standalone configurations). To prevent this from happening, open the old room configuration, and look
for red
Head
elements in the filtered System list that appears at the bottom of the
Tools
pane. Clear the
unwanted head assignments, either by removing the corresponding displays from the room layout, or by
completely deleting the old room configuration if you do not need it anymore.
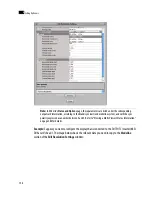
Notes
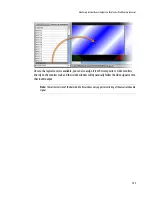
• Adding full screen zones to a room is optional.
• Do not span a full screen zone across more than one display; use spanned video monitors
instead. See “Spanning” on page 178 for more information.
Содержание Kaleido-X
Страница 1: ...Kaleido X User s Manual Part Number M770 2800 111 1 June 2011 ...
Страница 8: ...viii toc ...
Страница 33: ...Loading a Layout 25 Kaleido X16 ...
Страница 34: ...26 Getting Started 2 Kaleido X 4RU ...
Страница 152: ...144 Creating Logical Sources 7 ...
Страница 178: ...170 Setting Up Rooms 8 ...
Страница 244: ...236 Creating Layouts 9 ...
Страница 253: ...Detailed Directions 245 3 Under Properties General type a Friendly name for the Action ...
Страница 256: ...248 Creating Actions 10 ...
Страница 272: ...264 Managing Kaleido RCP2 Users 11 ...
Страница 348: ...340 Tally Interface Devices 13 ...
Страница 350: ......
Страница 352: ...344 Using the Serial to TCP IP Dispatcher 15 ...
Страница 406: ...398 Index ...