


Managing Layouts
177
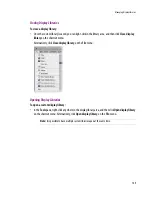
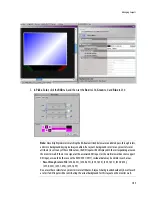
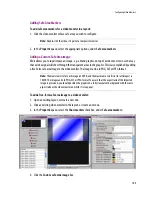
3. Click the name of the full screen zone in which this layout will be displayed.
An empty layout area appears.
4. Add at least one monitor to the layout (see “Adding Monitors to a Layout” on page 178).
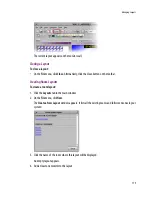
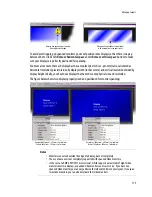
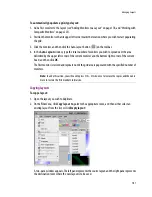
If the full screen layout includes more than one composite monitor, you can designate one of them who
will receive its source assignments from the monitor under the mouse pointer on the monitor wall, by
selecting the
Full screen layout monitor
option in the
Properties
pane:
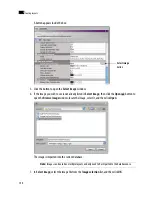
Make the appropriate assignments for the other elements in the layout (see “Assigning Logical Sources
or Monitor Wall Destinations to Monitors” on page 182).
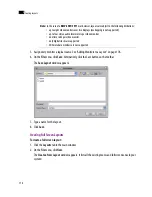
5. On the
File
menu, click
Save
. Alternatively, click the Save button on the toolbar.
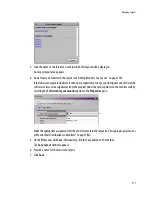
The
Save Layout
window appears.
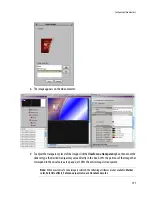
6. Provide a name for the full screen layout.
7. Click
Save
.
Содержание Kaleido-X
Страница 1: ...Kaleido X User s Manual Part Number M770 2800 111 1 June 2011 ...
Страница 8: ...viii toc ...
Страница 33: ...Loading a Layout 25 Kaleido X16 ...
Страница 34: ...26 Getting Started 2 Kaleido X 4RU ...
Страница 152: ...144 Creating Logical Sources 7 ...
Страница 178: ...170 Setting Up Rooms 8 ...
Страница 244: ...236 Creating Layouts 9 ...
Страница 253: ...Detailed Directions 245 3 Under Properties General type a Friendly name for the Action ...
Страница 256: ...248 Creating Actions 10 ...
Страница 272: ...264 Managing Kaleido RCP2 Users 11 ...
Страница 348: ...340 Tally Interface Devices 13 ...
Страница 350: ......
Страница 352: ...344 Using the Serial to TCP IP Dispatcher 15 ...
Страница 406: ...398 Index ...