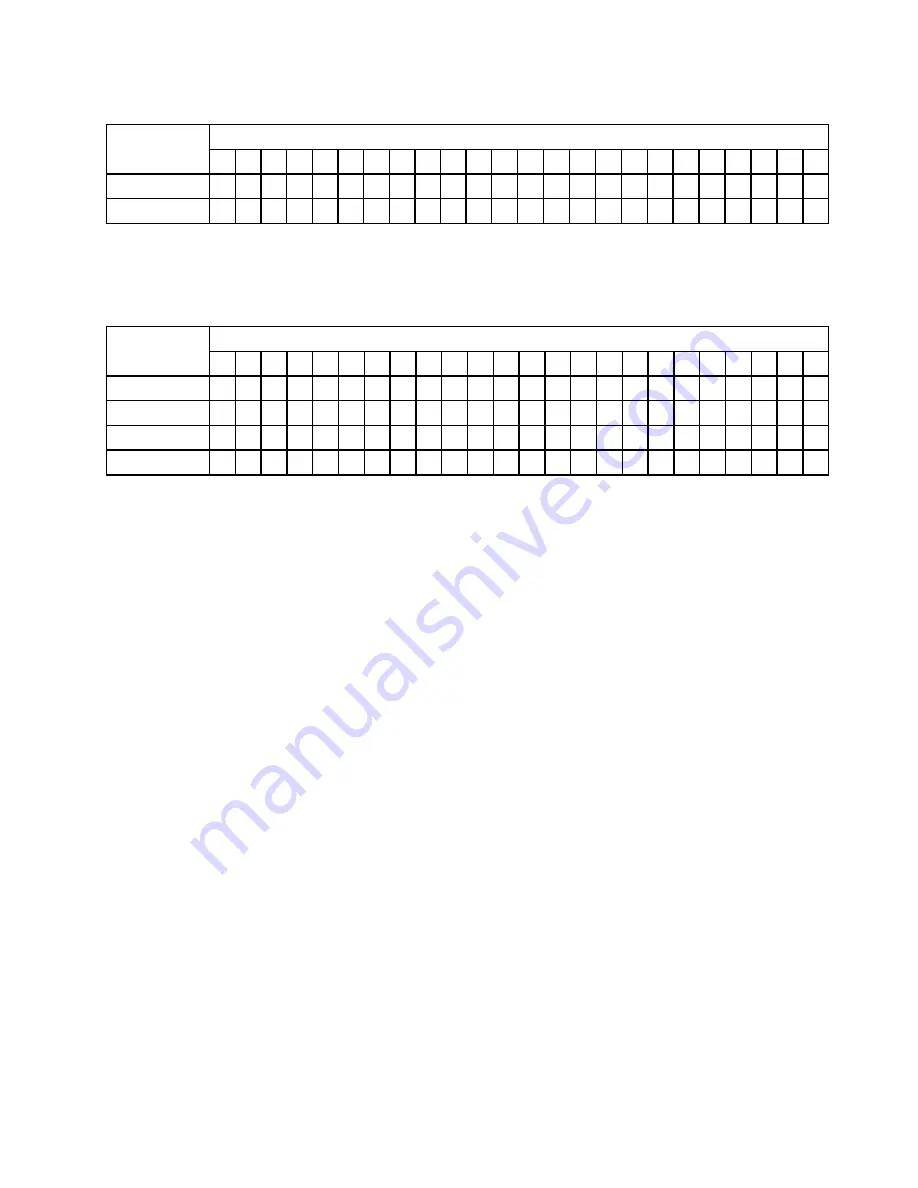
Table 15. System memory configuration for power saving (uses a maximum of 8 DIMMs) (continued)
Installed
memory
DIMM connector
1
2
3
4
5
6
7
8
9
10 11 12 13 14 15 16 17 18 19 20 21 22 23 24
6 DIMMs
X
X
X
X
X
X
8 DIMMs
X
X
X
X
X
X
X
X
Table 16. System memory configuration for mirroring with power savings (uses a maximum of 16 DIMMs)
This configuration mirrors the DIMMs in DIMM Grouping A with the DIMMs in DIMM Grouping B.
Note:
Mirroring is supported between DIMM pairs.
Installed
memory
DIMM connector
1
2
3
4
5
6
7
8
9
10 11 12 13 14 15 16 17 18 19 20 21 22 23 24
4 DIMMs
X
X
X
X
8 DIMMs
X
X
X
X
X
X
X
X
12 DIMMs
X
X
X
X
X
X
X
X
X
X
X
X
16 DIMMs
X
X
X
X
X
X
X
X
X
X
X
X
X
X
X
X
DIMM installation procedure
To install a DIMM, complete the following steps:
Step 1. Before you begin, read “Safety” on page v and “Installation guidelines” on page 65.
Step 2. Read the documentation that comes with the DIMMs.
Step 3. If the IBM MAX5 expansion blade is installed on an BladeCenter HX5 blade server that is installed in
a BladeCenter chassis:
a. Remove the blade server from the chassis (see “Removing the blade server from the
BladeCenter chassis” on page 66 for instructions).
b. If an optional expansion unit is installed, remove the expansion unit (see “Removing an
expansion unit” on page 96 for instructions).
c. Remove the IBM MAX5 expansion blade (see “Removing an IBM MAX5 expansion blade” on
page 87 for instructions).
Step 4. Carefully lay the expansion blade on a flat, static-protective surface.
Step 5. Open the expansion blade cover (see “Removing the blade server cover” on page 71 for
instructions).
Step 6. Locate the DIMM connectors (see “Blade server connectors - BladeCenter HX5” on page 12).
Determine the DIMM connector into which you will be installing memory.
Step 7. If another memory module is already installed in the DIMM connector, remove it (see “Removing a
DIMM - BladeCenter HX5” on page 103).
Step 8. Touch the static-protective package that contains the DIMM to any
unpainted
metal surface on the
BladeCenter unit or any
unpainted
metal surface on any other grounded rack component in the
rack in which you are installing the DIMM for at least 2 seconds; then, remove the DIMM from its
package.
Step 9. To install the DIMMs, repeat the following steps for each DIMM that you install.
Removing and replacing blade server components
111
Содержание BladeCenter HX5 1909
Страница 6: ...iv BladeCenter HX5 Blade ServerProblem Determination and Service Guide ...
Страница 16: ......
Страница 34: ...18 BladeCenter HX5 Blade ServerProblem Determination and Service Guide ...
Страница 72: ...56 BladeCenter HX5 Blade ServerProblem Determination and Service Guide ...
Страница 292: ...276 BladeCenter HX5 Blade ServerProblem Determination and Service Guide ...
Страница 296: ...280 BladeCenter HX5 Blade ServerProblem Determination and Service Guide ...
Страница 303: ...Taiwan Class A compliance statement Appendix B Notices 287 ...
Страница 304: ...288 BladeCenter HX5 Blade ServerProblem Determination and Service Guide ...
Страница 310: ...294 BladeCenter HX5 Blade ServerProblem Determination and Service Guide ...
Страница 311: ......
Страница 312: ...Part Number 46W8208 Printed in China 1P P N 46W8208 ...
Страница 313: ... 1P46W8208 ...


