CellAdvisor 5G User's Guide
173
NOTE:
You can go to
Menu
>
Limit
to analyze your measurements with the limit line using the on-screen keyboard and
the channel limit turning channel limit table On or Off.
You can go to
Menu
>
Marker
to analyze your measurements with markers. See "
" for details.
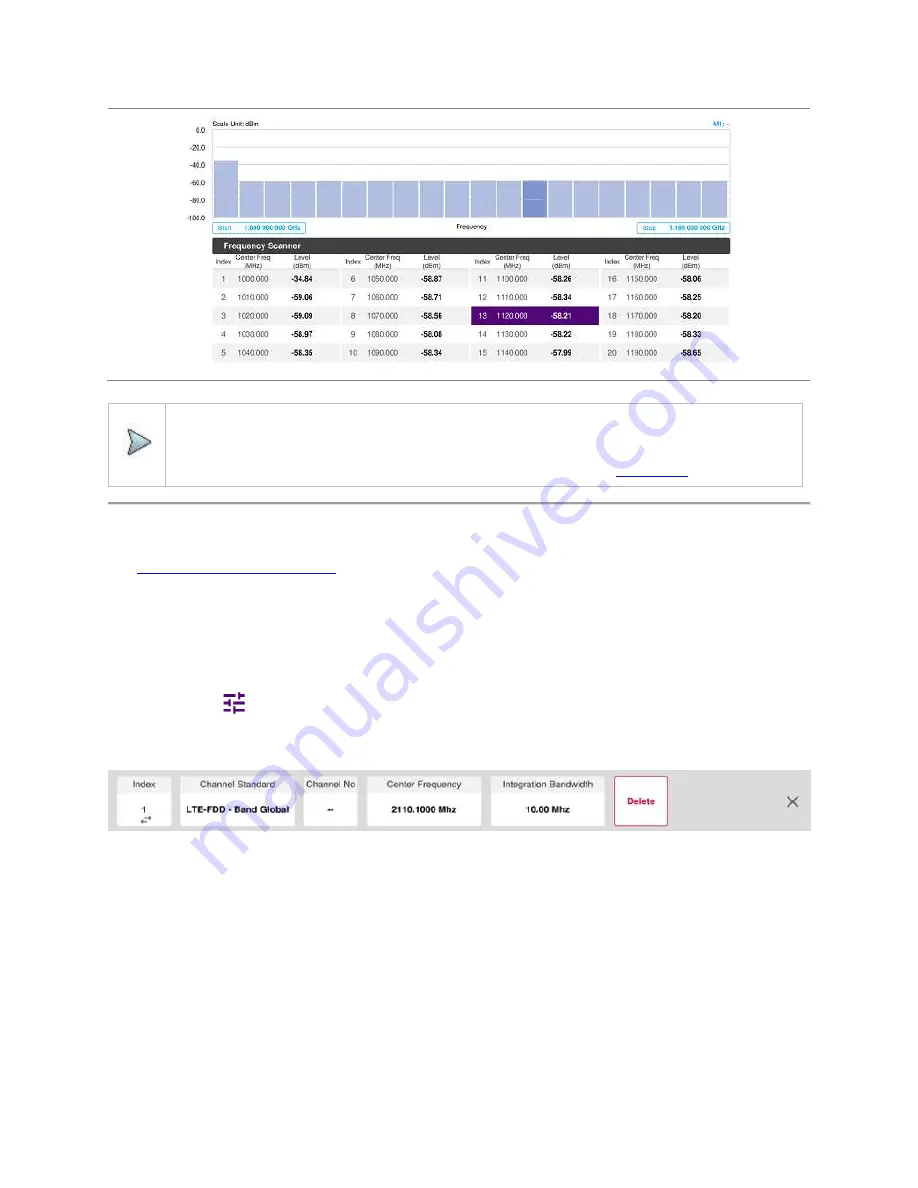
Custom scanner
Before starting the Frequency Scanner, you need to set Spectrum measurements displayed on the quick access and display tab.
See "
Configuring Spectrum Measurements
" for more details.
Setting measure setup
You can customize channels or frequencies to be scanned.
To set the channels to be scanned
1
Tap the
Setup
(
) icon on the side bar.
2
Tap
Configuration
or Tap the
Edit
icon on the result table.
Setup table appears as below.
3
Tap
Channel Standard
to select the channel standard.
The channel standard window appears.
4
Select
Technology
and then the band to be measured by tapping.
5
Tap the
Apply
button to apply the settings.
6
Tap to switch the
Link
to
uplink
or
downlink
.
7
Tap
Index
and select the number from 1 to 20.
8
Tap
Channel No
to set the channel number for the selected index using the on-screen keyboard.
The instrument displays a corresponding center frequency for the channel number.
9
Tap
Integration Bandwidth
to set the integration bandwidth for the selected index using the on-screen keyboard.
10
Tap to switch the
Delete
button to
Add
to add more channels to be scanned and repeat steps
7-9
.
11
Tap the
X
button to dismiss the channel list window and view the scanning result.
Summary of Contents for CellAdvisor 5G
Page 1: ...1 CellAdvisorTM 5G User s Guide ...
Page 2: ......
Page 18: ......
Page 22: ......
Page 110: ......
Page 146: ......
Page 182: ...Using LTE LTE A TDD Analyzer 170 CCDF measurement with LTE LTE A TDD Analyzer ...
Page 264: ......
Page 312: ......
Page 332: ......
Page 338: ......
Page 346: ...Using RFoCPRI Analyzer 334 Rx Settings with RFoCPRI Analyzer ...
Page 352: ......
Page 356: ...Appendix 344 ...
Page 357: ...345 ...
Page 358: ......


