Getting Started
16
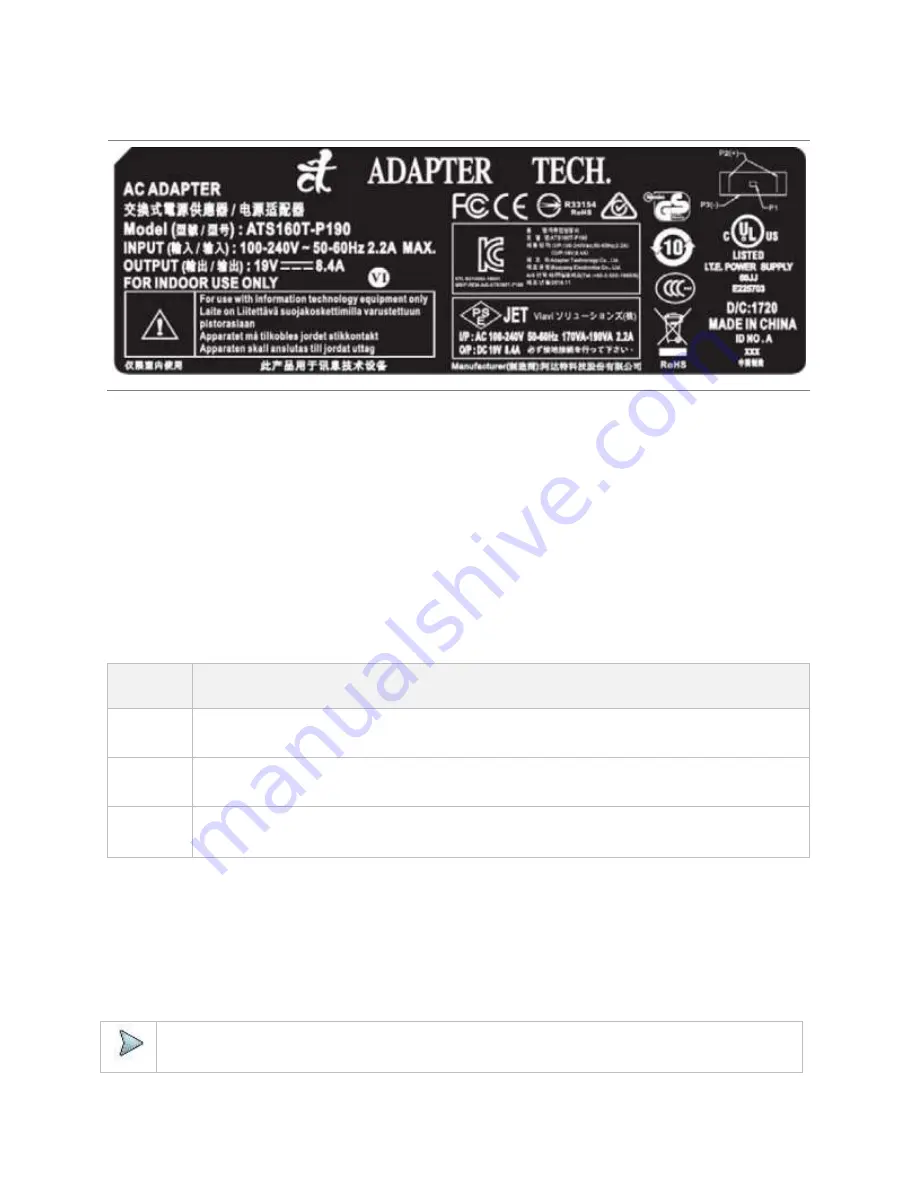
Adapter label
Using the AC power adapter
Supplying power using the AC power adapter
1
Verify that the AC power adapter is the one that shipped with your instrument (see the adapter label above).
2
Plug the adapter into the power supply jack.
a
The jack is located on the bottom right side of the side panel.
3
Plug the opposite end of the adapter in the power mains.
Power is supplied using the adapter.
Turning on the instrument
1
Press the
ON/OFF
button approximately1 second then release.
The On LED for the Power button, located on the top panel, displays different color based on the battery status.
The following table shows the LED indication when the unit powered on or in hibernate mode.
Battery
status
LED color
Battery
charging
The LED color is amber (red+green). The unit can be either On or Off.
Battery fully
charged
The LED color is green.
Battery low
The LED color is red. Make sure the instrument is not powered by AC adapter.
Turning off and rebooting the instrument
1
Press the
ON/OFF
button for approximately1 second then release.
2
Check whether the Power options appear on the display.
3
Select
Power off
to turn your instrument off.
When the unit is off and battery is not charging, there is no illumination of LED.
4
Select
Reboot
to reboot your instrument.
To cancel the operation, simply select
Cancel
and go back to the previous screen.
NOTE:
Continued holding of the POWER button more than 7 seconds will initiate a non-graceful unit shutdown.
Summary of Contents for CellAdvisor 5G
Page 1: ...1 CellAdvisorTM 5G User s Guide ...
Page 2: ......
Page 18: ......
Page 22: ......
Page 110: ......
Page 146: ......
Page 182: ...Using LTE LTE A TDD Analyzer 170 CCDF measurement with LTE LTE A TDD Analyzer ...
Page 264: ......
Page 312: ......
Page 332: ......
Page 338: ......
Page 346: ...Using RFoCPRI Analyzer 334 Rx Settings with RFoCPRI Analyzer ...
Page 352: ......
Page 356: ...Appendix 344 ...
Page 357: ...345 ...
Page 358: ......


