Getting Started
30
Method 2
: Tap the
System Menu
>
Date and Time
.
1
Select the
System
icon.
The System screen appears.
2
Select
Date and Time
.
3
Specify the
Region
,
Country
, and
Area
, and if you wish to do so, click the check box for
Automatically adjust for daylight
savings time
.
4
Under the current Date & Time, do the following:
a
Use the up and down arrows to specify the current local time. If you wish to do so, click the check box next to
Use 24-
hour time
.
b
Use the calendar to select the current date.
Setting the remote access password
To change the default password, do the following steps.
1
Select the
System
icon.
The System screen appears.
2
Select the
Remote (VNC)
icon.
3
Tap the
Remote access password
filed, then specify a new password using the on-screen keyboard.
4
Optional.
Tap the check box for
Enable Firewall
if you wish to do so.
5
Optional.
Tap the check box for
Enable VNC access
if you wish to do so.
6
Optional.
Tap the check box for
Require password for VNC access
if you wish to do so.
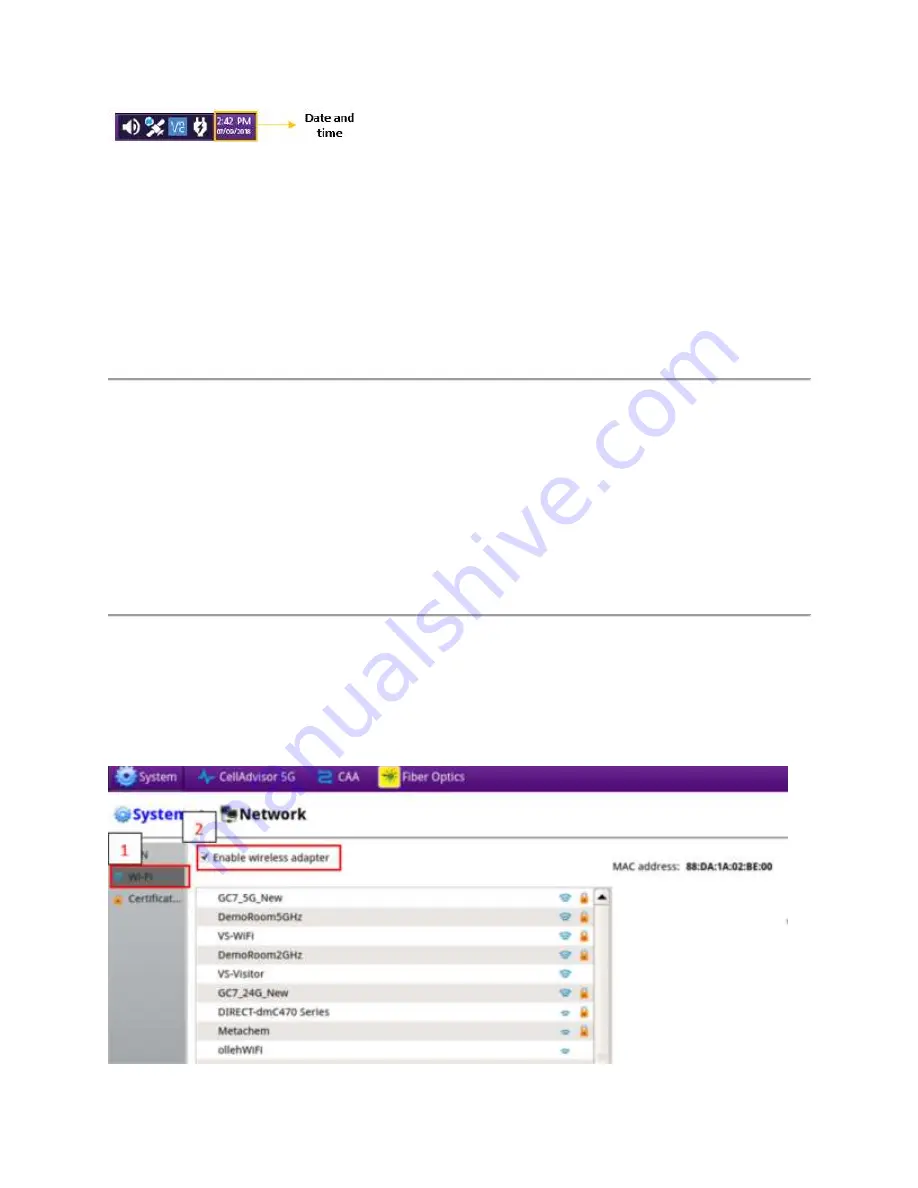
Setting the Wi-Fi connection
To connect to the Wi-Fi, do the following steps.
1
Select the
System
icon.
The System screen appears.
2
Select the
Network
icon.
3
Tap
Wi-Fi
at the upper left of the screen, then click
Enable Wireless Adapter
as shown below.
Summary of Contents for CellAdvisor 5G
Page 1: ...1 CellAdvisorTM 5G User s Guide ...
Page 2: ......
Page 18: ......
Page 22: ......
Page 110: ......
Page 146: ......
Page 182: ...Using LTE LTE A TDD Analyzer 170 CCDF measurement with LTE LTE A TDD Analyzer ...
Page 264: ......
Page 312: ......
Page 332: ......
Page 338: ......
Page 346: ...Using RFoCPRI Analyzer 334 Rx Settings with RFoCPRI Analyzer ...
Page 352: ......
Page 356: ...Appendix 344 ...
Page 357: ...345 ...
Page 358: ......


