Using Spectrum Analyzer
40
Utility
>
AM/FM Audio Demodulation
,
Gate Sweep Spectrum
, or
Route Map
NOTE:
You can choose
RF Source On
or
Off
in setup menu after tap to
CAA RF Power On
if you have
RF Source
option
in your CAA (Cable and Antenna Analyzer).
Configuring spectrum measurements
Configuring spectrum measurements
The Quick Access and Display tab contains all necessary functions to configure the horizontal axis, vertical axis and to configure
and trigger the sweep for spectrum measurements. The Quick Access and Display tab also allows you to set traces, markers, and
display lines and limit lines. The contents of the menu vary by the currently selected measurement.
In general, the horizontal axis contains frequency information in spectrum mode. You can specify the frequency in terms of the
center frequency or by defining a start and stop frequency for a particular span. The settings related to the vertical axis can be
access via Amp/Scale menu.
Setting frequency
You need to set the frequency range to be measured with either the center frequency/span or the start/stop frequencies. You can
also set the frequency with the channel number and span. The center frequency or start and stop frequency values appear below
the graticule on the display.
If you are aware of the frequency of the signal you are going to measure, the best option is to match the center frequency to the
signal's frequency. If you are investigating signals, for example harmonics distortion, that are within a particular frequency range, it is
best to enter a start and stop frequency to define the span.
Access
:
on the Quick access and display tab or
Menu
>
Frequency
.
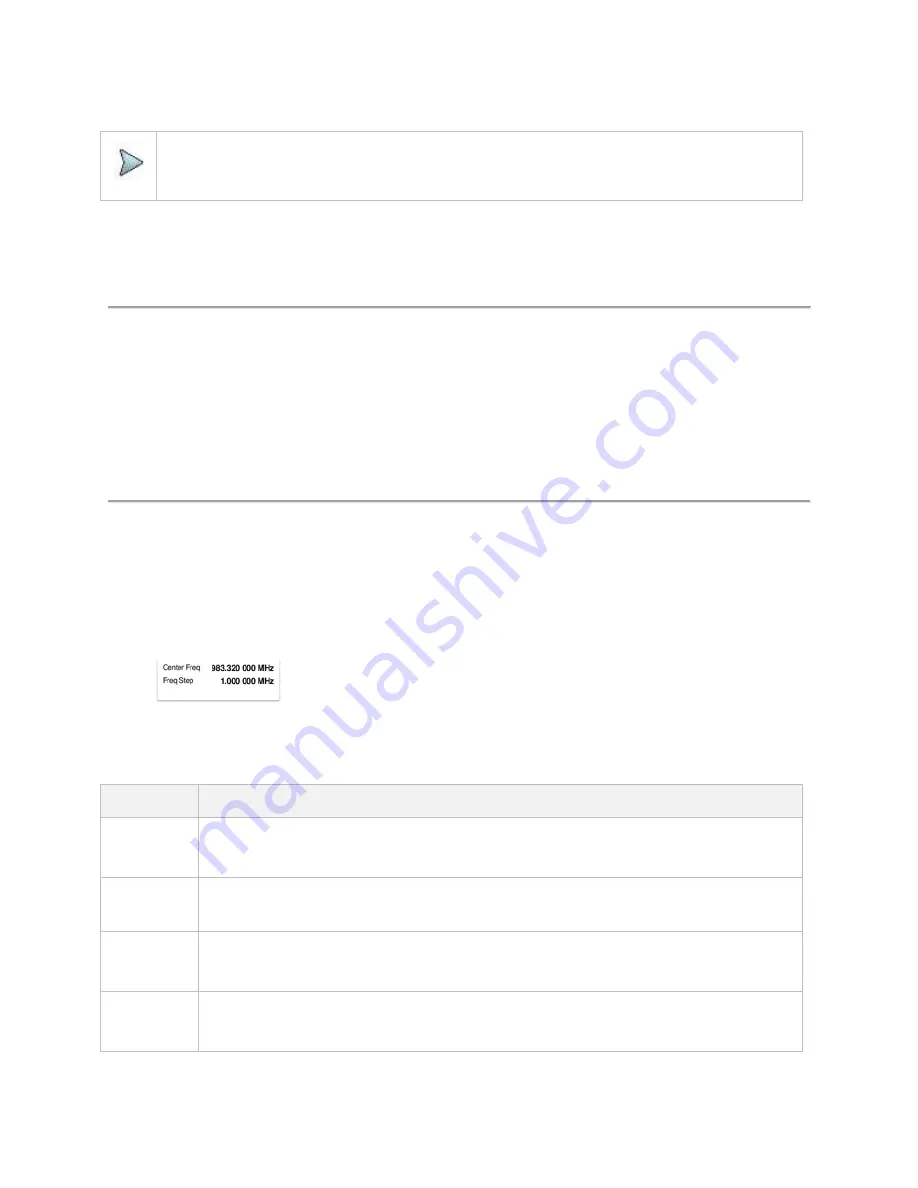
Frequency and span
The following is the definition of each key function:
Parameter
Definition
Center
Frequency
Sets the horizontal center of the display to a specific frequency using the on-screen keyboard. The left and
right sides of the graticule correspond to the start and stop frequencies using the on-screen keyboard.
Access
:
Menu
>
Frequency
>
Center Frequency
Start
Frequency
Sets the frequency starting at the left side of the graticule.
Access
:
Menu
>
Frequency
>
Start
Frequency
Stop
Frequency
Sets the frequency starting at the right side of the graticule. The right sides of the graticule correspond to the
stop frequency using the on-screen keyboard.
Access
:
Menu
>
Frequency
>
Stop
Frequency
Frequency
Step
Sets the step size for the frequency setting. The step size function is useful for finding harmonics and
sidebands beyond the current frequency span of the instrument using the on-screen keyboard.
Access
:
Menu
>
Frequency
>
Frequency Step
Summary of Contents for CellAdvisor 5G
Page 1: ...1 CellAdvisorTM 5G User s Guide ...
Page 2: ......
Page 18: ......
Page 22: ......
Page 110: ......
Page 146: ......
Page 182: ...Using LTE LTE A TDD Analyzer 170 CCDF measurement with LTE LTE A TDD Analyzer ...
Page 264: ......
Page 312: ......
Page 332: ......
Page 338: ......
Page 346: ...Using RFoCPRI Analyzer 334 Rx Settings with RFoCPRI Analyzer ...
Page 352: ......
Page 356: ...Appendix 344 ...
Page 357: ...345 ...
Page 358: ......


