CellAdvisor 5G User's Guide
73
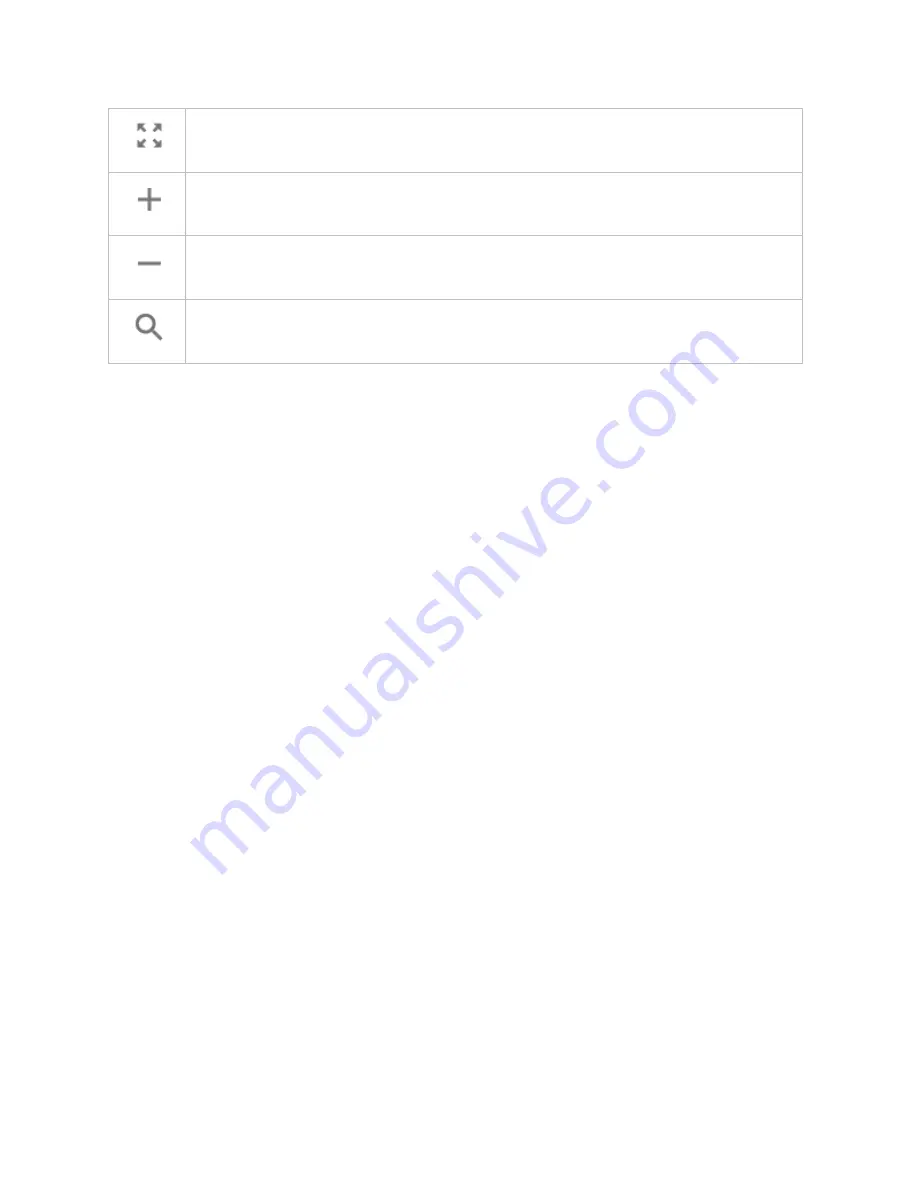
Tap to switch to the full screen map view.
Tap to zoom in the map.
Tap to zoom out the map.
Tap and select the area where you want to expand.
Initializing AntennaAdvisor
Once you have connected the AntennaAdvisor Handle to your instrument, antenna initialization is required to get the right azimuth
data. You need to initialize the antenna handle to calibrate the built-in compass by completing the following steps. Note that you can
adjust Bandwidth based on the center frequency of the interfering signal that you have identified in the Spectrum view by tapping the
Setup
>
Bandwidth
. A message appears at the bottom of the screen to alert you if you have not performed initialization of your
connected the antenna handle set.
1
Hold your antenna handle horizontally in its upright position.
To avoid unnecessary impact of external magnetic field, position yourself at the location where the value of magnetic field
strength displayed on the instrument is green.
2
Point the antenna to the north and tap the
Setup
>
Initialize AntennaAdvisor
.
The message disappears and the red line for the current antenna direction moves to the 0-degree line and overlaps to let you
know that the initialization is done successfully.
Setting geographic location
A point is a particular location that contains information about that location. This information includes, for example, GPS coordinates,
the time of the measurement or level that has been measured. You can evaluate the Point information directly onsite or save the
information for later evaluation.
With this functionality, you can mark locations where you have performed a measurement. Thus, you can analyze the geographical
distribution of the received signal strength. This allows you to analyze, for example, the coverage conditions around a base station's
coverage area.
In the map view, a point is displayed as a dot with a number. The straight line represents the direction you are facing.
1
Tap the
Point 1
,
Point 2
and
Point 3
on the map.
Make sure to set three location points so that the straight lines started from the point and can create three intersections.
2
Tap each point and use the
Degree
bar or button to change degrees.
Make sure to set three location points so that the straight lines started from the point and can create three intersections.
3
Tap the
GPS
icon on the side panel to automatically get the selected point's location information.
The instrument displays the latitude and longitude information of the signal received by either the GPS antenna or
AntennaAdvisor Handle. This function is only available when the GPS antenna is connected.
4
Tap the
Latitude
and
Longitude
icon and enter the value using the on-screen keyboard to manually define a position.
The values should be input based on the Decimal Degrees.
5
Tap the
Apply
button.
Setting azimuth
Method 1
: You can use the AntennaAdvisor Handle. Make sure to initialize AntennaAdvisor first to get more accurate directional
information.
1
Press and hold the
TRIGGER
button on the handle and pan the antenna handle to scan through until you find the strongest
RSSI value.
RSSI, polarization, elevation and azimuth readings are continuously updated on the screen while pressing the physical button.
2
Release the
TRIGGER
button to stop scanning.
Summary of Contents for CellAdvisor 5G
Page 1: ...1 CellAdvisorTM 5G User s Guide ...
Page 2: ......
Page 18: ......
Page 22: ......
Page 110: ......
Page 146: ......
Page 182: ...Using LTE LTE A TDD Analyzer 170 CCDF measurement with LTE LTE A TDD Analyzer ...
Page 264: ......
Page 312: ......
Page 332: ......
Page 338: ......
Page 346: ...Using RFoCPRI Analyzer 334 Rx Settings with RFoCPRI Analyzer ...
Page 352: ......
Page 356: ...Appendix 344 ...
Page 357: ...345 ...
Page 358: ......


