2000 MS Hardware Maintenance
122
GC Maintenance
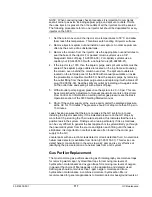
NOTE: If the GC is equipped with an 8200 AutoSampler, to access the injector
nut, push the carrousel release button (back left) and swing the carrousel out.
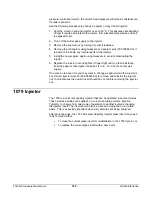
2. With tweezers or septum pick, lift the edge of the septum (Item 2). Remove
the septum.
NOTE: Replace the injector septum each time the glass insert is replaced.
3. Use a clean flat-blade screwdriver to unscrew the septum support nut (Item
4) until it is loose.
4. Remove the septum support with the tweezers or septum pick.
NOTE: Typically, when the septum support is removed, the insert and ferrule
remain in the septum support. If the ferrule and insert are in the injector body
after the septum support nut is removed, use the tweezers to grasp the top of the
insert and lift it from the injector body.
5. Use a laboratory tissue to grasp the glass insert and remove it from the
septum support nut.
6. To remove the graphite ferrule from the glass insert, use clean lab tissues to
hold the graphite ferrule (Item 5) and the glass insert. Gently turn the glass
insert while you pull off the graphite ferrule.
NOTE: The glass inserts can be cleaned and reused. Unless the graphite ferrule
is obviously damaged, it can be reused as well. However, replace the 5 mm
graphite ferrule after the glass insert has been changed three or four times.
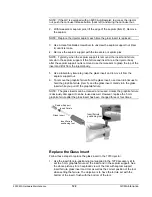
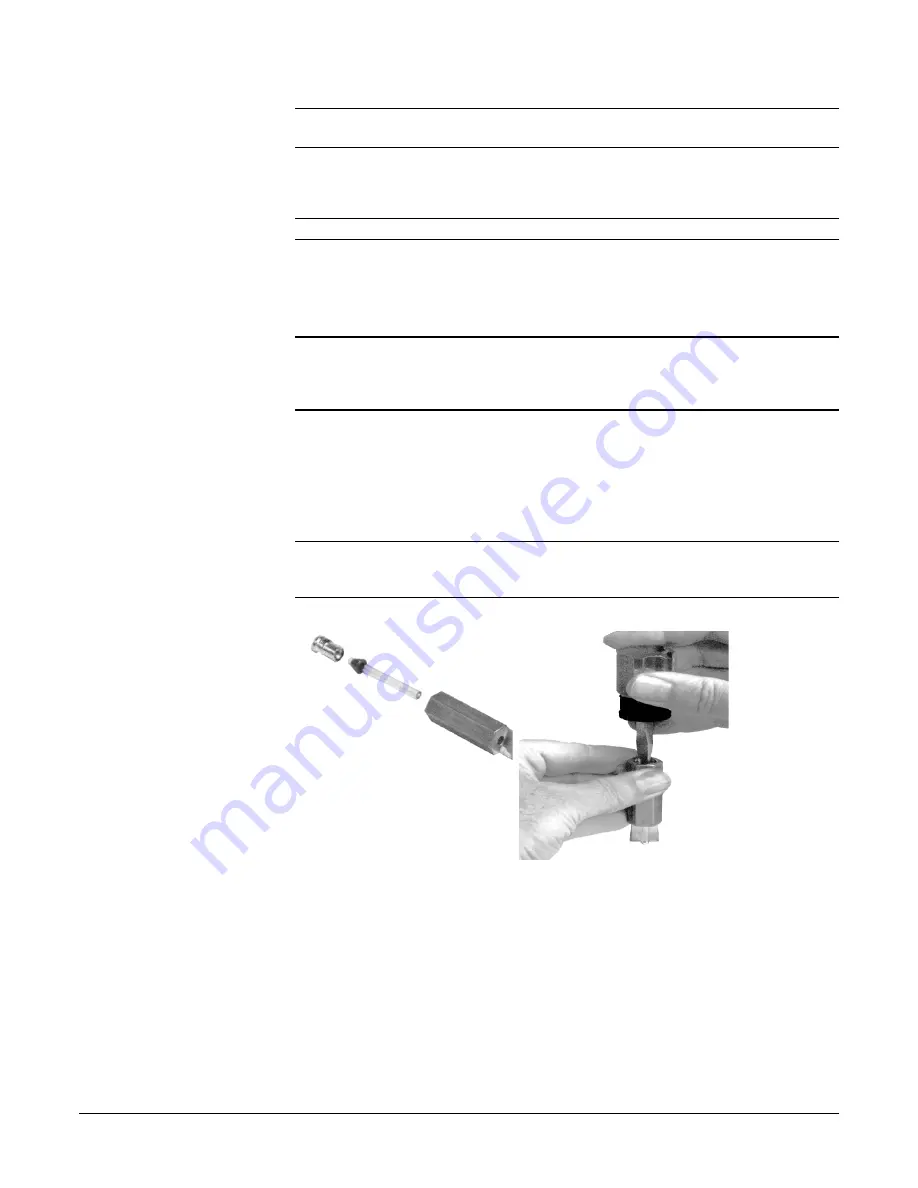
Septum Support
Insert Ferrule
Glass Insert
Insert/ferrule
positioning tool
Insert/ferrule
positioning tool
Replace the Glass Insert
Follow these steps to replace the glass insert in the 1079 Injector.
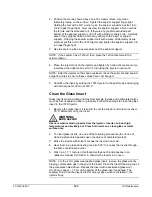
1. Use the insert/ferrule-positioning tool supplied in the 1079 accessory kit to
set the 5 mm graphite ferrule on the insert and in the septum support. See
the above pictures for an exploded view of the tool with septum support,
insert ferrule, glass insert and tool as well as the correct position of the tool
when setting the ferrule. The objective is to have the ferrule set with the
bottom of the insert, flush with the bottom of the tool.


