4.
Continue holding the left mouse button while clicking the right mouse button. The mouse icon and the appearance of the
selection region change to indicate the current drag-and-drop mode.
5.
Release the left mouse button. The source audio data is pasted, mixed, or inserted as a CD track.
Creating new windows by dragging and dropping a selection
Drag-and-drop also allows you to create a new data window from a selection.
1.
Open the Voiceover.pca file.
2.
Create a selection containing “Wow.”
3.
Drag the selection to an empty area of the Sound Forge workspace and drop it. A new data window is created containing the
selection data with the attributes of the original file.
Tip:
When dragging a selection to paste sound data, drag up or down before moving the mouse left or right. Dragging left or right before
moving the mouse vertically adjusts the selection length.
Finding and repairing audio glitches
Glitches are commonly the result of analog audio editing, analog to digital transfer, or electronic noise. Sound Forge software provides
you with a tool for locating audio glitches and three distinct tools for repairing them: channel, interpolate, and replace. In addition, you
can repair audio glitches manually using the Pencil tool.
Locating glitches
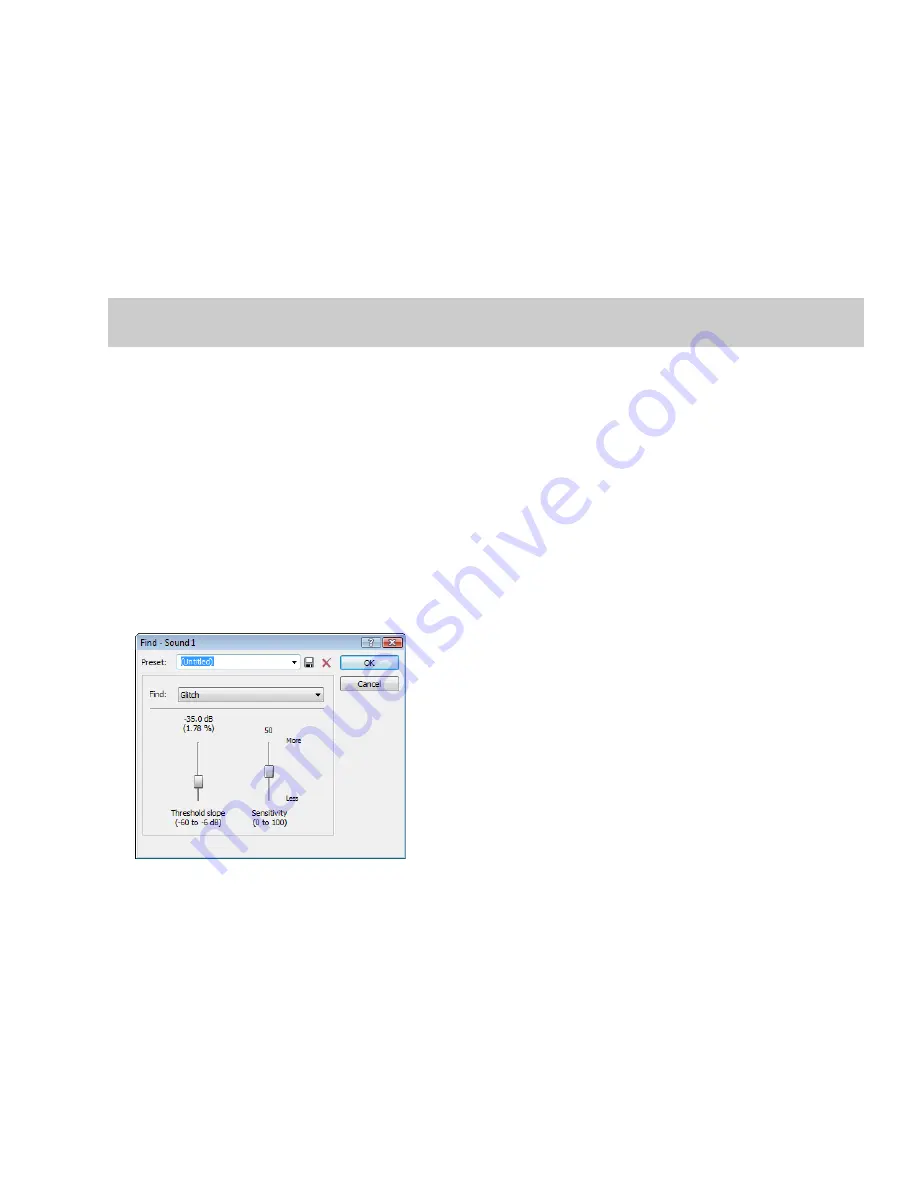
The Find tool allows you to quickly locate glitches, specific volume levels, or silence in a file. The Find tool’s glitch algorithm locates
glitches by examining the file for instances where the waveform matches the specified threshold slope and sensitivity criteria. The
cursor then moves to the location of the glitch to allow you to repair it. This tool locates only one glitch at a time. Therefore, it may be
necessary to execute this command several times on a file to locate all glitches.
1.
Open any audio file containing glitches.
2.
From the
Tools
menu, choose
Find
. The Find dialog is displayed.
3.
From the
Find
drop-down list, choose
Glitch
.
4.
Adjust the
Threshold slope
fader to configure the minimum slope that constitutes a glitch.
•
A high value detects only glitches with steep slopes.
•
A lower value detects glitches with both steep and more gradual slopes.
5.
Adjust the
Sensitivity
fader to determine the sensitivity of the detection algorithm.
•
A high value results in any part of the waveform with a slope greater than the
Threshold slope
being detected as a glitch.
•
A lower value forces the algorithm to verify that the slope is indeed a glitch, and not simply a portion of the smooth waveform.
EDITING, REPAIRING, AND SYNTHESIZING AUDIO
|
153
Summary of Contents for Pro 10
Page 1: ...Pro 10 Sound Forge User Manual ...
Page 2: ......
Page 26: ...20 CHAPTER 1 ...
Page 60: ...54 CHAPTER 2 ...
Page 152: ...146 CHAPTER 8 ...
Page 166: ...160 CHAPTER 9 ...
Page 176: ...170 CHAPTER 10 ...
Page 200: ...194 CHAPTER 11 ...
Page 220: ...214 CHAPTER 12 ...
Page 236: ...230 CHAPTER 13 ...
Page 266: ...260 CHAPTER 16 ...
Page 278: ...272 CHAPTER 17 ...
Page 312: ...306 CHAPTER 20 ...
Page 346: ...340 APPENDIX C ...
Page 366: ...360 APPENDIX E ...


