Recalibrating the DC adjustment
If you have multiple sound cards, you should recalibrate the
DC adjust
each time you select a new recording device. Certain sound cards
must also be recalibrated each time the sample rate changes or when switching between mono and multichannel recording.
Tip:
You can recalibrate at any time, even during recording. However, it is preferable to perform recalibration with silence at the record
inputs.
Playing back recorded audio
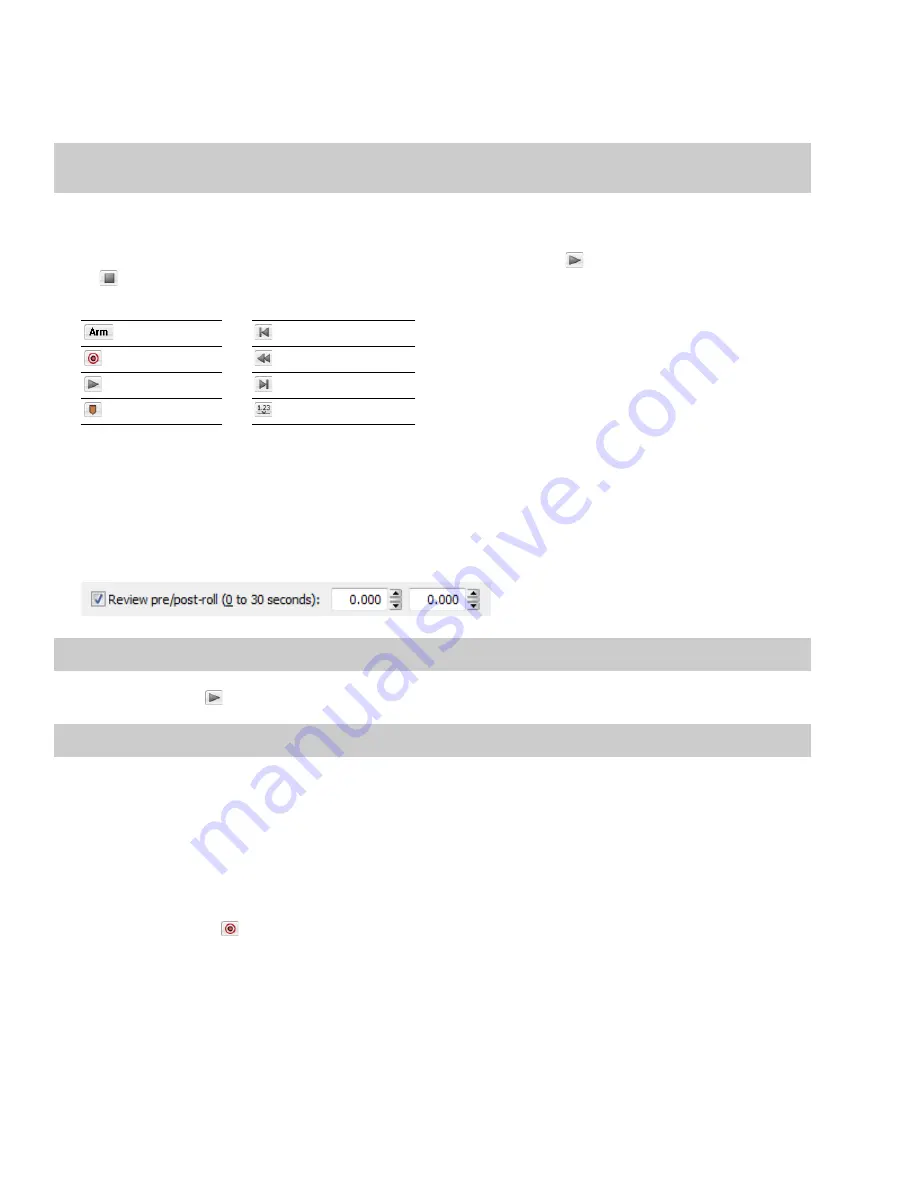
Audition your recorded audio by playing it back in the Record dialog. Click the
Play
button (
) to begin playback and click the
Stop
button (
) to end playback. You can use the other buttons on the mini-transport bar in the Record dialog to navigate to different
locations in the file.
Arm
Go to start of file
Record
Go to start of last take
Play
Go to end of file
Insert marker
Go to
Adjusting pre/post-roll for punch-in and automatic retake recording playback
Once you have recorded a punch-in or an automatic retake, you can audition it with user-configured pre-roll and post-roll to evaluate
the performance. This option allows you to indicate the amount of sound data that should be played preceding or following your
recorded take when you review your takes. Reviewing with pre- and post-roll helps you review your takes in context.
1.
Select the
Review pre/post-roll
check box in the Record dialog. The two corresponding boxes become active.
2.
Enter appropriate pre-roll and post-roll values in the respective boxes.
Note:
In
Automatic retake
mode, the post-roll control is unavailable.
3.
Click the
Play
button (
). The punch-in segment plays with the configured pre-roll and post-roll.
Note:
Regardless of the data window’s current status format, pre-roll and post-roll values are measured in seconds.
Synchronizing with other devices
Sound Forge software can generate MTC/SMPTE synchronization while recording.
1.
From the
Options
menu, choose
Preferences
, and click the
MIDI/Sync
tab.
2.
On the
MIDI/Sync
tab, choose the trigger device from the
Input
drop-down list and click the
OK
button.
3.
From the
Options
menu, choose
MIDI In/Out
, and then choose
Generate MIDI Timecode
from the submenu to enable MIDI
timecode output.
4.
Click the
Record
button
(
5.
Click the
Advanced
tab at the bottom of the Record dialog.
6.
Select the
Enable MTC/SMPTE Output Synchronization
check box.
7.
Select the
Start
check box and specify the time you want to start recording.
8.
Select the
Pre Roll
check box and type a value in the edit box to begin SMPTE output at a specified time before recording.
9.
Click the
Close
button.
)
.
142
|
CHAPTER 8
Summary of Contents for Pro 10
Page 1: ...Pro 10 Sound Forge User Manual ...
Page 2: ......
Page 26: ...20 CHAPTER 1 ...
Page 60: ...54 CHAPTER 2 ...
Page 152: ...146 CHAPTER 8 ...
Page 166: ...160 CHAPTER 9 ...
Page 176: ...170 CHAPTER 10 ...
Page 200: ...194 CHAPTER 11 ...
Page 220: ...214 CHAPTER 12 ...
Page 236: ...230 CHAPTER 13 ...
Page 266: ...260 CHAPTER 16 ...
Page 278: ...272 CHAPTER 17 ...
Page 312: ...306 CHAPTER 20 ...
Page 346: ...340 APPENDIX C ...
Page 366: ...360 APPENDIX E ...


