Chapter 9: The Sonos® Controller 100
9-13
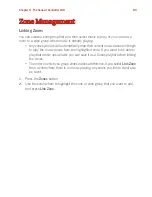
2.
Press
Type...
to enter the path for the shared folder, and then press
Accept
(path
example:
\\Name\Sharename
, where
Name
is the network name for your
computer or NAS device, and
Sharename
is the name of the top level shared
folder, such as \\
linkstation\music_share
.)
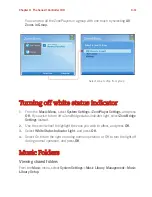
3.
Press
OK
.
If this folder is not shared anonymously, you will need to enter a user name and
password:
• Use the scroll wheel to highlight the
Username
field and press
Type
.
• Type the name of a user with permission to access this folder, and then press
Accept
.
• Use the scroll wheel to highlight the
Password
field and press
Type
.
• Type the password associated with this user, and then press
Accept
.
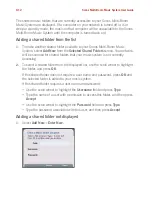
Stop accessing a shared folder
1.
From the
Music
menu, select
System Settings
>
Music Library
Management
>
Music Library Setup
, and press
OK
.
The shared music folders that are currently accessible to your Sonos Multi-Room
Music System are displayed.
2.
Use the scroll wheel to select the folder you wish to stop using, and press
Remove
.
3.
Press
OK
.
Your music folder will remain untouched on your computer. However, you will no
longer be able to access it from the Sonos Multi-Room Music System.
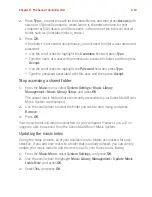
Updating the music index
During the setup process, all of your available music folders are indexed for easy
selection. If you add new music to a folder that is already indexed, you can simply
update your music index to add the new music to your Sonos music library.
1.
From the
Music Menu
, select
System Settings
, and press
OK
.
2.
Use the scroll wheel to highlight
Music Library Management
>
Update Music
Index Now
, and press
OK
.
3.
Select
Yes
, and press
OK
.

