


2.
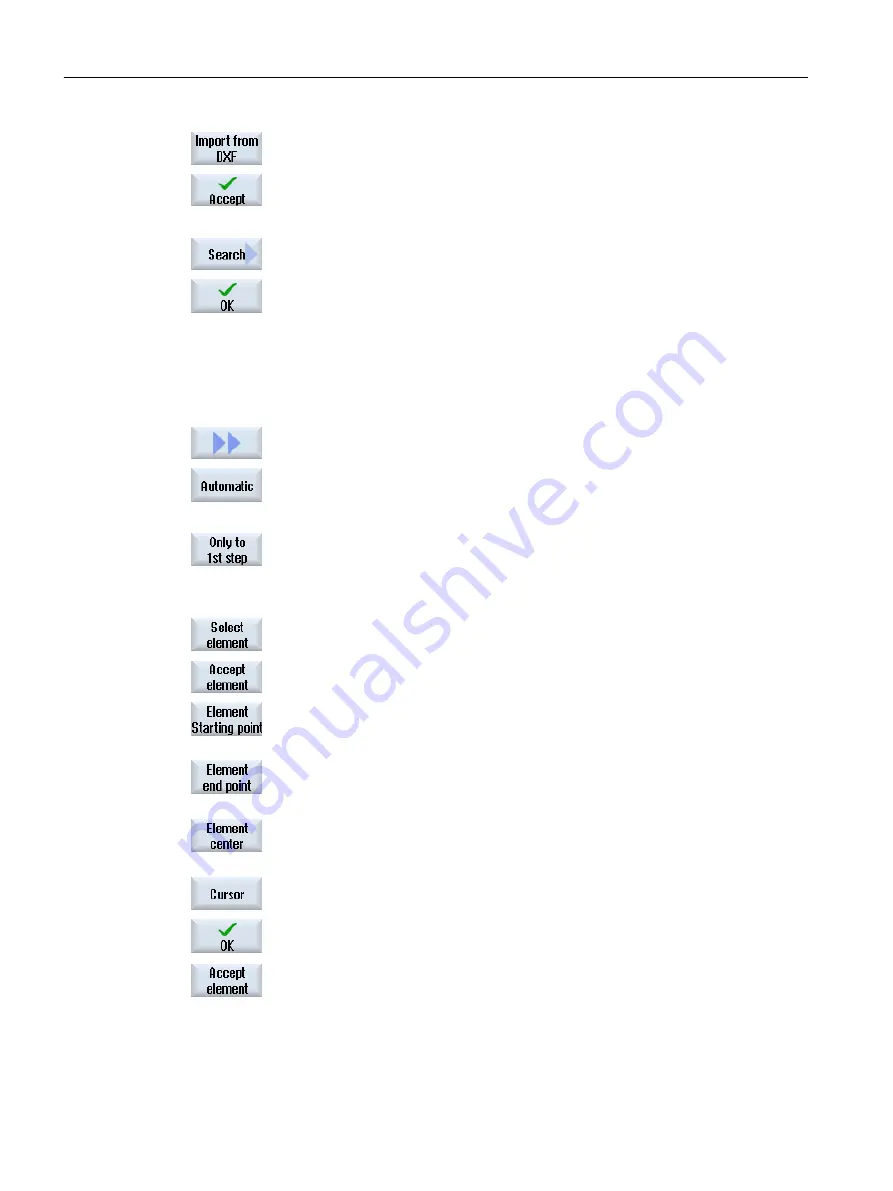
Press the "From DXF file" and "Accept" softkeys.
The "Open DXF File" window opens.
3.
Select a storage location and place the cursor on the relevant DXF file.
You can, for example, use the search function to search directly for a DXF
file in comprehensive folders and directories.
4.
Press the "OK" softkey.
The CAD drawing opens and can be edited for contour selection.
The cursor takes the form of a cross.
Specifying a reference point
5.
If required, specify a zero point.
Contour line
6.
Press the ">>" and "Automatic" softkeys if you want to accept the largest
possible number of contour elements.
This makes it fast to accept contours that consist of many individual ele‐
ments.
- OR -
Press "Only to 1st cut" if you do not want to accept the complete contour
elements at once.
The contour will be followed to the first cut of the contour element.
Defining the start point
7.
Press the "Select element" softkey to select the desired element.
8.
Press the "Accept element" softkey.
9.
Press the "Element start point" softkey to place the contour start at the start
point of the element.
- OR -
Press the "Element end point" softkey to place the contour start at the end
point of the element.
- OR -
Press the "Element center" softkey to place the contour start at the center
of the element.
- OR -
Press the "Cursor" softkey to define the start of the element with the cursor
at any position.
9.
Press the "OK" softkey to confirm your selection.
10. Press the "Accept element" softkey to accept the offered elements.
The softkey can be operated while elements are still available to be ac‐
cepted.
Specifying the end point
Machining the workpiece
6.11 Working with DXF files
Turning
202
Operating Manual, 06/2019, A5E44903486B AB


