


Chapter 3: Using the Web Interface
251
•
System Tamper Alarm:
This action causes the BCM2 to show the alarm for the DX tamper
sensor, if any, on the Dashboard page until a person acknowledges it.
By default, this action has been assigned to the built-in tamper
detection event rules. For information on acknowledging an alarm,
see
Dashboard - Alarms
(on page 94).
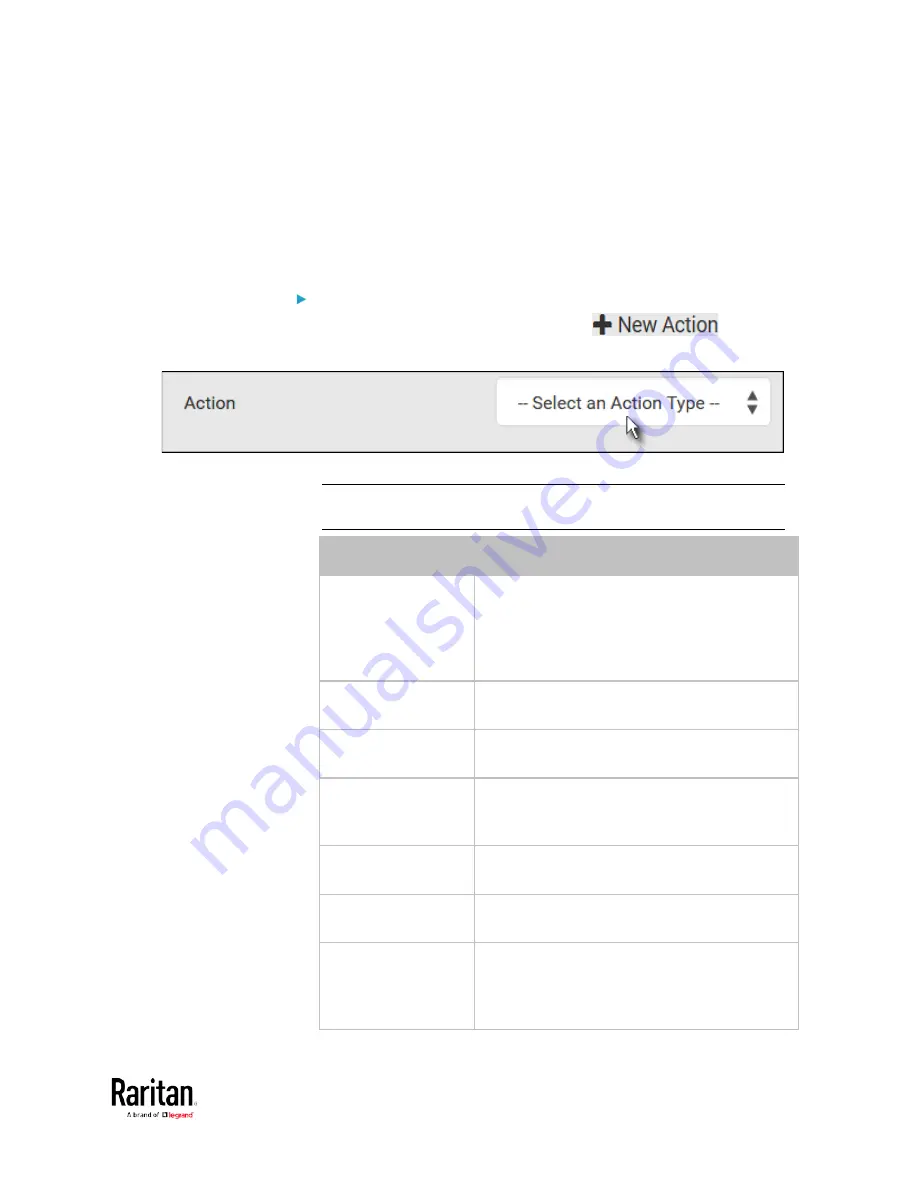
Actions you can create:
1.
Choose Device Settings > Event Rules >
.
2.
Click the Action field to select an action type from the list.
3.
Below is the list of available actions.
Note: The "Change load shedding state" and "Switch outlets" options
are only available for outlet-switching capable models.
Action
Function
Alarm
Requires the user to acknowledge the alert
after it is generated. If needed, you can have
the alert notifications regularly generated until
a person takes the acknowledgment action.
See
Alarm
(on page 253).
Change load
shedding state
Enters or quits the load shedding mode. See
Change Load Shedding State
(on page 254).
Execute an action
group
Creates a group of actions comprising existing
actions. See
Action Group
(on page 254).
External beeper
Enables or disables the connected external
beeper, or causes it to enter an alarm cycle.
See
External Beeper
(on page 255).
Internal beeper
Turns on or off the internal beeper. See
Internal Beeper
(on page 255).
Log event message
Records the selected events in the internal log.
See
Log an Event Message
(on page 256).
Push out sensor
readings
Sends internal sensor log, environmental
sensor log or asset management strip data to a
remote server using HTTP POST requests. See
Push Out Sensor Readings
(on page 256).
Summary of Contents for PMC-1000
Page 3: ...BCM2 Series Power Meter Xerus Firmware v3 4 0 User Guide...
Page 23: ...Chapter 1 Installation and Initial Configuration 11 Panel Wiring Example...
Page 54: ...Chapter 1 Installation and Initial Configuration 42 Branch Circuit Details...
Page 76: ...Chapter 2 Connecting External Equipment Optional 64...
Page 123: ...Chapter 3 Using the Web Interface 111...
Page 558: ...Appendix D RADIUS Configuration Illustration 546 Note If your BCM2 uses PAP then select PAP...
Page 563: ...Appendix D RADIUS Configuration Illustration 551 14 The new attribute is added Click OK...
Page 564: ...Appendix D RADIUS Configuration Illustration 552 15 Click Next to continue...
Page 594: ...Appendix E Additional BCM2 Information 582...
Page 612: ......


