Chapter 3: Using the Web Interface
160
5.
If any privilege requires the argument setting, the symbol
as
well as the text 'Add XXX' display on that privilege's row, where XXX
is the privilege's name. To select such a privilege:
a.
Click on that privilege's row to display a list of available
arguments for this privilege.
b.
Select the desired arguments.
To select all arguments, simply select that privilege's
checkbox.
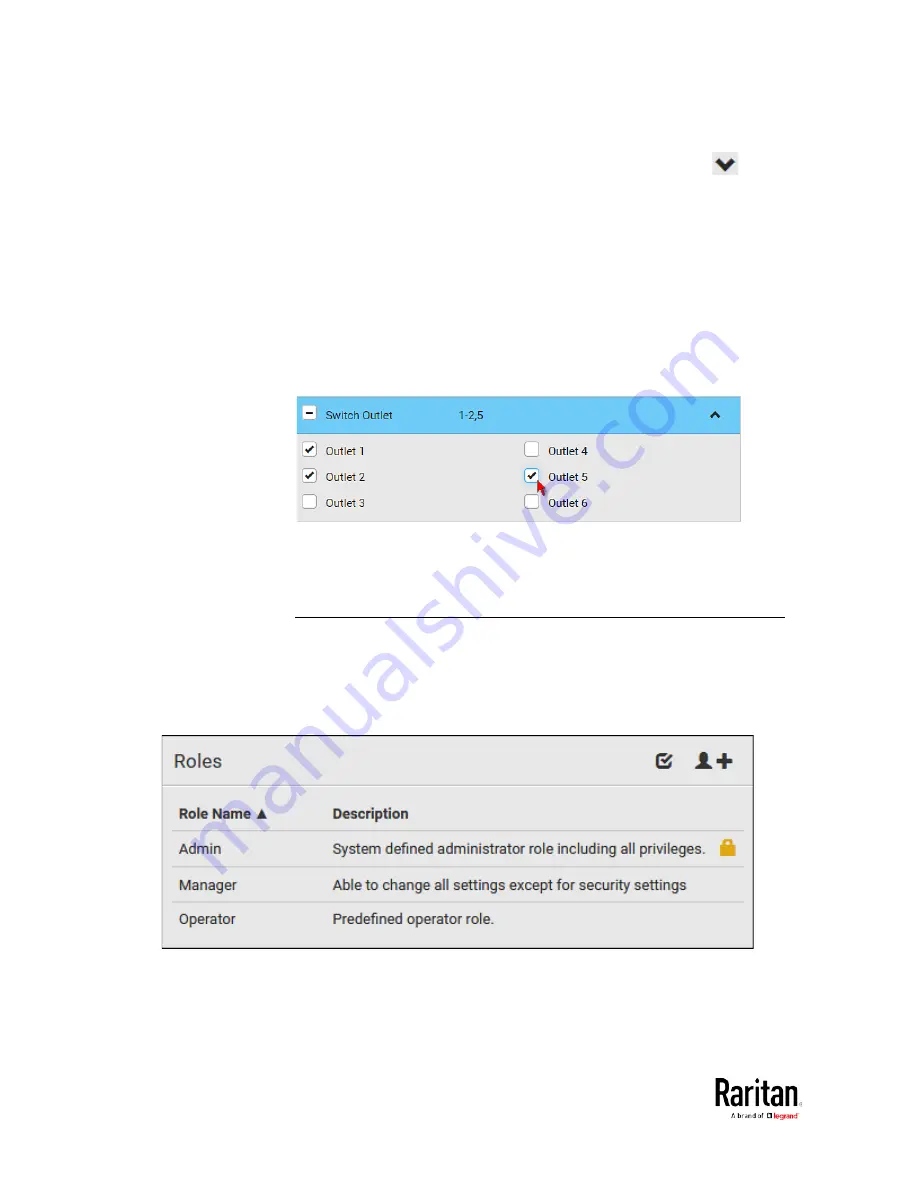
For example, on an outlet-switching capable model, you can specify
the outlets that users can switch on/off as shown below. To select all
outlets, select the 'Switch Outlet' checkbox instead.
6.
Click Save.
Now you can assign the role to any user. See
Creating Users
(on page
153) or
Editing or Deleting Users
(on page 157).
Editing or Deleting Roles
Choose User Management > Roles to open the Roles page, which lists all
roles.
If wanted, you can resort the list by clicking the desired column header.
See Sorting a List.
Summary of Contents for PMC-1000
Page 3: ...BCM2 Series Power Meter Xerus Firmware v3 4 0 User Guide...
Page 23: ...Chapter 1 Installation and Initial Configuration 11 Panel Wiring Example...
Page 54: ...Chapter 1 Installation and Initial Configuration 42 Branch Circuit Details...
Page 76: ...Chapter 2 Connecting External Equipment Optional 64...
Page 123: ...Chapter 3 Using the Web Interface 111...
Page 558: ...Appendix D RADIUS Configuration Illustration 546 Note If your BCM2 uses PAP then select PAP...
Page 563: ...Appendix D RADIUS Configuration Illustration 551 14 The new attribute is added Click OK...
Page 564: ...Appendix D RADIUS Configuration Illustration 552 15 Click Next to continue...
Page 594: ...Appendix E Additional BCM2 Information 582...
Page 612: ......


