Chapter 6: Using the Web Interface
167
Tip: If the desired time option is not listed, you can manually type the
desired time in this field. For example, you can type "9 d" to set the
password aging time to 9 days.
4. Click
OK.
Enabling and Editing the Security Banner
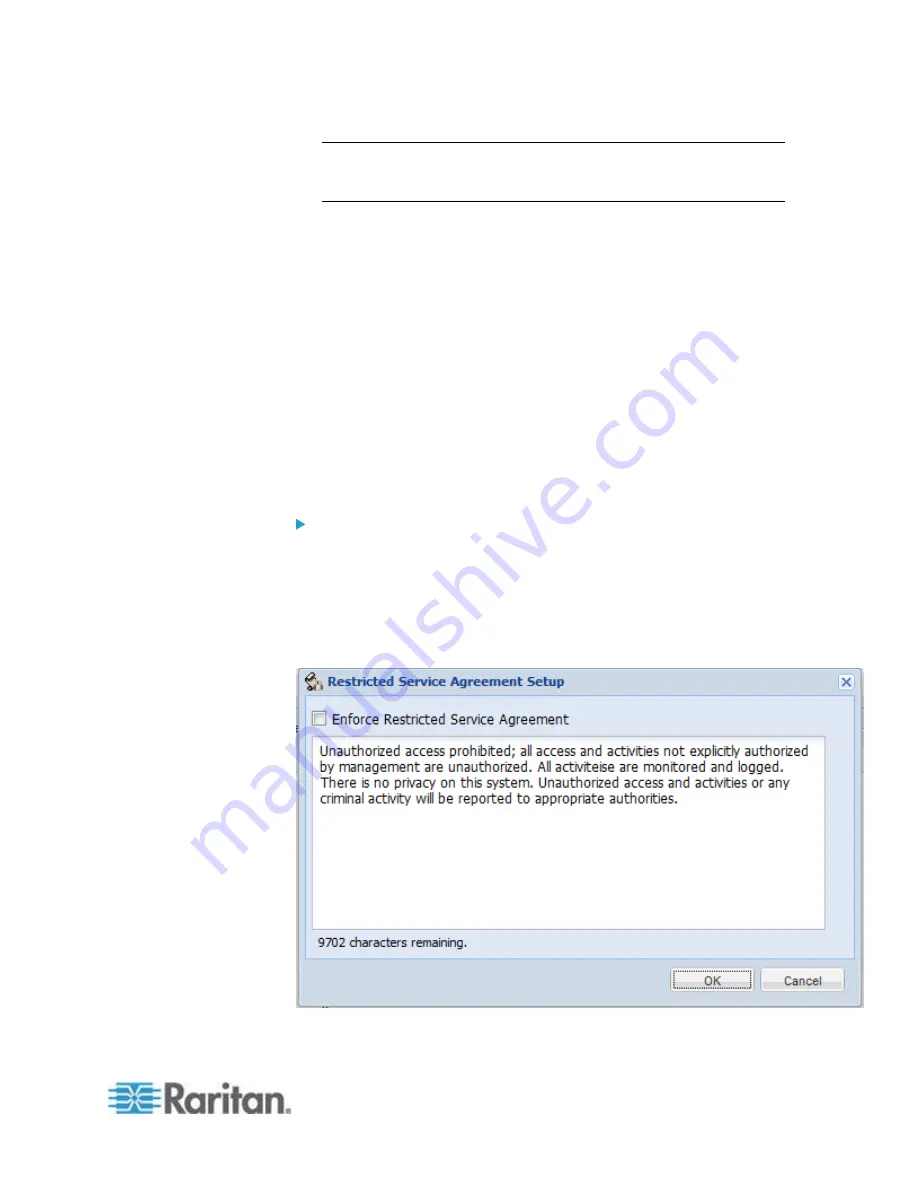
Use the EMX restricted service agreement (security banner) if you want
to require users to read and accept a security agreement when they log
in to the EMX.
A default agreement is provided. You can edit or replace the default text
as needed by typing directly in the security dialog or pasting text into it.
A maximum of 10,000 characters can be entered or pasted into the
security banner.
If a user declines the agreement, they cannot log in. An event notifying
you if a user has accepted or declined the agreement can be created.
See
Default Log Messages
(on page 216)
To enable the service agreement:
1. Click Device Services > Security > Restricted Service Agreement
Banner. The Restricted Service Agreement Setup dialog opens.
2. Select the Enforce Restricted Service Agreement checkbox.
3. Edit the text or replace it as needed.
4. Click
OK.
Summary of Contents for EMX2-888
Page 19: ...Chapter 1 Introduction 5 Retrieval of the link local IPv4 address See IPv4 Address on page 72...
Page 71: ...Chapter 4 Connecting External Equipment Optional 57...
Page 148: ...Chapter 6 Using the Web Interface 134 LHX 20 SHX 30 LHX 40 PowerLogic PM710...
Page 526: ...Appendix H RADIUS Configuration Illustration 512 Note If your EMX uses PAP then select PAP...
Page 531: ...Appendix H RADIUS Configuration Illustration 517 14 The new attribute is added Click OK...
Page 532: ...Appendix H RADIUS Configuration Illustration 518 15 Click Next to continue...


