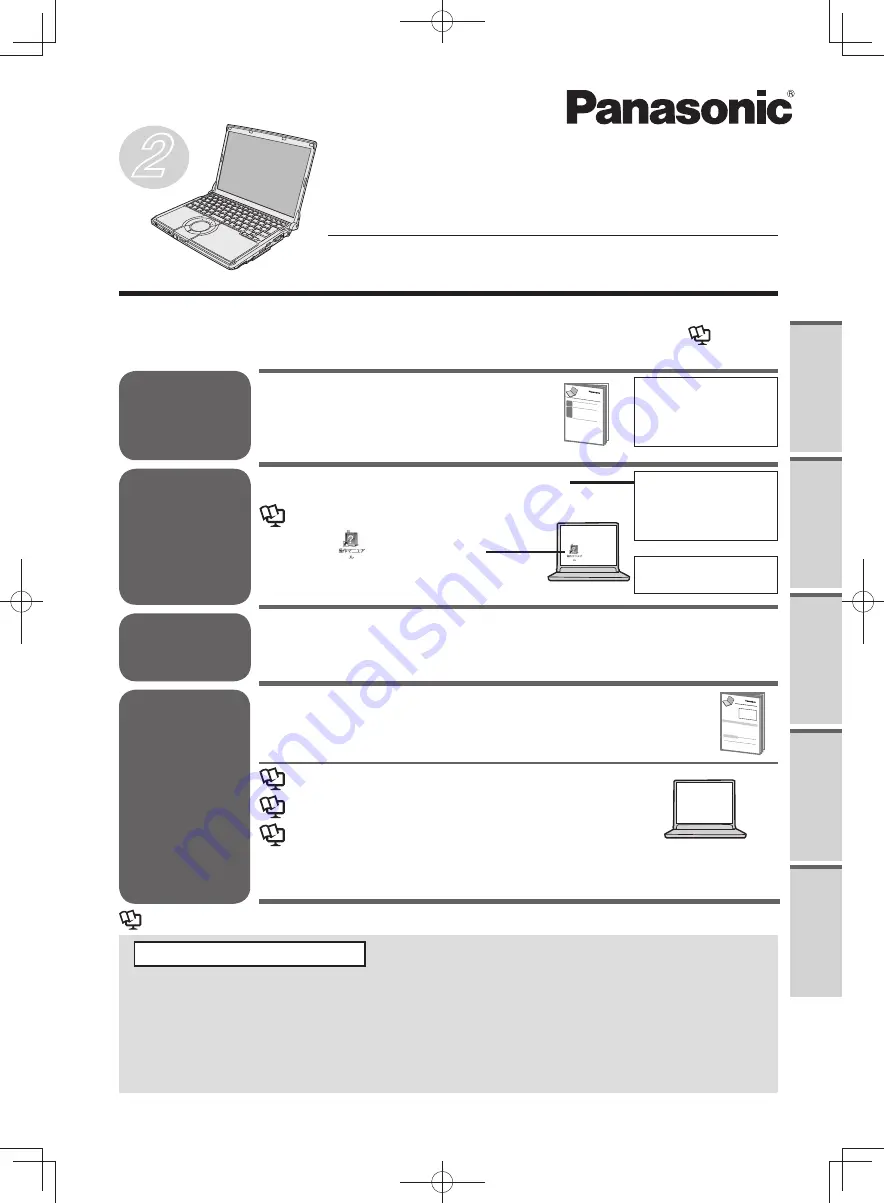
Preparation and Setting Guide
Check and identify the supplied
•
accessories.
OPERATING INSTRUCTIONS
Personal Computer
Model No.
CF-S10
series
Thank you for purchasing this Panasonic product.
Please read these instructions carefully before using this computer.
•
Be sure to read “Precautions” (pages 12 to 17) before using this computer.
•
Check that entries such as “Purchase date and dealer name” on the warranty are correct, and
•
save this manual for future use.
For the model number, see the model number display on the bottom of the computer or check in
•
“Specifications.”
Warranty attached separately
(Windows 7)
The documentation for this personal computer includes the
OPERATING INSTRUCTIONS
and
Reference
Manual
(
操作マニュアル
) etc. Use these resources as described below.
Supplied accessories,
Setup Windows,
Options, Warranty, After
Sales Service, etc.
OPERATING INSTRUCTIONS
(This book)
Wireless LAN Guide
NetSelector2
Hard Disk Handling
Installation Manual
of “Trusted Platform
Module (TPM)”
: Reference to the on-screen manuals of the computer.
(How to display
page 19 in this book)
“If a Problem Occurs in the Computer”
in the
OPERATING INSTRUCTIONS
(this book) (
page 62)
Reference Manual
Double-click
on the desktop.
Internet, Customizing
the Power Setting, etc
Read First
Read
Second
Use as
Required
Use for
Troubleshooting
Basic Operation,
Settings, Expanding
Memory, Reinstalling
Software, etc
2
Pr
ecautions
Pr
eparations
Getting Started
T
roubleshooting
Specifications
DFQW5600ZA̲BasicManual̲CF-S10.indb 1
DFQW5600ZA̲BasicManual̲CF-S10.indb 1
2011/11/15 14:06:59
2011/11/15 14:06:59