93
The Workstation Installation/Operation Manual Version 2 Document 51540 Rev. B1 4/8/02
Device Testing Area
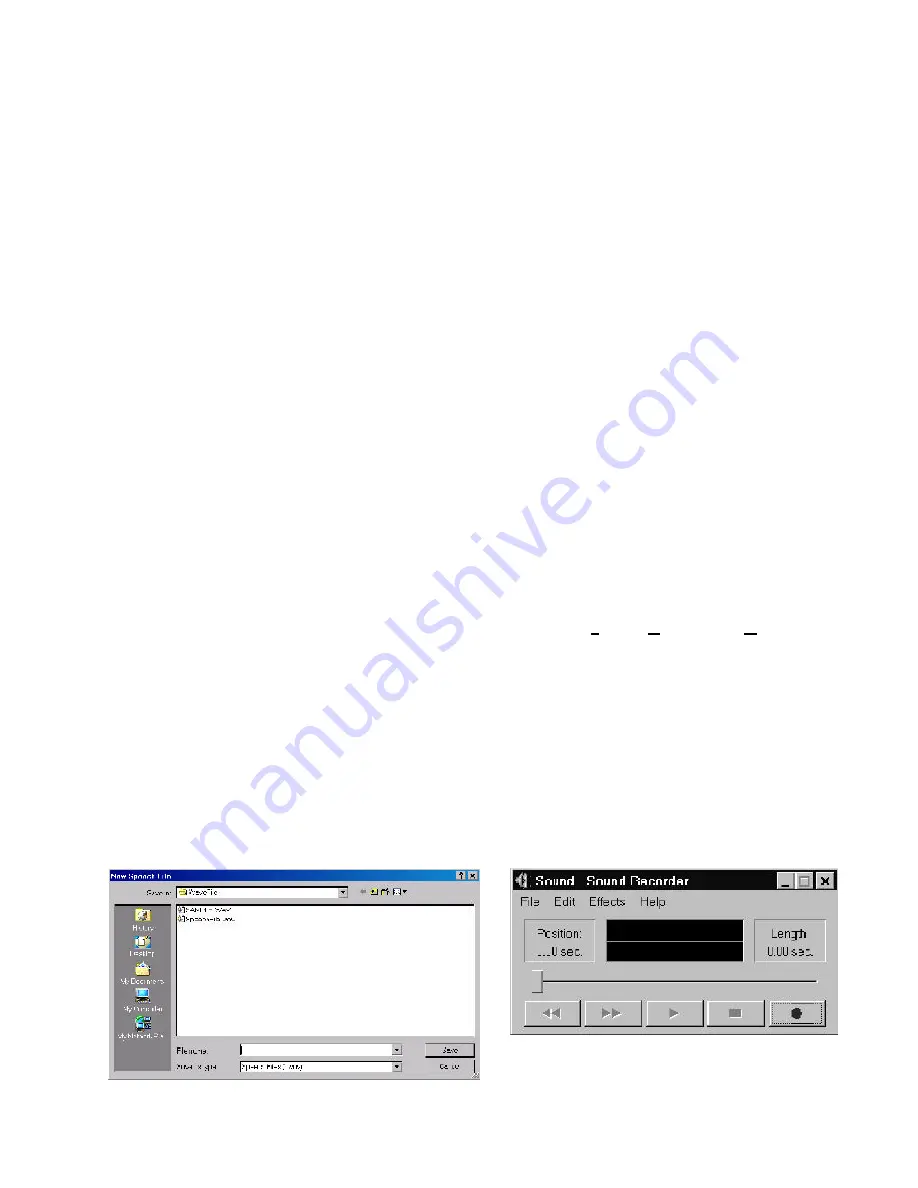
Figure 3-23: The Sound Recorder
After selecting
New Speech File
from the
File
menu, a window will open, allowing either selection of an existing
file, or creation of a new file. To create a new file, type the name of the file in the
File Name
field. Once a name
has been designated, select
Save
the
Sound Recorder
will appear. If selecting an already existing speech file, a
warning will appear stating that the current file will be overwritten.
New Speech File:
There are two types of voice messages in the UniNet system: those that are linked to events and those that are
linked to devices. Files that will be linked to events must be in
c:\uninet\ws\lang1
or
c:\uninet\ws\lang2
.
Files that will be linked to a device must be in
c:\uninet\ws\wavefile
. In order to record voice files, the Voice
Messaging option must be installed.
For instance, a device goes into alarm. A voice message is assembled using a file assigned in the Speech Annun-
ciation File Assignment dialog in the
System Setup
folder for the alarm type and files for the device address (e.g.
"Alert: Alarm in node one, device 02D01"). The screen will autonavigate to the device symbol in alarm. If the
device symbol has a red asterisk next to it, click the device symbol with the left mouse button. If
Play Audible
Message
is in the pop-up menu, there is a voice file linked to the device (e.g. "This detector is next to a
biohazard. Beware!"). This voice file is linked to the device using the
Add Symbol, Device
under
Graphics
or
Edit Symbol Attributes
in the device's pop-up menu.
Any operator with proper access levels may record new event-linked and device-linked voice files. There is a library
of event-linked voice files provided with UniNet which may be used or edited. Recording and listening to voice files
is done using the Speech Editor. There are two ways to access the Speech Editor in the UniNet software:
New/
Open Speech File
in the
File
menu and
Assign Voice Annunciation
in the
System Setup
folder (primarily
for event-linked files).
Creating Voice Files
Video files must be in .avi format for playback in the workstation. When copying video files (.avi) to the worksta-
tion place them in the
c:\uninet\ws\avifile
directory. Picture files must be in bitmap format with a .bmp
extension. They should be placed in the
c:\uninet\ws\bitmap
directory.
Adding Video and Picture Files
As described earlier, sound, video, text, and pictures can be linked to devices for display and playback. It is up to
the administrator to provide the sources of these files. Video and picture files must be added to the workstation
from outside resources. Speech and text files can be created and maintained using the Workstation utilities pro-
vided.
3.4.5 Adding Sound, Video and Text
The area on the right side of the
Analog Input Device
dialog provides a simple testing tool to check the perfor-
mance of a newly assigned analog device. The
Sample Display
area shows the device graphics with address,
value and state fields. The
Value Sweeper
has a control handle that can be moved up and down the range. As
it is moved the display values will change and the alarm states will be annunciated as each assigned alarm
threshold is reached. To use the sweeper handle simply click and hold the handle with the mouse pointer and slide
it up and down the range.
Summary of Contents for UniNet 2000
Page 14: ...14 The Workstation Installation Operation Manual Version 2 Document 51540 Rev B1 4 8 02 NOTES...
Page 36: ...36 The Workstation Installation Operation Manual Version 2 Document 51540 Rev B1 4 8 02 NOTES...
Page 62: ...62 The Workstation Installation Operation Manual Version 2 Document 51540 Rev B1 4 8 02 NOTES...
Page 86: ...86 The Workstation Installation Operation Manual Version 2 Document 51540 Rev B1 4 8 02 NOTES...
Page 102: ...102 The Workstation Installation Operation Manual Version 2 Document 51540 Rev B1 4 8 02 NOTES...
Page 118: ...118 The Workstation Installation Operation Manual Version 2 Document 51540 Rev B1 4 8 02 NOTES...
Page 122: ...122 The Workstation Installation Operation Manual Version 2 Document 51540 Rev B1 4 8 02 NOTES...
Page 128: ...128 The Workstation Installation Operation Manual Version 2 Document 51540 Rev B1 4 8 02 NOTES...
Page 130: ...130 The Workstation Installation Operation Manual Version 2 Document 51540 Rev B1 4 8 02 NOTES...
Page 136: ...136 The Workstation Installation Operation Manual Version 2 Document 51540 Rev B1 4 8 02 NOTES...
Page 150: ...150 The Workstation Installation Operation Manual Version 2 Document 51540 Rev B1 4 8 02 NOTES...
Page 168: ...168 The Workstation Installation Operation Manual Version 2 Document 51540 Rev B1 4 8 02 Notes...
Page 170: ...170 The Workstation Installation Operation Manual Version 2 Document 51540 Rev B1 4 8 02 NOTES...
Page 186: ...186 The Workstation Installation Operation Manual Version 2 Document 51540 Rev B1 4 8 02 NOTES...
Page 197: ...197 The Workstation Installation Operation Manual Version 2 Document 51540 Rev B1 4 8 02 NOTES...
Page 198: ...198 The Workstation Installation Operation Manual Version 2 Document 51540 Rev B1 4 8 02 NOTES...
Page 199: ...199 The Workstation Installation Operation Manual Version 2 Document 51540 Rev B1 4 8 02 NOTES...


