A-61635 December 2010
2-15
6. Define the number of columns and rows you want to display in the
Display
layout
field. On a 1024 x 768 SVGA screen, a matrix of 14 x 7 allows you to
check 98 images per screen.
7. Click
OK
to accept the values you entered.
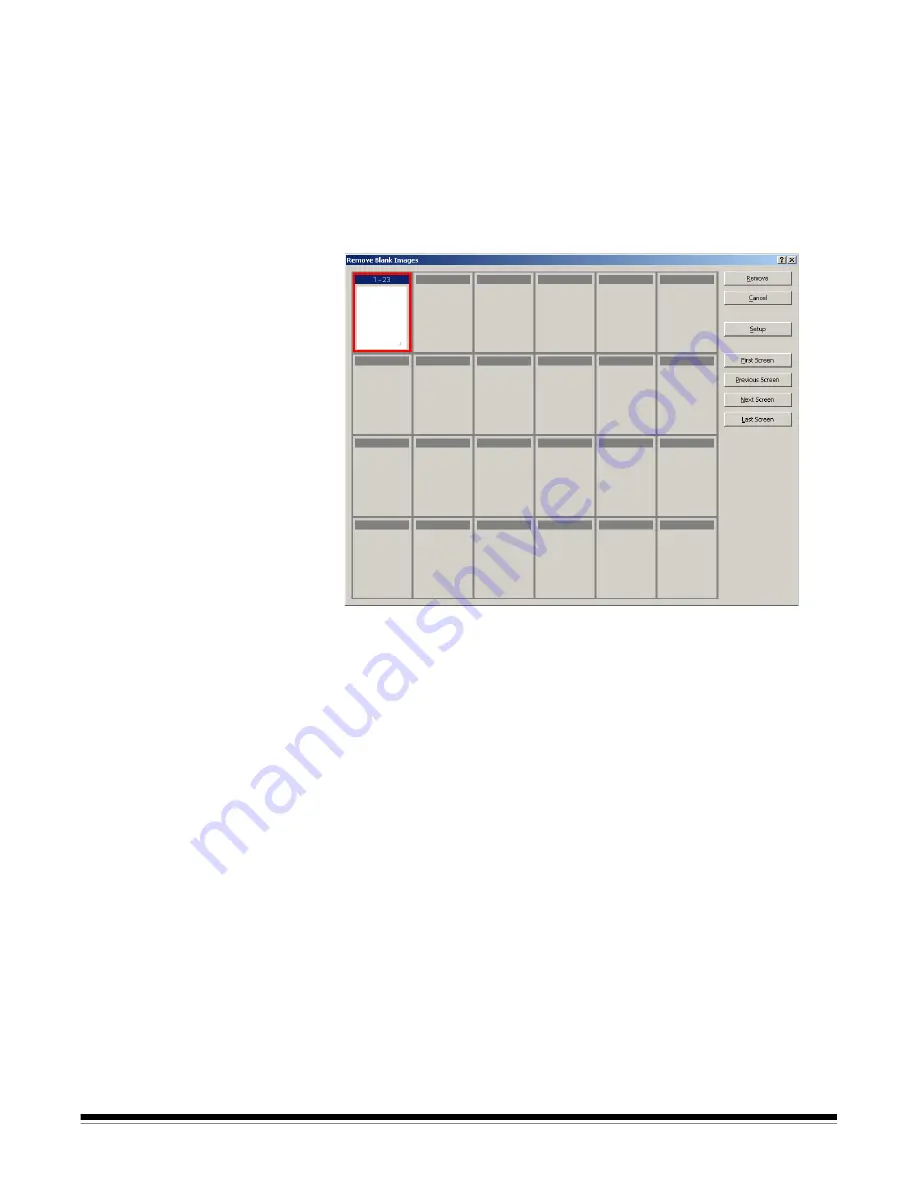
After the batch is examined,
Kodak
Capture Pro Software displays all the
images that match the criteria you set up (for example, back sides below
5000 bytes) the Remove Blank Images window. These images are
displayed in a red highlight color. All colored images are considered blank
and ready to be deleted.
• If no blank images are displayed in the Remove Blank Images window,
it means that
Kodak
Capture Pro Software cannot locate images in your
batch that match your criteria. You can click
Setup
on the Remove
Blank Images window to reopen the Remove Blank Images Setup
dialog box and enter higher threshold numbers (in bytes) for the black
and white and/or color/grayscale images.
8. By default, all the blank images are outlined in red and selected for
deletion. Select any blank images you do not want to delete by clicking
them individually. The red outline disappears on those images.
9. Use the
First Screen, Previous Screen, Next Screen
and
Last Screen
buttons to help you navigate through all the possible blank images in the
batch.
10. Click
Remove
. The message
Remove all selected images?
will be
displayed.
11. Select
Yes
to confirm the deletion of the blank images. Capture Pro
Software removes the blank images still outlined in red, repaginates the
documents, and updates the available batch and hard disk capacity.


