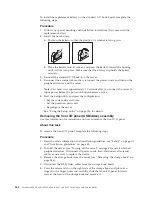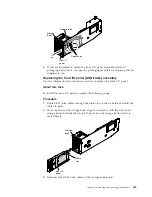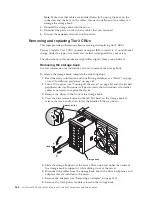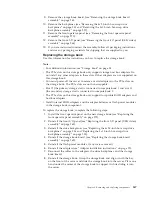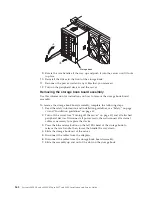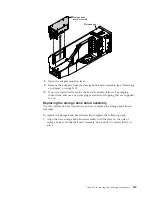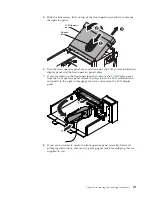
To install the replacement battery on the standard I/O book board, complete the
following steps:
Procedure
1.
Follow any special handling and installation instructions that come with the
replacement battery.
2.
Install the new battery:
a.
Position the battery so that the positive (+) symbol is facing you.
b.
Place the battery into its socket, and press the battery toward the housing
until it clicks into place. Make sure that the battery clip holds the battery
securely.
3.
Reinstall the standard I/O book into the server.
4.
Reconnect the external cables; then, reconnect the power cords and turn on the
peripheral devices and the server.
Note:
You must wait approximately 10 seconds after you connect the server to
input power before the power-on button becomes active.
5.
Start the Setup utility and reset the configuration.
v
Set the system date and time.
v
Set the power-on password.
v
Reconfigure the server.
See “Using the Setup utility” on page 126 for details.
Removing the front I/O panel (USB/video) assembly
Use this information for instructions on how to remove the front I/O panel.
About this task
To remove the front I/O panel, complete the following steps.
Procedure
1.
Read the safety information and installation guidelines, see “Safety” on page vii
and “Installation guidelines” on page 45.
2.
Turn off the server (see “Turning off the server” on page 41) and all attached
peripheral devices. Disconnect all power cords; then, disconnect all external
cables as necessary to replace the device.
3.
Remove the storage book from the server (see “Removing the storage book” on
page 266).
4.
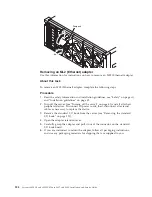
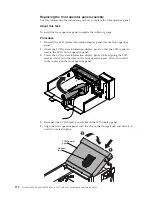
Disconnect the USB/video cables from the storage book board.
5.
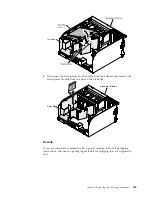
Press the release latch on the right side of the storage book and place two
fingers in the finger holes and carefully slide the front I/O panel forward
toward the front of the storage bookand remove it.
264
System x3850 X6 and x3950 X6 Types 3837 and 3839: Installation and Service Guide
Summary of Contents for X3850 X6
Page 1: ...System x3850 X6 and x3950 X6 Types 3837 and 3839 Installation and Service Guide...
Page 2: ......
Page 3: ...System x3850 X6 and x3950 X6 Types 3837 and 3839 Installation and Service Guide...
Page 138: ...120 System x3850 X6 and x3950 X6 Types 3837 and 3839 Installation and Service Guide...
Page 225: ...25 26 27 Chapter 5 Parts listing System x3850 X6 and x3950 X6 Types 3837 and 3839 207...
Page 1682: ...1664 System x3850 X6 and x3950 X6 Types 3837 and 3839 Installation and Service Guide...
Page 1706: ...1688 System x3850 X6 and x3950 X6 Types 3837 and 3839 Installation and Service Guide...
Page 1710: ...1692 System x3850 X6 and x3950 X6 Types 3837 and 3839 Installation and Service Guide...
Page 1728: ...1710 System x3850 X6 and x3950 X6 Types 3837 and 3839 Installation and Service Guide...
Page 1729: ......
Page 1730: ...Part Number 00FH434 Printed in USA 1P P N 00FH434...

