


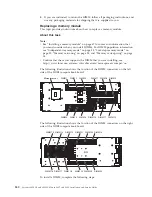


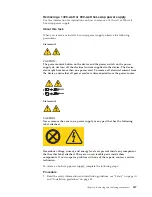

b.
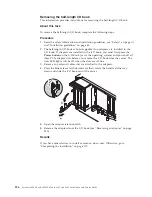
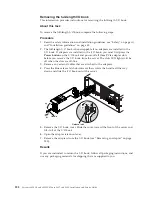
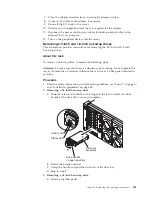
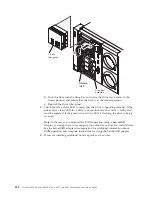
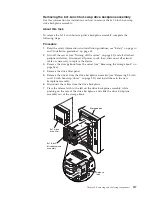
Grasp the orange and black release latch on the drive tray handle for the
drive that you want to remove and slide the release latch down to unlock
the drive-tray handle; then, rotate the drive tray handle to the right and the
pull the handle toward you to slide the drive out of the bay. Lift the drive
out of the drive tray.
Drive tray
assembly
Release
latch
1.8-inch
filler panel
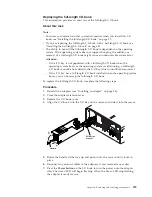
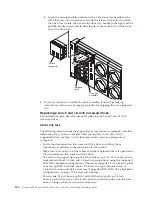
4.
If you are instructed to return the drive assembly, follow all packaging
instructions, and use any packaging materials for shipping that are supplied to
you.
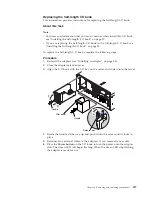
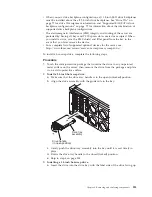
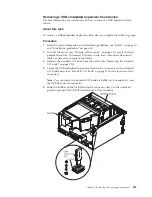
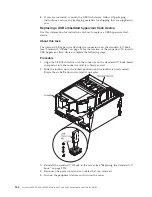
Replacing 2.5-inch and 1.8-inch hot-swap drives
This information provides instructions for replacing the 2.5-inch and 1.8-inch
hot-swap drives.
About this task
The following notes describe the type of drives that the server supports and other
information that you must consider when you install a drive. For a list of
supported drives, see http://www.ibm.com/servers/eserver/serverproven/
compat/us/.
v
Locate the documentation that comes with the drive and follow those
instructions in addition to the instructions in this section.
v
Make sure that you have all the cables and other equipment that are specified in
the documentation that comes with the drive.
v
The server can support up to eight 2.5-inch drives, up to 16 1.8-inch drives, or a
combination of both 2.5-inch and 1.8-inch hot-swap drives, using the supported
SAS\SATA backplane configurations. The server supports 2.5-inch hot-swap SAS
or hot-swap SATA hard disk drives, 2.5-inch hot-swap solid state drive, or
1.8-inch hot-swap solid state drives (see “Supported SAS/SATA drive backplane
configurations” on page 72 for more information).
v
You can mix 2.5-inch hot-swap SAS and SATA hard disk drives, 2.5-inch
hot-swap solid state drive, and 1.8-inch hot-swap solid state drives in the same
server as long as they are not on the same array.
232
System x3850 X6 and x3950 X6 Types 3837 and 3839: Installation and Service Guide
Summary of Contents for X3850 X6
Page 1: ...System x3850 X6 and x3950 X6 Types 3837 and 3839 Installation and Service Guide...
Page 2: ......
Page 3: ...System x3850 X6 and x3950 X6 Types 3837 and 3839 Installation and Service Guide...
Page 138: ...120 System x3850 X6 and x3950 X6 Types 3837 and 3839 Installation and Service Guide...
Page 225: ...25 26 27 Chapter 5 Parts listing System x3850 X6 and x3950 X6 Types 3837 and 3839 207...
Page 1682: ...1664 System x3850 X6 and x3950 X6 Types 3837 and 3839 Installation and Service Guide...
Page 1706: ...1688 System x3850 X6 and x3950 X6 Types 3837 and 3839 Installation and Service Guide...
Page 1710: ...1692 System x3850 X6 and x3950 X6 Types 3837 and 3839 Installation and Service Guide...
Page 1728: ...1710 System x3850 X6 and x3950 X6 Types 3837 and 3839 Installation and Service Guide...
Page 1729: ......
Page 1730: ...Part Number 00FH434 Printed in USA 1P P N 00FH434...