4.
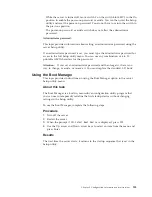
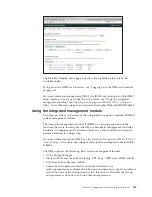
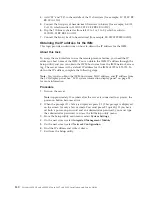
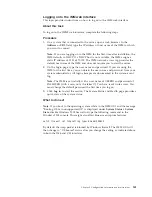
At the system prompt, type your command.
Note:
You can type
help
in the command prompt if you want to see a list of
commands that you can use.
5.
When you are finished, type
Exit
, to exit the session.
Setting power supply power policy and system power
configurations
This topic provides information about setting the power policy and system power
configuration for the power supplies.
The server default power supply configuration setting, when shipped from the
factory, is non-redundant mode with throttling enabled for both the ac and dc
power supply models. If you want to change the mode to redundancy mode, you
must use IMM2 web interface to set and change the power supply Power Policy
and System Power Configurations options settings. You can set and change the
policies and configurations using the IMM2 web interface, CIM, or the Advanced
Settings Utility. You cannot set or change the Power Policy or System Power
Configurations options setting using the UEFI Setup utility
If you do not adhere to the following information, it can cause errors or cause the
server not to boot up (start).
v
The server supports the following power supply redundancy modes:
– Non-Redundant
– Fully Redundant
– Redundant with Throttle
v
You must use IMM2 to set and change the Power Policy and System Power
Configurations.
v
You cannot use UEFI to change Power Policy and System Power Configurations.
v
The power configurations and policies can be changed using IMM2 web
interface, CIM, or Advanced Settings Utility (ASU).
v
Five N+N configurations are supported for 1+1 and 2+2 (as listed in the System
power configuration screen on IMM2 web interface).
v
For redundancy, the input feeds must be wired with separate feeds to power
supplies 1 and 3, and power supplies 2 and 4 (this is critical for mixed wattage).
v
The server will not boot if enough power is not available for the selected policy
setting. This can occur if you select 2+2 1400W for the policy setting and one of
the power supplies is 110 V ac.
v
The server will not boot when you mix (900W and 1400W) power supply
wattage if the power supply slots are not balanced such as 1 and 3, and 2 and 4.
v
1400W power supply is 1400W at high line (200 V ac), and only 900W at low
line (100 V ac).
v
900W power supply is 900W at both high line and low line.
v
For 900W ac and 750W dc, a mechanical spacer must be installed in the bay
with the power supply.
v
Suggested power supply installation order is bay 2, 3, 1, then 4.
v
Power maximizer runs during system boot to verify that the available power
meets the system load requirements.
v
750W dc power supply is only supported in a four power supply configuration.
Chapter 3. Configuration information and instructions
143
Summary of Contents for X3850 X6
Page 1: ...System x3850 X6 and x3950 X6 Types 3837 and 3839 Installation and Service Guide...
Page 2: ......
Page 3: ...System x3850 X6 and x3950 X6 Types 3837 and 3839 Installation and Service Guide...
Page 138: ...120 System x3850 X6 and x3950 X6 Types 3837 and 3839 Installation and Service Guide...
Page 225: ...25 26 27 Chapter 5 Parts listing System x3850 X6 and x3950 X6 Types 3837 and 3839 207...
Page 1682: ...1664 System x3850 X6 and x3950 X6 Types 3837 and 3839 Installation and Service Guide...
Page 1706: ...1688 System x3850 X6 and x3950 X6 Types 3837 and 3839 Installation and Service Guide...
Page 1710: ...1692 System x3850 X6 and x3950 X6 Types 3837 and 3839 Installation and Service Guide...
Page 1728: ...1710 System x3850 X6 and x3950 X6 Types 3837 and 3839 Installation and Service Guide...
Page 1729: ......
Page 1730: ...Part Number 00FH434 Printed in USA 1P P N 00FH434...


