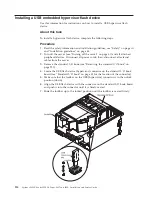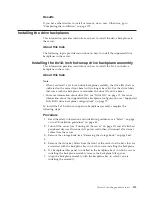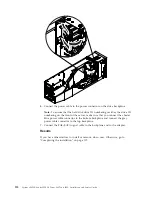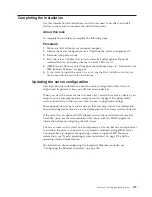
5.
Touch the static-protective package that contains the power supply to any
unpainted metal surface on the server; then, remove the power supply from
the package and place it on a static-protective surface.
6.
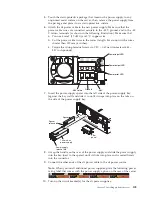
Attach the dc power cable to the new power supply. Make sure that the
power cable wires are connected securely to the -48 V, ground, and to the -48
V return terminals (as shown in the following illustration). Make sure that:
a.
You use 4 mm2 (10 AWG) at 60° C copper wire.
b.
Cut the power cable wires to the correct length, but do not cut the wires
shorter than 150 mm (6 inches).
c.
Torque the wiring-terminal screws to 0.50 ~ 0.60 newton-meters (4.43 ~
5.31 inch-pounds).
Power input LED
Power output LED
Power error LED
-48V
Ground
-48V return
7.
Insert the power-supply spacer into the left side of the power-supply bay
(against the bay wall) and slide it in until it snaps into place on the tabs on
the side of the power supply bay.
Filler
panel
Spacer
750-watt ac
power supply
Power supply
release tab
Spacer
release tab
8.
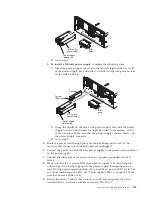
Grasp the handle on the rear of the power supply and slide the power supply
into the bay (next to the spacer) until it clicks into place and is seated firmly
into the connector.
9.
Connect the other ends of the dc power cable to the dc power source.
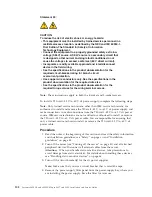
Note:
When you install additional power supplies, place the following power
rating label that comes with the power supply option on the rear of the server.
10.
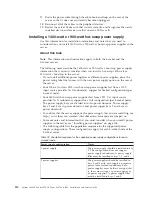
Turn on the circuit breaker(s) for the dc power supplies.
Chapter 2. Installing optional devices
109
Summary of Contents for X3850 X6
Page 1: ...System x3850 X6 and x3950 X6 Types 3837 and 3839 Installation and Service Guide...
Page 2: ......
Page 3: ...System x3850 X6 and x3950 X6 Types 3837 and 3839 Installation and Service Guide...
Page 138: ...120 System x3850 X6 and x3950 X6 Types 3837 and 3839 Installation and Service Guide...
Page 225: ...25 26 27 Chapter 5 Parts listing System x3850 X6 and x3950 X6 Types 3837 and 3839 207...
Page 1682: ...1664 System x3850 X6 and x3950 X6 Types 3837 and 3839 Installation and Service Guide...
Page 1706: ...1688 System x3850 X6 and x3950 X6 Types 3837 and 3839 Installation and Service Guide...
Page 1710: ...1692 System x3850 X6 and x3950 X6 Types 3837 and 3839 Installation and Service Guide...
Page 1728: ...1710 System x3850 X6 and x3950 X6 Types 3837 and 3839 Installation and Service Guide...
Page 1729: ......
Page 1730: ...Part Number 00FH434 Printed in USA 1P P N 00FH434...

