Chapter 14
14-8
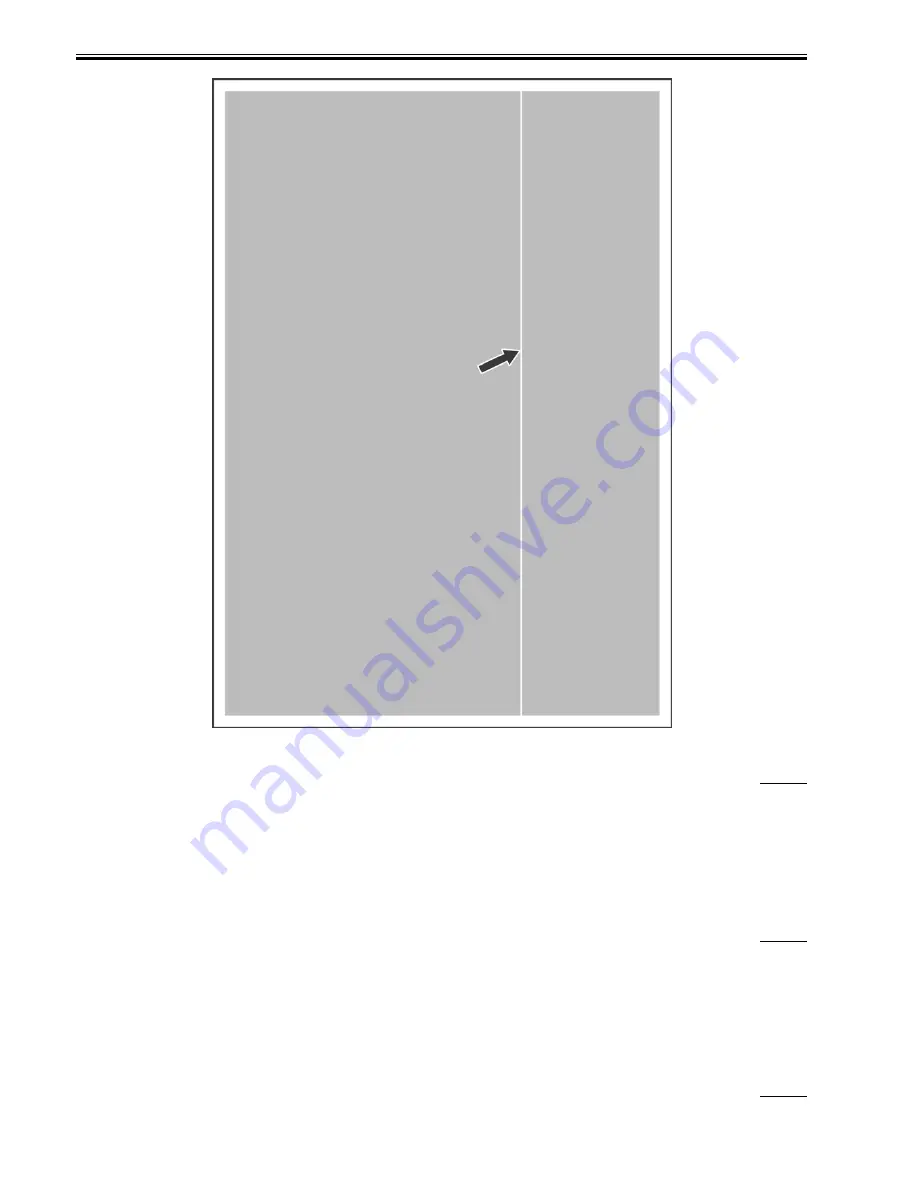
F-14-6
14.2.1.4.3 Void/uneven image/toner is not supplied: Because connector of toner feedscrew motor is unplugged
0010-4137
iR2270 / iR2870 / iR3570 / iR4570 / / / / / iR2230 / / / iR3530 / / / / /
[ Inspected by Canon Inc. ]
Description
As a result of inspection, it was found that the symptom occurred because the connector of the toner feed screw motor was unplugged.
Field Remedy
When the symptom occurs, execute the following service mode to make a test run of the toner feedscrew motor. If operating noise does not occur, check the
connector J3205 of the motor in the rear side of the hopper assembly.
[Service mode > COPIER > FUNCTION > PART-CHK > MTR > enter "9" > OK > MTR-ON].
14.2.1.4.4 Faulty image/void (in sub scanning direction) appears approx. 10mm away from front side of paper: Because contact image
sensor is faulty
0010-6762
iR2270 / iR2870 / iR3570 / iR4570 / / iR2270N / / iR2870N / / iR3570N / / iR4570N / iR2230 / / / iR3530 / / / / /
[ Inspected by Canon Inc. ]
Description
In a certain inspection case, void (in sub scanning direction) appeared approx. 10mm away from the front side of paper; however, replacement of the contact image
sensor corrected it.
Field Remedy
If there is a difference in the position of void between when an image size is enlarged and when the image size is reduced, replace the contact image sensor with a
new one.
FL2-3000 Contact Image Sensor Unit
14.2.1.4.5 Void at about 43mm intervals/uneven density (in main scanning direction): Because developing assembly is faulty
0010-7368
iR2270 / iR2870 / iR3570 / iR4570 / / iR2270N / / iR2870N / / iR3570N / / iR4570N / iR2230 / / / iR3530 / / / / /
Summary of Contents for iR3570 Series
Page 1: ...Jan 17 2007 Service Manual iR4570 3570 2870 2270 Series...
Page 2: ......
Page 6: ......
Page 27: ...Chapter 1 Introduction...
Page 28: ......
Page 70: ......
Page 71: ...Chapter 2 Installation...
Page 72: ......
Page 146: ......
Page 147: ...Chapter 3 Basic Operation...
Page 148: ......
Page 150: ......
Page 154: ......
Page 155: ...Chapter 4 Main Controller...
Page 156: ......
Page 187: ...Chapter 5 Original Exposure System...
Page 188: ......
Page 217: ...Chapter 5 5 27 F 5 91...
Page 218: ......
Page 219: ...Chapter 6 Laser Exposure...
Page 220: ......
Page 222: ......
Page 230: ......
Page 231: ...Chapter 7 Image Formation...
Page 232: ......
Page 236: ......
Page 280: ......
Page 281: ...Chapter 8 Pickup Feeding System...
Page 282: ......
Page 388: ......
Page 389: ...Chapter 9 Fixing System...
Page 390: ......
Page 419: ...Chapter 9 9 27 F 9 148...
Page 420: ......
Page 421: ...Chapter 10 External and Controls...
Page 422: ......
Page 426: ......
Page 437: ...Chapter 10 10 11 F 10 12 2 Remove the check mark from SNMP Status Enabled...
Page 438: ...Chapter 10 10 12 F 10 13...
Page 440: ...Chapter 10 10 14 F 10 15...
Page 475: ...Chapter 11 MEAP...
Page 476: ......
Page 478: ......
Page 481: ...Chapter 12 Maintenance and Inspection...
Page 482: ......
Page 484: ......
Page 509: ...Chapter 13 Standards and Adjustments...
Page 510: ......
Page 512: ......
Page 521: ...Chapter 14 Correcting Faulty Images...
Page 522: ......
Page 528: ......
Page 537: ...Chapter 14 14 9 43mm s b Z x i j B iR4570_395 s u A B FM2 0287...
Page 538: ...Chapter 14 14 10...
Page 539: ...Chapter 14 14 11...
Page 585: ...Chapter 15 Self Diagnosis...
Page 586: ......
Page 588: ......
Page 623: ...Chapter 16 Service Mode...
Page 624: ......
Page 626: ......
Page 679: ...Chapter 17 Upgrading...
Page 680: ......
Page 682: ......
Page 693: ...Chapter 17 17 11 F 17 18 2 Click Start F 17 19 3 When the session has ended click OK...
Page 698: ...Chapter 17 17 16 F 17 28 2 Click Start F 17 29 3 When the session has ended click OK...
Page 710: ...Chapter 17 17 28 F 17 51 3 Click Start F 17 52 4 Click Save...
Page 712: ...Chapter 17 17 30 F 17 55 2 Select the data to download F 17 56 3 Click Start...
Page 714: ......
Page 715: ...Chapter 18 Service Tools...
Page 716: ......
Page 718: ......
Page 720: ......
Page 721: ...Jan 17 2007...
Page 722: ......


