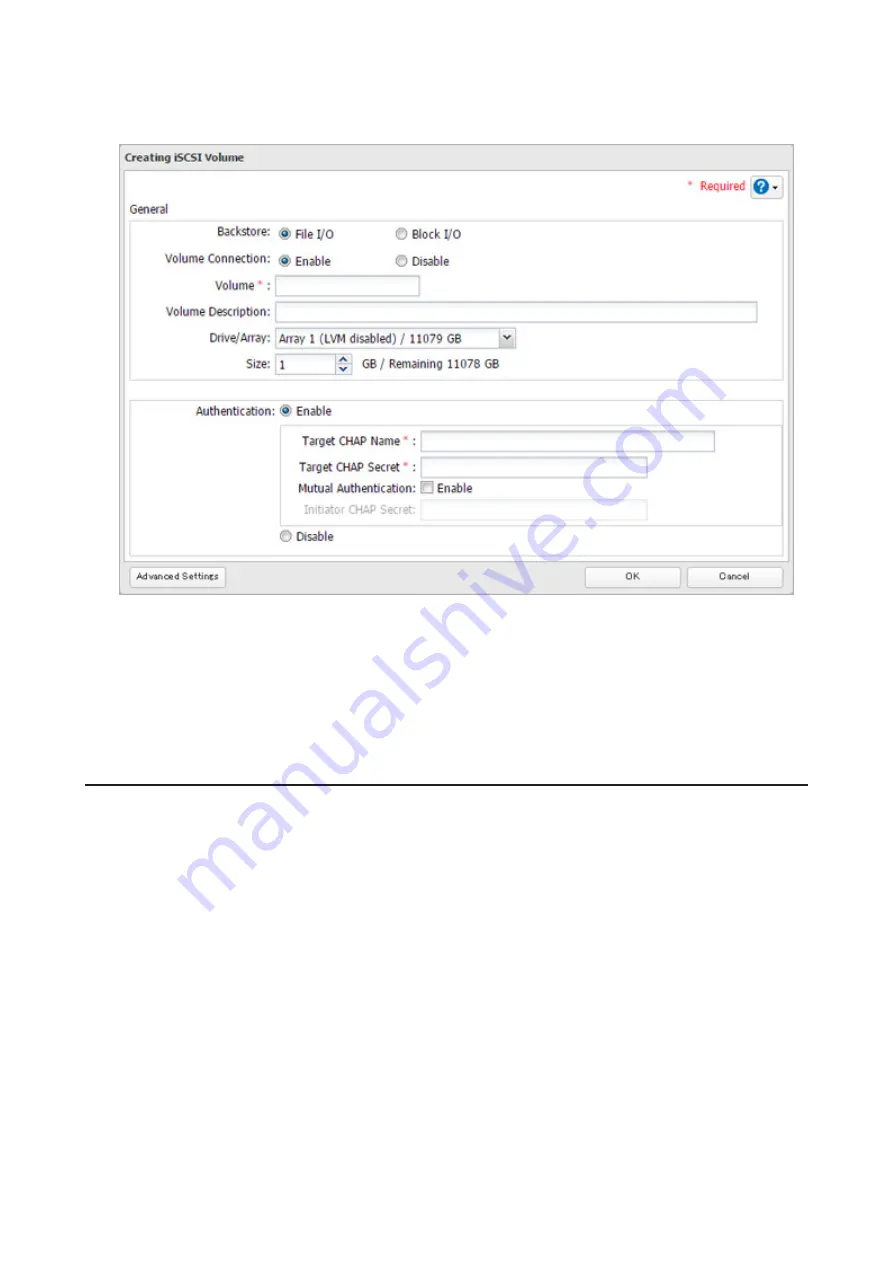
If you enabled LVM for the target drive or array, or selected "File I/O" for the "Backstore" option, the volume size
that you specify here can be changed later. To change the volume size, refer to the "Expanding Volume Sizes"
section below.
6
The "Confirm Operation" screen will open. Enter the confirmation number, then click
OK
.
7
Click
OK
, then
Close
.
Note:
If you click
Disable Connection
for the selected volume in
Storage
-
iSCSI
in Settings, the selected iSCSI volume
can no longer be accessed. If you click
Enable Connection
, the volume will become accessible from the iSCSI initiator
software.
Connecting or Disconnecting Volumes
Note:
By default, the IP address of the TeraStation is automatically assigned from a DHCP server. However, in this
case, if you turn off and restart the TeraStation, the IP address may be changed and the volumes on the TeraStation
may not be accessible. To avoid changing the IP address unexpectedly, using a static IP address for the TeraStation is
recommended.
Connecting Volumes
To connect a volume, follow the procedure below.
Note:
Do not shut down the TeraStation while connecting to an iSCSI volume. It may cause unexpected data erasure.
Make sure all connections are disconnected before shutdown.
1
In Windows, navigate to
Control Panel
-
Administrative Tools
-
iSCSI Initiator
.
69
Summary of Contents for TeraStation 5010 TS51210RH
Page 32: ...3 Click Create User 31...
Page 35: ...3 Click Add Group 34...
Page 103: ...2 Click to the right of Failover 3 Click the Periodic Sync tab 4 Click Edit 102...
Page 106: ...15Click Time Machine 105...
Page 107: ...16Click Select Backup Disk 17Select the TeraStation then click Use Disk 106...
Page 122: ...5 Click Edit 121...
Page 145: ...7 Click to the right of NFS 8 Click the Client Settings tab 144...
Page 168: ...3 Click Edit 167...
Page 169: ...4 Select or enter the desired MTU size and click OK 168...
Page 171: ...3 Click Edit 170...
Page 211: ...IEC60950 1 WARNING Hazardous moving parts Keep away from moving fan blades 210...


