Replacing Drives on Another Unit Series Other Than the
TS51210RH Series
LEDs
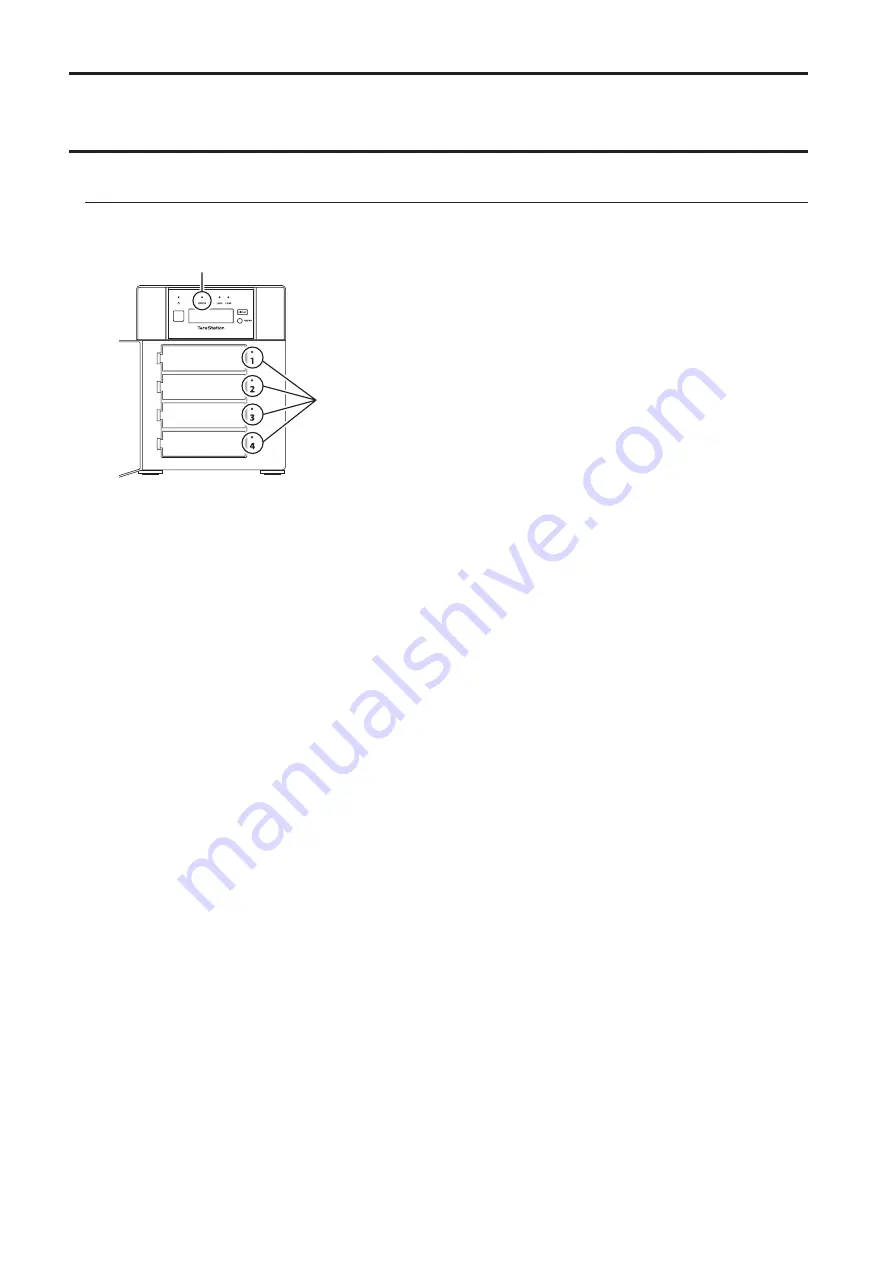
Drives in the TeraStation show a green status LED during normal operation. If a drive fails, its error LED will glow red.
The following drive replacement examples use the case of the TS5410DN series.
1
2
1
Error LED
Glows red if a drive has failed.
2
Status LEDs
The failed drive's status LED will be glowing a steady red. A drive with a red status LED is ready to hot-swap.
Notes:
• Do not unplug a drive whose status LED is green instead of red. Dismount it first or shut down the TeraStation
before swapping a working drive. If you remove the drive without properly dismounting it, data may be lost or
the TeraStation may malfunction.
• For the replacement drive, use a Buffalo OP-HDN series drive for TS5010DN series TeraStations. If using the
TS5210DF series, use an OP-SSD series drive as the replacement drive. The new drive should be the same size or
larger. If a larger drive is used, the extra space will not be usable in a RAID array.
• To avoid damaging the TeraStation with static electricity, ground yourself by touching something made of metal
before handling any sensitive electronic parts.
• After a drive is replaced, it will take about 30 minutes before normal file reading and writing are restored. Settings
may not be accessible during this period.
• Do not change the order of the drives in the TeraStation. For example, pulling out drive 1 and replacing it with
drive 2 may cause data to be corrupted or lost.
• If the LCD panel does not change after a new drive is installed, click
Rediscover Drive
in Settings.
181
Summary of Contents for TeraStation 5010 TS51210RH
Page 32: ...3 Click Create User 31...
Page 35: ...3 Click Add Group 34...
Page 103: ...2 Click to the right of Failover 3 Click the Periodic Sync tab 4 Click Edit 102...
Page 106: ...15Click Time Machine 105...
Page 107: ...16Click Select Backup Disk 17Select the TeraStation then click Use Disk 106...
Page 122: ...5 Click Edit 121...
Page 145: ...7 Click to the right of NFS 8 Click the Client Settings tab 144...
Page 168: ...3 Click Edit 167...
Page 169: ...4 Select or enter the desired MTU size and click OK 168...
Page 171: ...3 Click Edit 170...
Page 211: ...IEC60950 1 WARNING Hazardous moving parts Keep away from moving fan blades 210...


