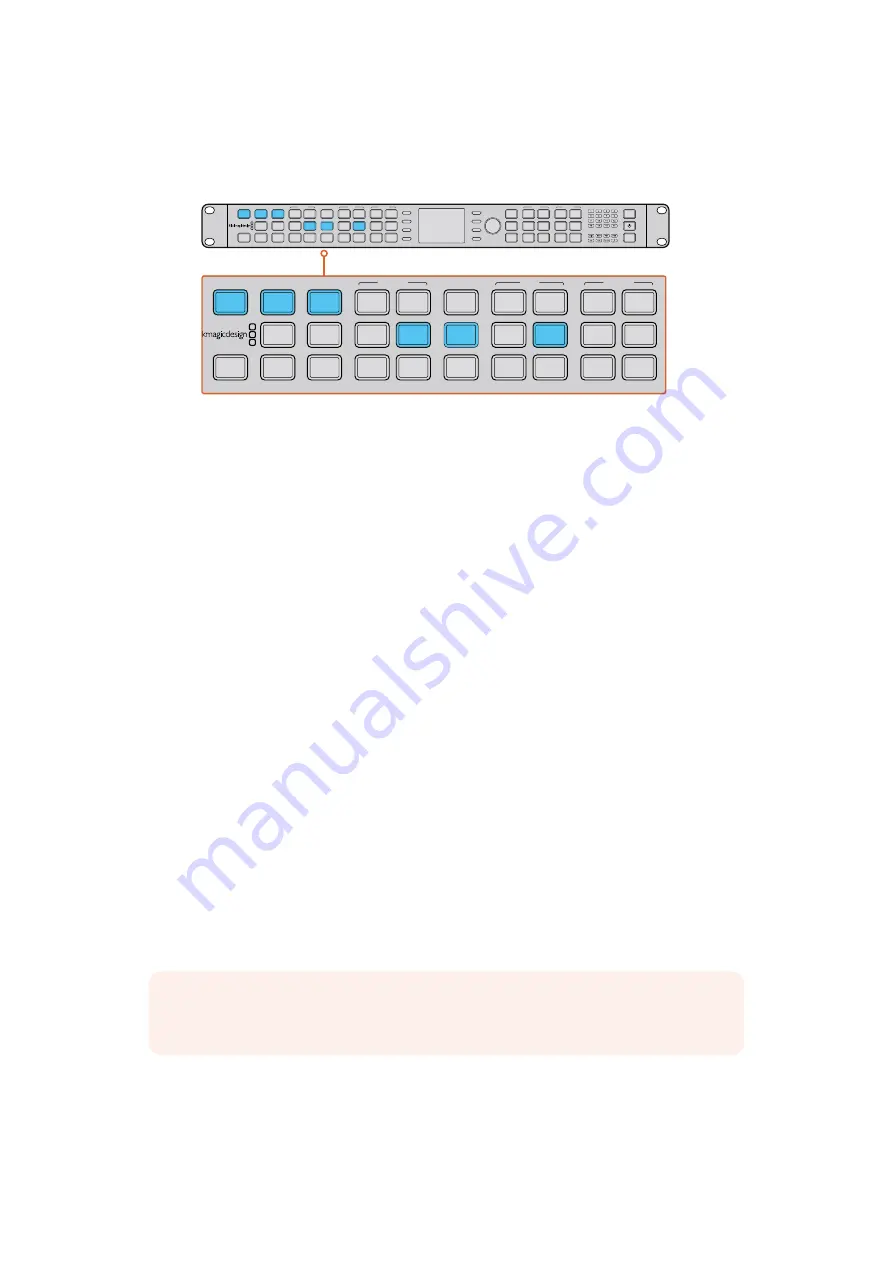
4
Using the ‘audio’ buttons, select the embedded, AES, or analog audio input.
5
After setting your input, you can now change your output settings for your
desired conversion.
Press the IN button to display the video input format. In this example,
the format is 1080i50 via SDI with embedded audio.
Setting your output
1
Press the ‘out’ button on the left side of the control panel.
2
Select the video ‘format’ you want to convert to.
3
Choose the ‘frame’ line mode you want. For example, progressive, interlaced or
progressive segmented frame.
4
Choose the desired frame ‘rate’.
5
Now set the ‘aspect’ ratio you want.
Your converted video will now appear on the LCD and is available on all relevant video outputs.
Setting the Latency for Teranex AV
Teranex AV has a processing mode which by default is set to ‘lowest latency.’ This mode is ideal
for use in live productions, with a typical latency or processing delay through the Teranex AV of
2 frames. To achieve this low latency, Teranex features not required in live productions are
bypassed without affecting the overall image quality of your program. For post production
applications we recommend that you use the ‘highest quality’ setting, which will enable you to
utilize scene cut detection, noise reduction and linear interpolation algorithms as needed. To
set the latency for Teranex AV:
1
Press the ‘home’ button, then press ‘system setup’ and then ‘processing’ to reach the
‘processing’ menu.
2
Select ‘lowest latency’ for live productions or ‘highest quality’ for post production
applications.
3
Your Teranex AV will restart to enable the chosen processing mode.
That’s all there is to getting started with your Teranex processor. With the setup utility installed
and your Teranex updated with the latest internal software, you can start setting your conversion
workflows. Please keep reading the instruction manual for more detailed information on all the
different conversion types, settings and powerful features of your Teranex processor.
IN
OUT
SDI
HDMI
ANLG
EMBED
AES
ANLG
486
720
2K
1080
576
1080
P
I
PSF
HOME
MENU
1
MENU
2
REM
LOCK
PANEL
LOCK
23.98
25
29.97
30
24
50
59.94
60
GAIN
SAT
R-Y
B-Y
BLK
HUE
SHARP
SYSTEM STATUS
1
3
5
2
4
6
ANAM
LBOX
PBOX
SMART
14:9
CCUT
ZOOM
ADJ
VIDEO
AUDIO
FORMAT
FRAME
MENU
RATE
VIDEO
PRESETS
AUDIO STATUS
ASPECT
NOTE
For more information, refer to the “Conversion Workflows” section in
this manual.
6
6
Getting Started
Summary of Contents for Teranex 2D Processor
Page 123: ...2017 6 Teranex Processors...
Page 244: ...Manuel d utilisation et d installation Teranex Processors Juin 2017 Fran ais...
Page 365: ...Installations und Bedienungsanleitung Teranex Processors Juni 2017 Deutsch...
Page 486: ...Manual de instalaci n y funcionamiento Procesadores Teranex Espa ol Junio 2017...
Page 607: ...Teranex 2017 6...
Page 608: ...Blackmagic Design Teranex Teranex SDI HDMI Teranex SIMD Teranex Grant Petty Blackmagic Design...
Page 626: ...Configure Teranex IP Teranex Name Teranex Setup Teranex 1 626 626...
Page 684: ...1 DaVinci Resolve GPU Teranex DaVinci Resolve 2 Teranex 3 4 5 GPU Teranex 1 2 3 Stop 684 684...
Page 728: ...Teranex Processor 2017 6...
Page 729: ...Blackmagic Design Teranex Teranex SDI HDMI Teranex SIMD Teranex Teranex Blackmagic Design CEO...
Page 747: ...Configure Teranex IP Teranex Teranex Name Teranex Setup Teranex 1 1 747 747...
Page 849: ...Teranex 2017...
Page 850: ...Teranex SDI HDMI Teranex SIMD Teranex Grant Petty Blackmagic Design...
Page 868: ...Configure IP Teranex Name Teranex Setup 868 868...
Page 939: ...0 10 1023 10 Blk Gain Teranex dBFS VU dBFS VU VU 0 0 939 939 Blackmagic UltraScope...


