


Chapter 2 Hardware Installation and Connection
XS3800-28 User’s Guide
42
3
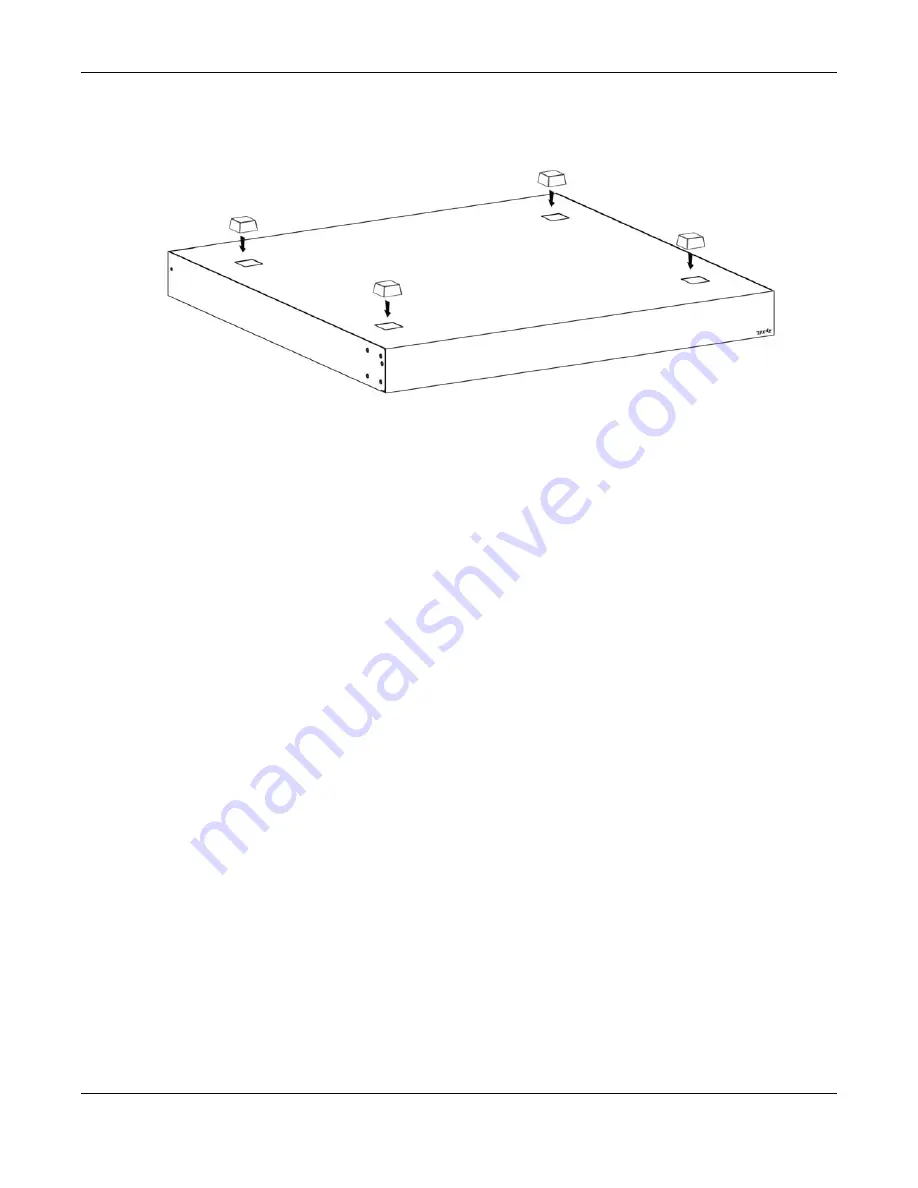
Attach the rubber feet to each corner on the bottom of the Switch. These rubber feet help protect the
Switch from shock or vibration and ensure space between devices when stacking.
Figure 9
Attaching Rubber Feet
4
Set the Switch on a smooth, level surface strong enough to support the weight of the Switch and the
connected cables. Make sure there is a power outlet nearby.
Cautions:
• Avoid stacking fanless Switches to prevent overheating.
• Ensure enough clearance around the Switch to allow air circulation for cooling.
• Do NOT remove the rubber feet as it provides space for air circulation.
2.4 Mounting the Switch on a Rack
The Switch can be mounted on an EIA standard size, 19-inch rack or in a wiring closet with other
equipment. Follow the steps below to mount your Switch on a standard EIA rack using a rack-mounting
kit.
Note: Make sure there is enough clearance between each equipment on the rack for air
circulation.
2.4.1 Installation Requirements
• Two mounting brackets.
• Eight M3 flat head screws and a #2 Philips screwdriver.
• Four M5 flat head screws and a #2 Philips screwdriver.
2.4.2 Precautions
• Make sure the rack will safely support the combined weight of all the equipment it contains. The
maximum weight a bracket can hold is 21.5 kg.
• Make sure the position of the Switch does not make the rack unstable or top-heavy. Take all
necessary precautions to anchor the rack securely before installing the unit.
Содержание XS3800-28
Страница 29: ...29 PART I User s Guide...
Страница 54: ...54 PART II Technical Reference...
Страница 88: ...Chapter 4 Web Configurator XS3800 28 User s Guide 88 Figure 51 Online Web Help...
Страница 123: ...Chapter 13 Neighbor XS3800 28 User s Guide 123 Figure 77 MONITOR Neighbor Neighbor Details Standalone Mode...
Страница 139: ...Chapter 17 System Information XS3800 28 User s Guide 139 Figure 90 MONITOR System Information Standalone Mode...
Страница 148: ...Chapter 20 Cloud Management XS3800 28 User s Guide 148 Figure 94 SYSTEM Cloud Management...
Страница 221: ...Chapter 33 Green Ethernet XS3800 28 User s Guide 221 Figure 149 PORT Green Ethernet Standalone Mode...
Страница 263: ...Chapter 36 OAM XS3800 28 User s Guide 263 Figure 182 PORT OAM OAM Status OAM Details...
Страница 334: ...Chapter 44 Multicast XS3800 28 User s Guide 334 Figure 248 MVR Group Configuration Example View...
Страница 406: ...Chapter 54 Spanning Tree Protocol XS3800 28 User s Guide 406 Figure 302 MSTP and Legacy RSTP Network Example...
Страница 420: ...Chapter 57 VLAN XS3800 28 User s Guide 420 Figure 315 SWITHCING VLAN VLAN Setup Static VLAN Add Edit Standalone Mode...
Страница 439: ...Chapter 57 VLAN XS3800 28 User s Guide 439 Figure 336 SWITCHING VLAN Port Based VLAN Setup Port Isolation...
Страница 540: ...Chapter 72 VRRP XS3800 28 User s Guide 540 Figure 434 VRRP Example 2 VRRP Status on Switch B...
Страница 581: ...Chapter 77 Policy Rule XS3800 28 User s Guide 581 Figure 456 Policy Example...
Страница 658: ...Chapter 86 Port Security XS3800 28 User s Guide 658 Figure 521 SECURITY Port Security Standalone Mode...
Страница 678: ...Chapter 87 MAINTENANCE XS3800 28 User s Guide 678 Figure 542 MAINTENANCE Configuration Configure Clone Stacking Mode...
Страница 680: ...Chapter 87 MAINTENANCE XS3800 28 User s Guide 680 Figure 543 MAINTENANCE Diagnostic Standalone Mode...
Страница 684: ...Chapter 87 MAINTENANCE XS3800 28 User s Guide 684 Figure 545 MAINTENANCE Firmware Upgrade Standalone Mode...
Страница 747: ...747 PART III Troubleshooting and Appendices...