Chapter 6 - Additional Configuration Options
Configure and Use Encryption
4.
Power down the system as described in
Reboot or Shut Down a BlackPearl System on
.
5.
Locate the drive(s) in the chassis using the slot number and verify the serial number(s)
you recorded in
6.
Locate the PSID value on the drive label and record the value.
7.
Repeat
and
for any additional drives you want to erase.
8.
Power on the system as described in
Power On the System on page 47
9.
Log into the system as described in
Log Into the BlackPearl User Interface on page 52
.
10.
From the menu bar, select
Status > Hardware
or click the Hardware pane on the
Dashboard, or click the Hardware link on the status bar. The Hardware screen displays
(see
).
11.
Click
Data Drives
. The hardware screen refreshes and displays all disk drives present in
the system.
12.
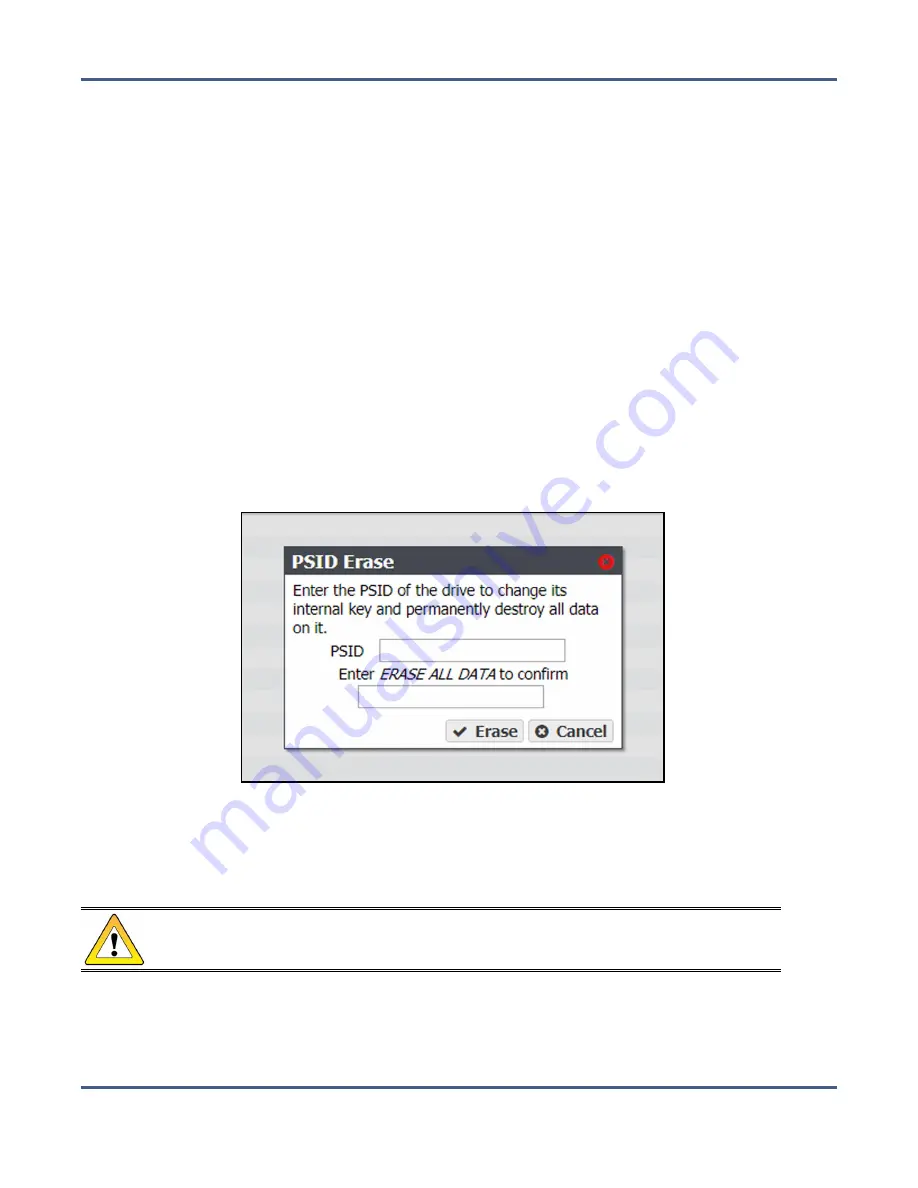
On the row of the drive you want to erase, click PSID Erase. The PSID Erase dialog box
displays.
Figure 110
The PSID Erase dialog box.
13.
Enter the PSID value you recorded in
in the
PSID
entry field.
14.
Type
ERASE ALL DATA
in the confirmation entry field.
CAUTION
Performing a PSID Erase on a drive permanently erases all data on the drive.
15.
Click
Erase
.
16.
Repeat
through
for any additional drives you want to erase.
November 2020
User Guide-BlackPearl Converged Storage System
- 200 -


