Chapter 4 - Configuring Advanced Bucket Management
Create a Replication Target
2.
Select
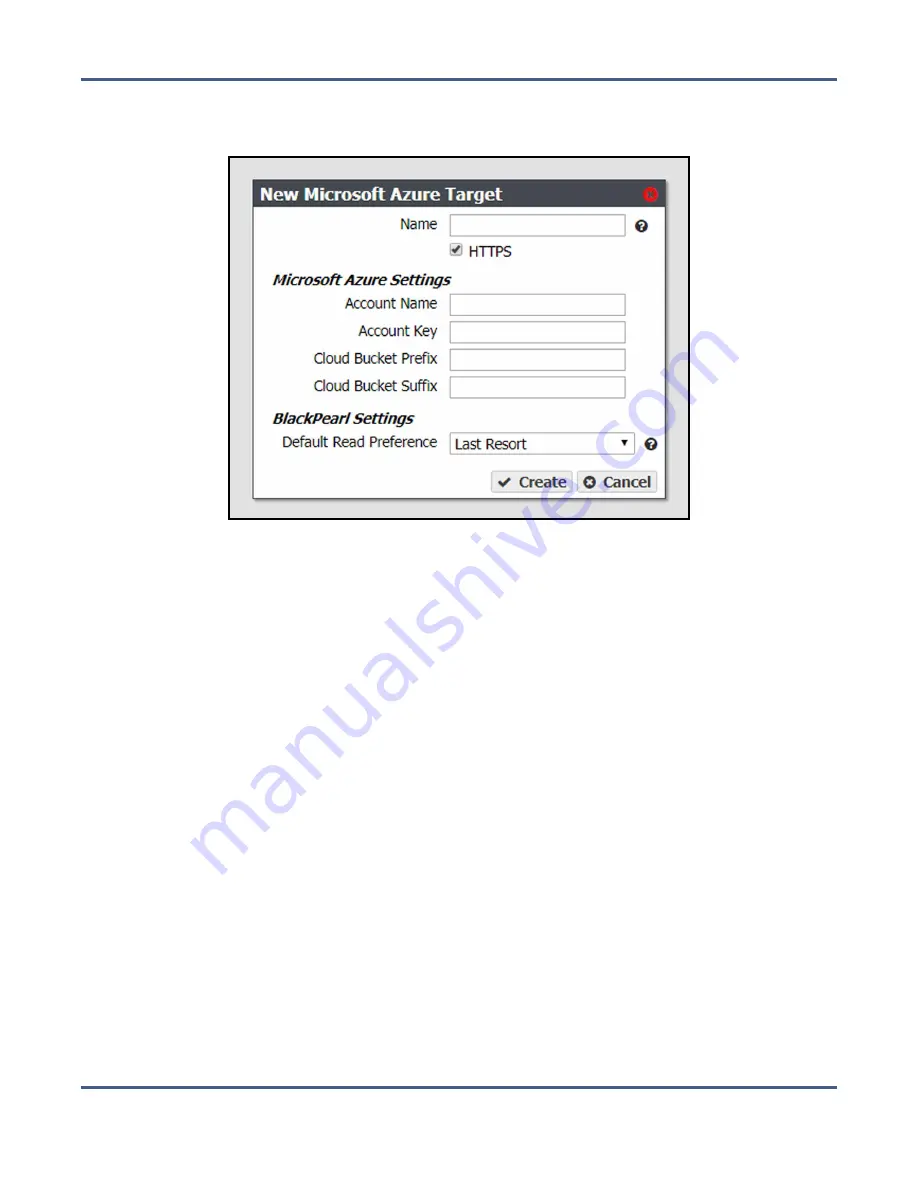
Action > New Microsoft Azure Target
. The New Microsoft Azure Target dialog box
displays.
Figure 37
The New Microsoft Azure Target dialog box.
3.
Enter a name for the Microsoft Azure target in the
Name
field.
Note:
Each Azure target name must be unique. You cannot create two Azure targets
with the same name.
4.
By default,
HTTPS
is selected so that the replication uses a secure connection. If desired,
clear the
HTTPS
check box to use HTTP.
5.
Enter the account name for the Microsoft Azure account in the in the
Account Name
field.
Note:
You can not use the same
Account Name
for multiple Microsoft Azure targets.
6.
In the
Account Key
field, enter the account key associated with the account entered in
7.
Optionally, enter a
Cloud Bucket Prefix
and/or
Cloud Bucket Suffix
. Bucket names on the
BlackPearl system must be unique within the system, but bucket names in Microsoft
Azure must be unique across the world. To permit friendlier, shorter local bucket names
on the BlackPearl system while avoiding naming conflicts with Microsoft Azure, the
system adds the defined
Cloud Bucket Prefix
and
Cloud Bucket Suffix
to the BlackPearl
bucket name when it replicates the bucket. For example, if
Cloud Bucket Prefix
=
prefix
,
Cloud Bucket Suffix
=
suffix
, and the bucket name=
name
, the resulting name of the
bucket on the Azure target is
prefix-name-suffix
.
Note:
The prefix and/or suffix must adhere to the replication target naming
requirements.
November 2020
User Guide-BlackPearl Converged Storage System
- 117 -


