Chapter 9 - Working with Tape Libraries and Media
Format Tapes
2.
Select the tape cartridge you want to format and select
Action > Format Tape
, or to format
all tapes with a state of Unknown, select
Action > Format All Unmanaged Tapes
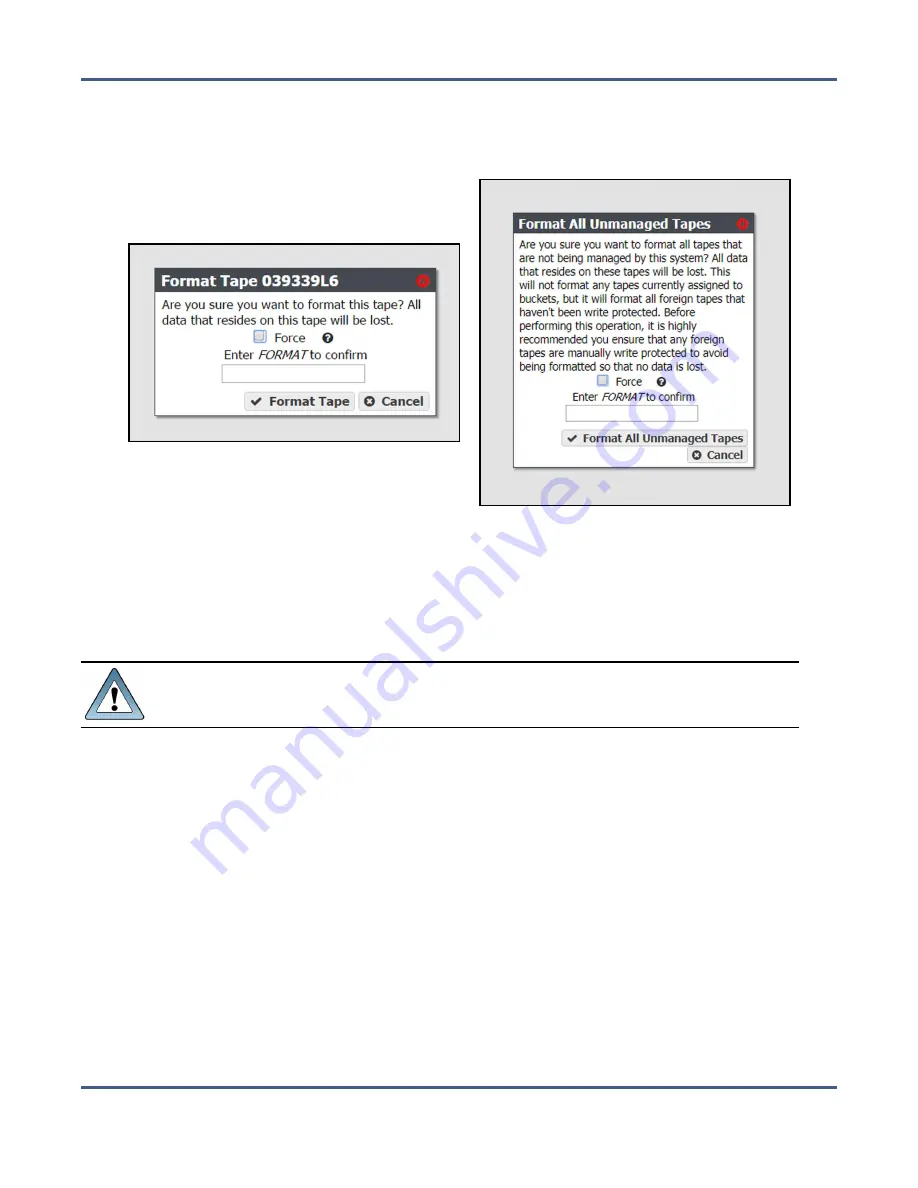
. A
confirmation dialog box displays.
Figure 179
The Format Tape confirmation
dialog box.
Figure 180
The Format All Unmanaged
Tapes confirmation dialog box.
3.
If desired, select the
Force
option.
Note:
If the selected tape contains data from the BlackPearl system, you cannot format
the tape unless you select the
Force
option.
IMPORTANT
Do not use the
Force
option to force a format on a cleaning tape. If you do so
the cleaning tape is set to “expired” and no longer usable for cleaning drives.
4.
Enter
FORMAT
in the entry field and click
Format Tape
, or
Format All Unmanaged Tapes
.
The system instructs the library to load the selected tapes into tape drives configured in
the library, to format the tape(s) for LTFS. This is the format used by the BlackPearl
system. This process can take up to 5 minutes per tape.
Cancel Tape Format
If desired, you can cancel a queued tape format, or cancel all queued tape formats. Use the
instructions in this section to cancel one or more tape formats.
1.
From the menu bar, select
Status > Tape Management
. The Tape Management screen
displays (see
).
November 2020
User Guide-BlackPearl Converged Storage System
- 273 -


