Chapter 12 - Maintaining the BlackPearl System
Data Integrity Verification - Disk Media
Use the instructions in this section to perform a data integrity verification on a disk pool.
1.
From the menu bar, select
Support > Tools > Data Integrity Verification.
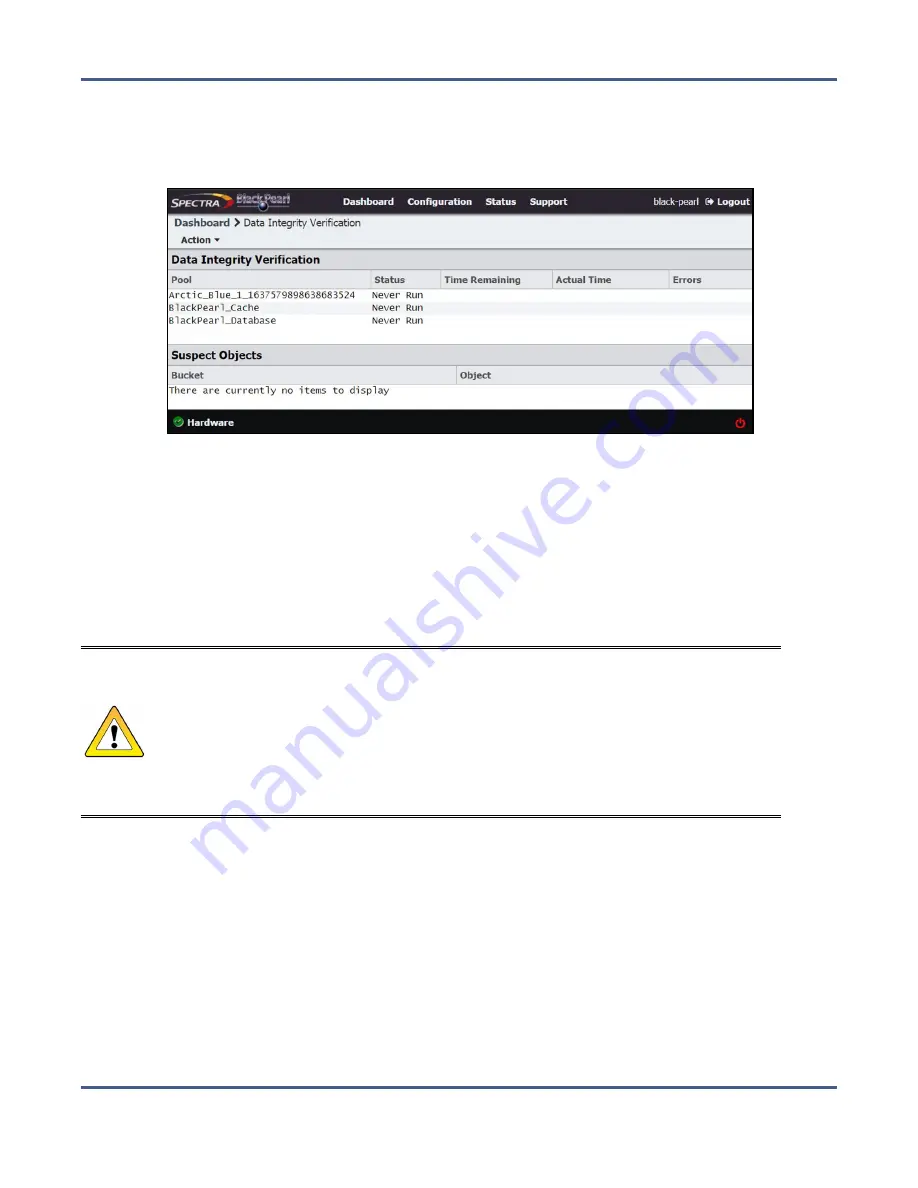
The Data Integrity
Verification screen displays.
Figure 243
The Data Integrity Verification screen.
2.
Select the disk pool for which you want to start the data integrity verification, and select
Action > Start.
A confirmation screen displays.
Note:
While the verification is in progress, the disk pool may experience degraded
performance. However, client access and rebuilds have priority over data integrity
verification.
3.
Click
Start Data Verification
.
CAUTION
In the event that the data integrity verification detects suspect objects they are
listed in the Suspect Objects pane. If possible, retrieve the object from another
storage domain, delete the object from the system and then PUT the object
again. delete and then reimport the object, The affected files cannot be retrieved
from the storage pool, and may need to be transferred to the BlackPearl system
again, if the data policy did not specify multiple copies of the data. If you do not
have copies of the affected files on your host or another location, they are lost.
Cancel Disk Media Verification
If desired, you can stop a data integrity verification while it is in progress.
1.
From the menu bar, select
Support > Tools > Data Integrity Verification.
The Data Integrity
Verification screen displays.
2.
Select the pool for which you want to stop verification in the Data Integrity Verification
screen, and then select
Action > Cancel
.
3.
A confirmation screen displays. Click
OK
to stop the verification.
November 2020
User Guide-BlackPearl Converged Storage System
- 346 -


