Chapter 4 - Configuring Advanced Bucket Management
Create a Bucket
2.
Select
Action > New
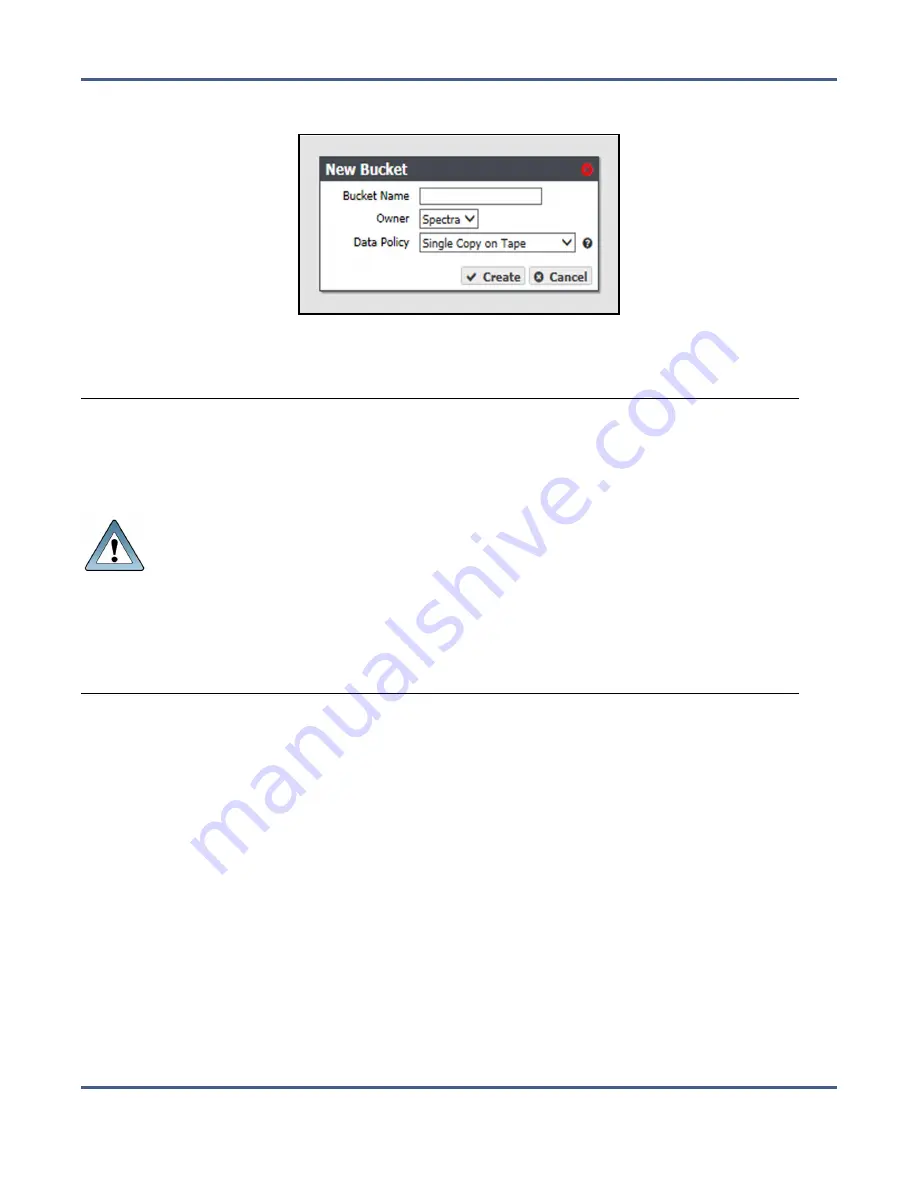
from the menu bar. The New Bucket dialog box displays.
Figure 50
The New Bucket dialog box.
3.
Enter a name for the bucket in the
Bucket Name
field.
IMPORTANT
When creating a bucket for use with an Amazon S3 or Microsoft Azure
replication target, the bucket name must adhere to the cloud target naming
requirements. The BlackPearl system attempts to create the bucket on the
replication target using the name entered in Step 3 with the appended Cloud
Bucket Prefix and Suffix, if applicable.
•
For
BlackPearl software version 3.5.2 or earlier
, the BlackPearl system
changes bucket names with upper case letters to all lower case letters when
needed. If you are using bucket names that only differ by case, the buckets
are combined on the cloud target causing possible data collision and bucket
ownership/permission problems.
•
For
BlackPearl software version 4.0 or later,
if the bucket name is
incompatible with the naming requirements of the cloud target provider,
bucket creation fails and an error message displays.
Notes:
• The bucket name cannot contain a colon (:), forward slash (/), or space.
• The bucket name cannot exceed 255 characters.
4.
Using the drop-down menu, select an
Owner
for the bucket from the list of users already
created on the system.
5.
Using the drop-down menu, select a
Data Policy
for the bucket from the list of previously
created data policies on the system. The bucket uses this data policy when transferring
data.
6.
Click
Create
. The Buckets screen displays with the newly created bucket listed.
November 2020
User Guide-BlackPearl Converged Storage System
- 137 -


