


Page 264
STAT
IM 2000/2000S
Service Guide
96-106775 Rev 5.0
13. Installation
STAT
IM
5000/5000S/5000 G4 Service Guide
Connecting to a wireless network
The STAT
IM G4 can be configured for wireless use by connecting the Ethernet port to an
external wireless bridge / access point. SciCan currently recommends the use of the D-Link®
DAP-1522 Xtreme N
®
Duo Wireless Bridge. Contact the customer’s network administrator to
learn more about setting up a wireless bridge.
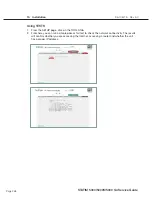
Setting up the web portal
This web portal is a direct connection to the STAT
IM on the customer’s network. It is protected
by the customer’s firewall and not accessible to outside users. To set up the web portal follow
these steps:
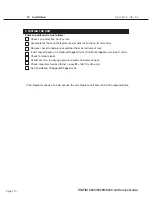
Setting up the CoNTACTS page
1. Click on the SETUP page and go to the CONTACTS tab.
2. Here you will be prompted to provide a user name and password. For both the user name
and password, the default is “scican”. Use it to enter and thenyou can customize it using the
PASSWORD tab.
3. The information you use to fill the fields on the CONTACTS page, such as office name,
address and uploaded logo, is then used to customize the customer’s web portal home page
and print outs.
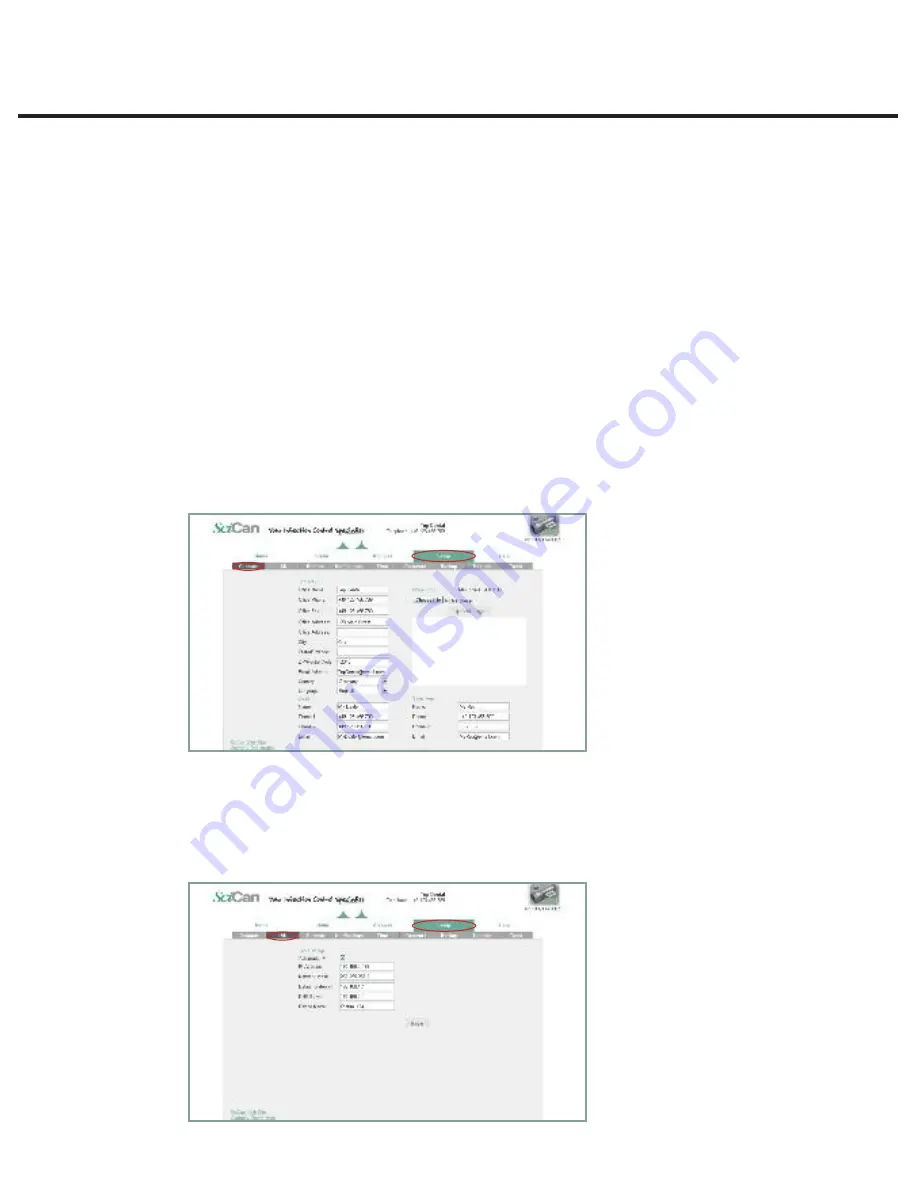
Setting up the lAN page
1. From the SETUP page, use the LAN tab to check your network settings.
2. If the office is using a router, keep the Automatic IP box checked. This will populate the fields
for correct network settings automatically.
3. If you want to assign different values to these fields, uncheck the box, populate the fields and
click Save to preserve the changes.
Page 15
STATIM 5000 G4 Service Guide
Connecting to a Network
Setting up the web portal
This web portal is a direct connection to the STATIM on the customer's network. It is protected
by the customer's firewall and not accessible to outside users. To set up the web portal follow
these steps:
Setting up the CONTACTS page
1.
Click on the SETUP page and go to the CONTACTS tab.
2.
Here you will be prompted to provide a user name and password. For both
the user name and password, the default is “scican”. Use it to enter and then
you can customize it using the PASSWORD tab.
3.
The information you use to fill the fields on the CONTACTS page, such as office name, address
and uploaded logo, is then used to customize the customer's web portal home page and
print outs.
Setting up the LAN page
1.
From the SETUP page, use the LAN tab to check your network settings.
2.
If the office is using a router, keep the Automatic IP box checked. This will populate the
fields for correct network settings automatically.
3.
If you want to assign different values to these fields, uncheck the box, populate the fields
and click Save to preserve the changes.


