Chapter 6: Using the Web Interface
85
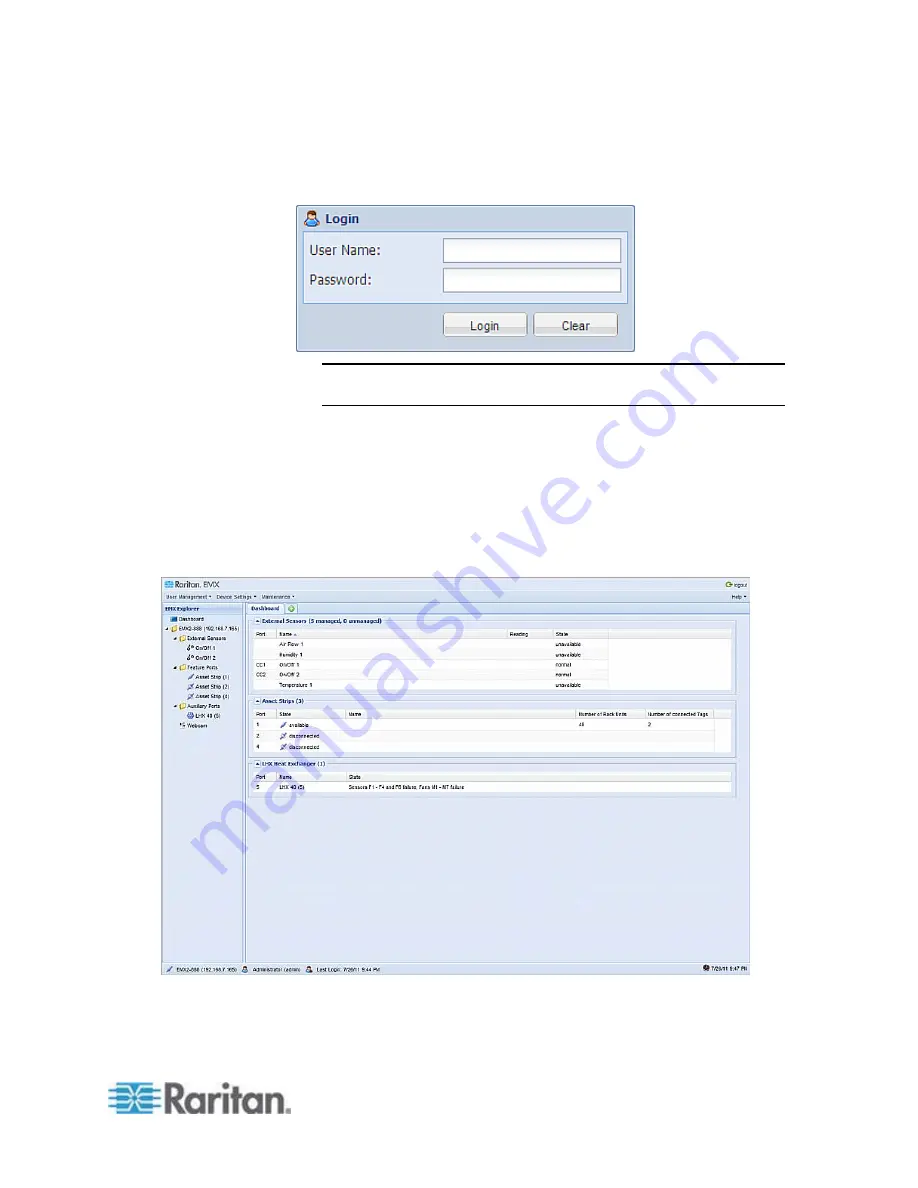
3. Type your user name in the User Name field, and password in the
Password field. Both the user name and password are case
sensitive.
Note: If needed, click Clear to clear either the inputs or any error
message that appears.
4. If a security agreement is displayed on the Login page, accept it.
Otherwise, you cannot log in successfully.
To select the agreement checkbox using the keyboard, press the
Space bar.
5. Click Login or press Enter. The EMX page opens.
Depending on your hardware configuration, elements shown on the
web interface may appear slightly different from this image.
Содержание EMX2-888
Страница 19: ...Chapter 1 Introduction 5 Retrieval of the link local IPv4 address See IPv4 Address on page 72...
Страница 71: ...Chapter 4 Connecting External Equipment Optional 57...
Страница 148: ...Chapter 6 Using the Web Interface 134 LHX 20 SHX 30 LHX 40 PowerLogic PM710...
Страница 506: ...Appendix F LDAP Configuration Illustration 492 5 Click OK The EMX_Admin role is created 6 Click Close to quit the dialog...
Страница 526: ...Appendix H RADIUS Configuration Illustration 512 Note If your EMX uses PAP then select PAP...
Страница 527: ...Appendix H RADIUS Configuration Illustration 513 10 Select Standard to the left of the dialog and then click Add...
Страница 528: ...Appendix H RADIUS Configuration Illustration 514 11 Select Filter Id from the list of attributes and click Add...
Страница 531: ...Appendix H RADIUS Configuration Illustration 517 14 The new attribute is added Click OK...
Страница 532: ...Appendix H RADIUS Configuration Illustration 518 15 Click Next to continue...


