Chapter 9. Installation and Wiring
9-4
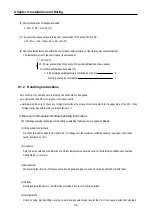
(6) Wiring
•
Wiring I/O wires with high voltage cable or power supply line can cause malfunction or disorder.
•
Be sure that any wire does not pass across during input LED(I/O status will not be clearly identified).
•
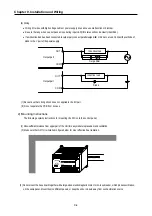
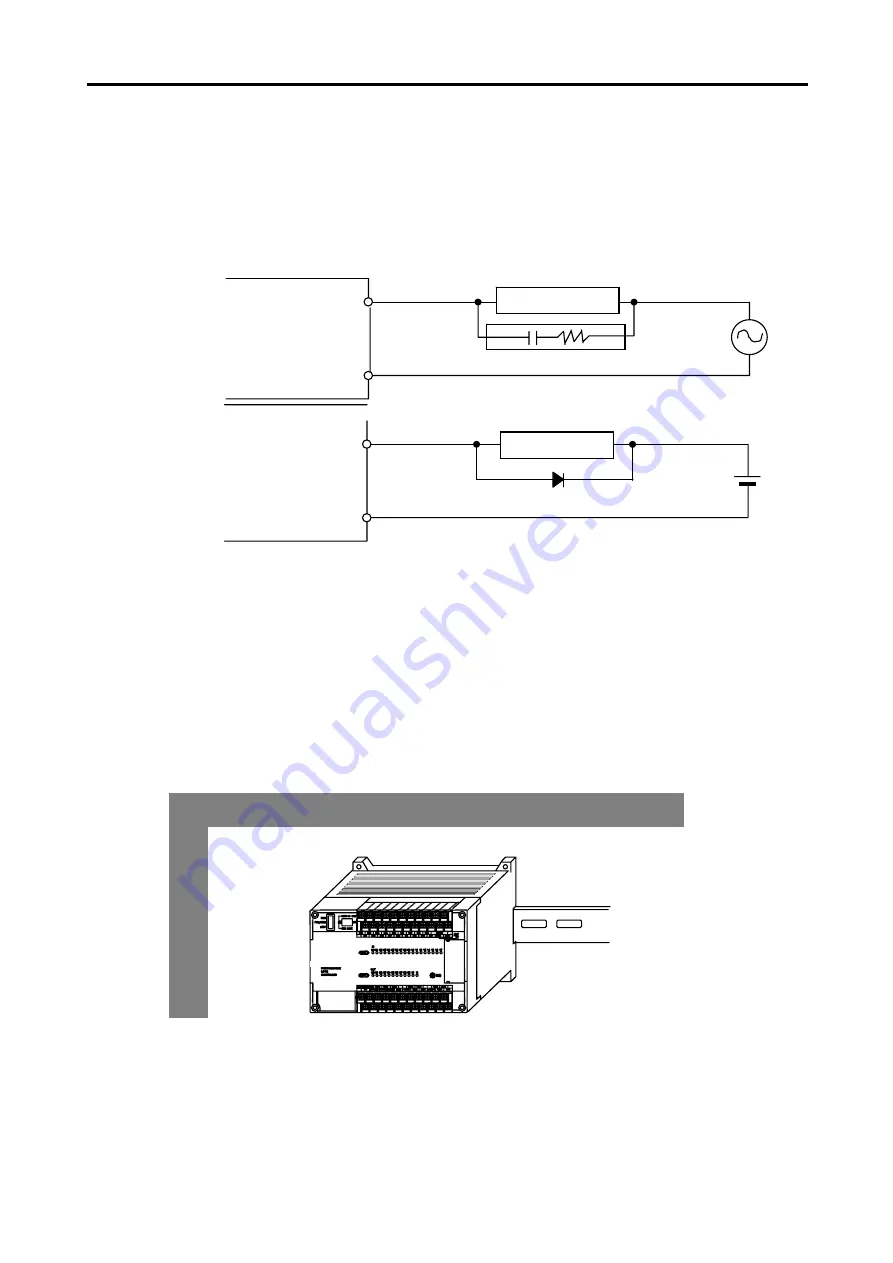
If an inductive load has been connected to output part, connect parallel surge killer or diode to a load. Connect the cathode of
diode to the ‘+’ part of the power supply.
(7)
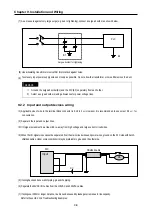
Be cautious that strong shock does not applied to the I/O part.
(8) Do not separate the PCB from its case
.
2) Mounting instructions
The following explains instructions for mounting the PLC onto the control panel.
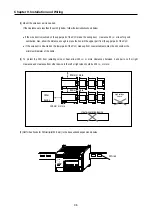
(1) Allow sufficient distance from upper part of the Unit for easy module replacement and ventilation.
(2) Make sure that GM7U is installed in figure below for most effective heat radiation.
(3) Do not mount the base board together with a large-sized electromagnetic contact or no-fuse breaker, which produces vibration,
on the same panel. Mount them on different panels, or keep the unit or module away from such a vibration source
OUT
COM
Output part
Inductive load
Surge Killer
OUT
COM
Output part
Inductive load
Diode
+
-
K7M-DR30U
Содержание GLOFA G7M-DR20U
Страница 28: ...Chapter 4 Names of Parts 4 3 2 G7M DRT60U N 3 G7M DT60U N 4 G7M DT60U P...
Страница 29: ...Chapter 4 Names of Parts 4 4 5 G7M DR60U DC 6 G7M DRT60U N DC 7 G7M DT60U N DC...
Страница 30: ...Chapter 4 Names of Parts 4 5 8 G7M DT60U P DC 4 1 2 40 point main unit 1 G7M DR40U 2 G7M DRT40U N...
Страница 31: ...Chapter 4 Names of Parts 4 6 3 G7M DT40U N 4 G7M DT40U P 5 G7M DR40U DC...
Страница 32: ...Chapter 4 Names of Parts 4 7 6 G7M DRT40U N DC 7 G7M DT40U N DC 8 G7M DT40U P DC...
Страница 33: ...Chapter 4 Names of Parts 4 8 4 1 3 30 point main unit 1 G7M DR30U 2 G7M DRT30U N 3 G7M DT30U N...
Страница 34: ...Chapter 4 Names of Parts 4 9 4 G7M DT30U P 5 G7M DR30U DC 6 G7M DRT30U N DC...
Страница 35: ...Chapter 4 Names of Parts 4 10 7 G7M DT30U N DC 8 G7M DT30U P DC 4 1 4 20 point main unit 1 G7M DR20U...
Страница 36: ...Chapter 4 Names of Parts 4 11 2 G7M DRT20U N 3 G7M DT20U N 4 G7M DT20U P...
Страница 37: ...Chapter 4 Names of Parts 4 12 5 G7M DR20U DC 6 G7M DRT20U N DC 7 G7M DT20U N DC...
Страница 38: ...Chapter 4 Names of Parts 4 13 8 G7M DT20U P DC...
Страница 159: ...Chapter 7 Usage of Various Functions 7 52 c Program...
Страница 183: ...Chapter 7 Usage of Various Functions 7 76 c Program...
Страница 253: ...Chapter 8 Communication Functions 8 27 b When uses Ch 1 Built in RS 485...
Страница 355: ...Appendix 1 System Definitions App1 8 5 PID parameters 1 PID Auto Tuning Parameter 2 PID Parameter...
Страница 356: ...Appendix 1 System Definitions App1 9 6 Position Parameter...
Страница 357: ...Appendix 1 System Definitions App1 10 7 High Speed Counter Parameter...

